shrimp scampi

I have to admit, I’m not a seafood person. Shrimp was one of my favorites when I was a baby, but as I got older, I thought it was the most disgusting food ever! A few years ago, I gave crab cakes a try {I had no idea what I was missing!} and now I am completely obsessed with anything crab. In preparing my grocery list for this week, I was stumped for Sunday’s dinner. A lot of my recipe inspirations come from my favorite cookbooks and cooking shows, and I have seen so many recipes for shrimp as of late. Richard made shrimp last weekend for himself and I have to say, it actually looked pretty good. 

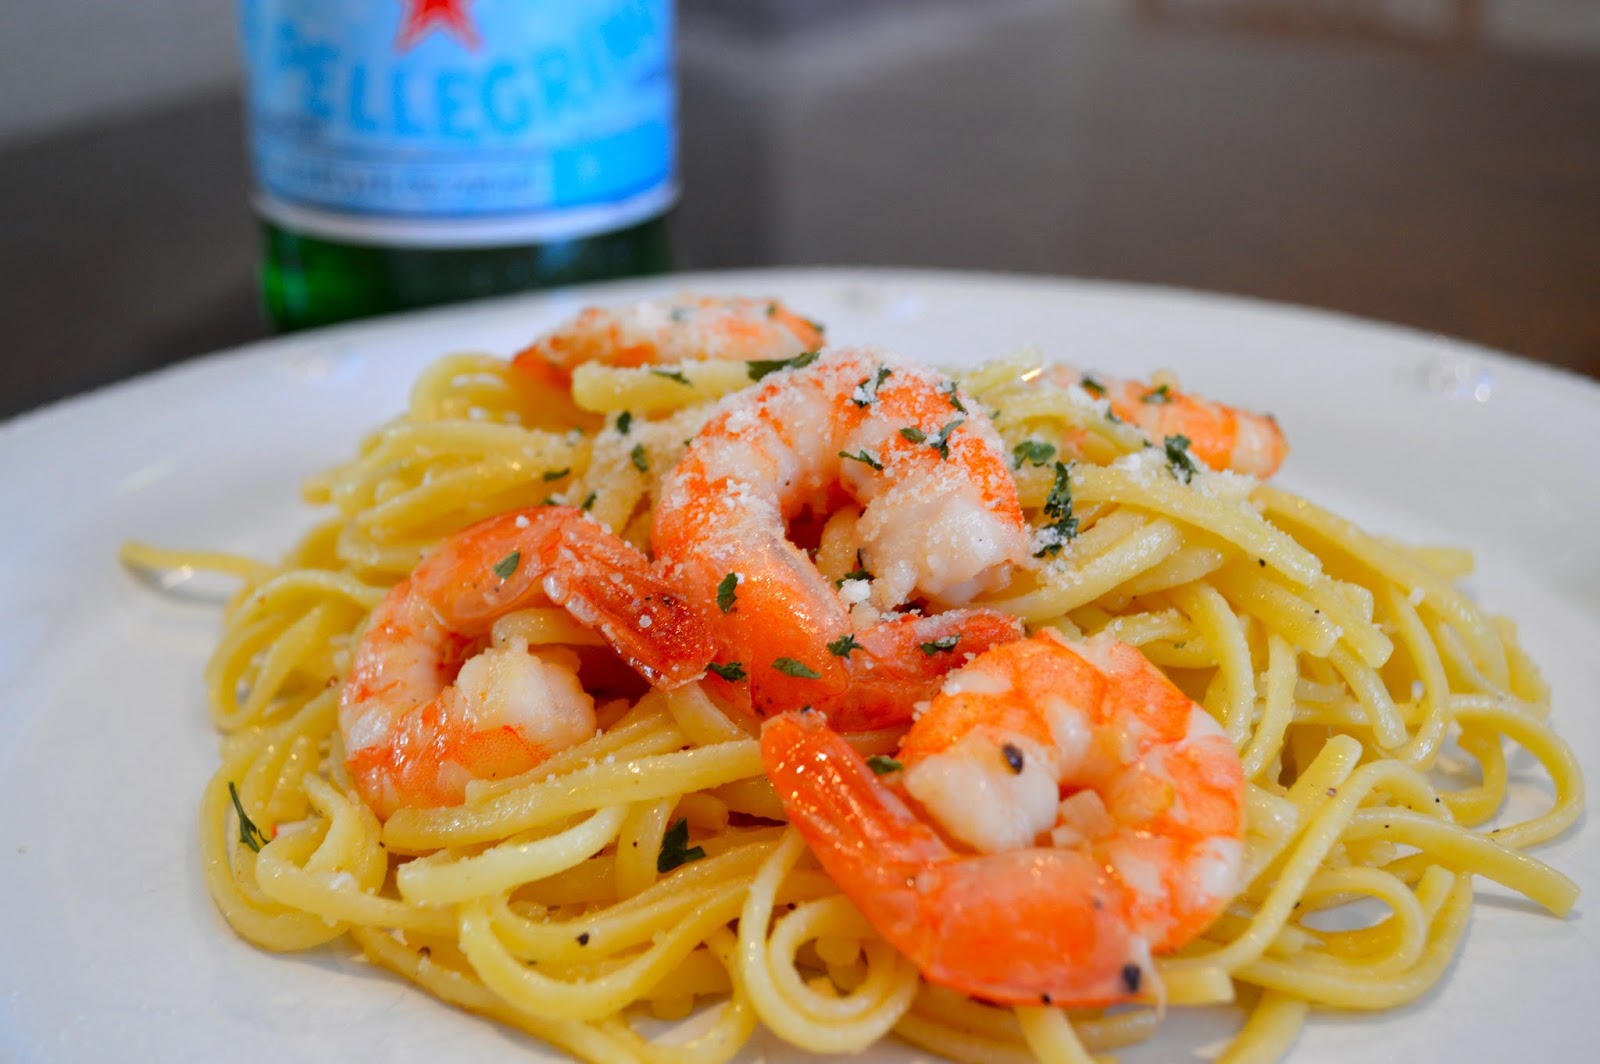
So, I decided to be adventurous and make some kind of shrimp for dinner this past weekend. I knew I needed something in a sauce {to mask any possible fishy scents} and it had to be served with something {just in case I couldn’t eat it, I needed something for a backup!}. Shrimp Scampi it is! Since I hardly ever cook seafood, besides crab cakes, I read through so many recipes for shrimp scampi, trying to decide the elements of the dish I like and didn’t like, to achieve my ultimate seafood pasta dish. 

Turns out, shrimp really isn’t that bad! I’m looking forward to the warmer temperatures so we can throw the shrimp on the grill to create delicious, flavorful dishes for spring and summer!
shrimp-scampi

Shrimp Scampi

1/4 lb. frozen shrimp {I bought shrimp that was already peeled & deveined}
2 tablespoons unsalted butter
1 teaspoon red pepper flakes
1 garlic clove, minced
Juice from 1 lemon
1/4 cup white cooking wine
8 ounces linguine, cooked
Salt and pepper to taste
Parmesan cheese and parsley for garnish, if desired
Cook pasta according to package directions; drain pasta and set aside. In a large skillet, heat the butter over medium heat. Add the garlic, red pepper flakes and shrimp. Saute for about 3 minutes until the shrimp begins to turn pink. Add the lemon juice and white cooking wine and season with a little salt and pepper. Bring the mixture to a boil and reduce to a simmer for about 5 more minutes {My shrimp was already cooked, so I was basically just reheating the shrimp. I found a good indication of the “doneness” to be their shrinking in size and the amount of sauce I had remaining in the skillet — you want enough to coat the pasta!} Remove the skillet from the heat and toss with the pasta. Garnish with Parmesan cheese and parsley {fresh or dried} if desired. 
**I used only about 1/4 pound of the frozen shrimp — Richard used the rest to make his own shrimp concoction! But, you can easily double or even triple this recipe because there are only a few ingredients 🙂

post-run smoothie

Today I am sharing a super quick pick-me-up that has been getting me through the last couple of days of my half marathon training. With all this running, I was really feeling tired towards the end of last week and decided that a power smoothie was a necessity! I really wanted to pick ingredients that would boost my energy and allow me to recover, so I chose the standard ingredients of bananas and strawberries, and to make it green, I threw in some spinach. 

One of my latest obsession has been this powdered peanut butter. I first heard about it on The Food Network’s The Kitchen {which is my favorite show!}, and I was so excited to find it at my local GNC store. I LOVE peanut butter, but it can be high in fat. But with this powdered peanut butter, 85% of the fat and oils are removed to make a much healthier smoothie additive! I have also included chia seeds in this recipe, but they are totally optional! With a little over a week to go, the end of my training is coming to a close and I am hoping this smoothie will power me through the finish line! 

P.S. I should mention that this is the perfect post-workout smoothie as well! You don’t need to be training for a long race to enjoy this delicious drink 😉
green-smoothie-ingredients

pb2

green-smoothie-blender

green-smoothie

Post-Run Smoothie

1 cup almond milk
1 banana, cut into pieces
2 cups fresh spinach
1 cup frozen strawberries
1 tablespoon powdered peanut butter {regular peanut butter works fine too!}
1/2 – 1 tablespoons chia seeds, optional

Place the almond milk, spinach, banana, frozen strawberries, powered peanut butter and chia seeds {if using} in a blender and blend until smooth. Makes one large smoothie.

I’ve also included some of my favorite workout pieces that I have been eyeing for race day below. I am loving all these bright colors — perfect for being spotted crossing the finish line on race day 😉  

Thanks for stopping by!

….

women’s bean project

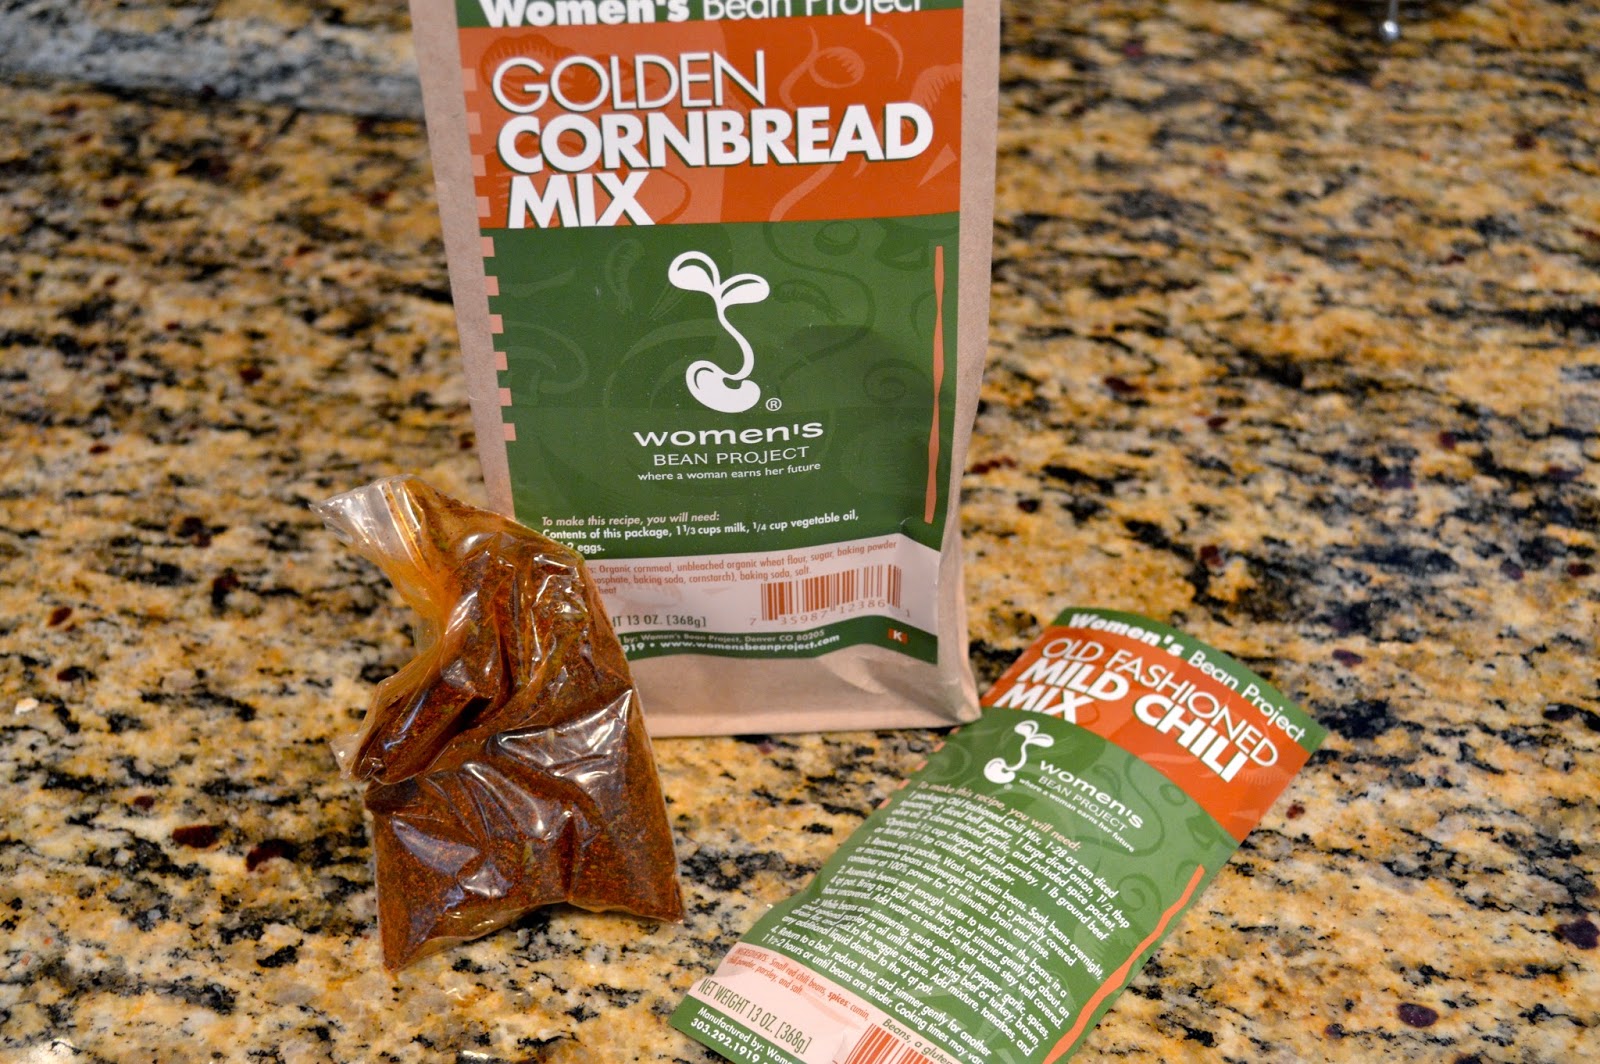
Happy Tuesday! Today I want to share with you a very special organization that supports a truly wonderful cause. The Women’s Bean Project, based in Denver, Colorado, employs unemployed and impoverished women in a transitional job to help them earn the job readiness, interpersonal and life skills needed to move into a career. More information and the history of the Women’s Bean Project can be found here

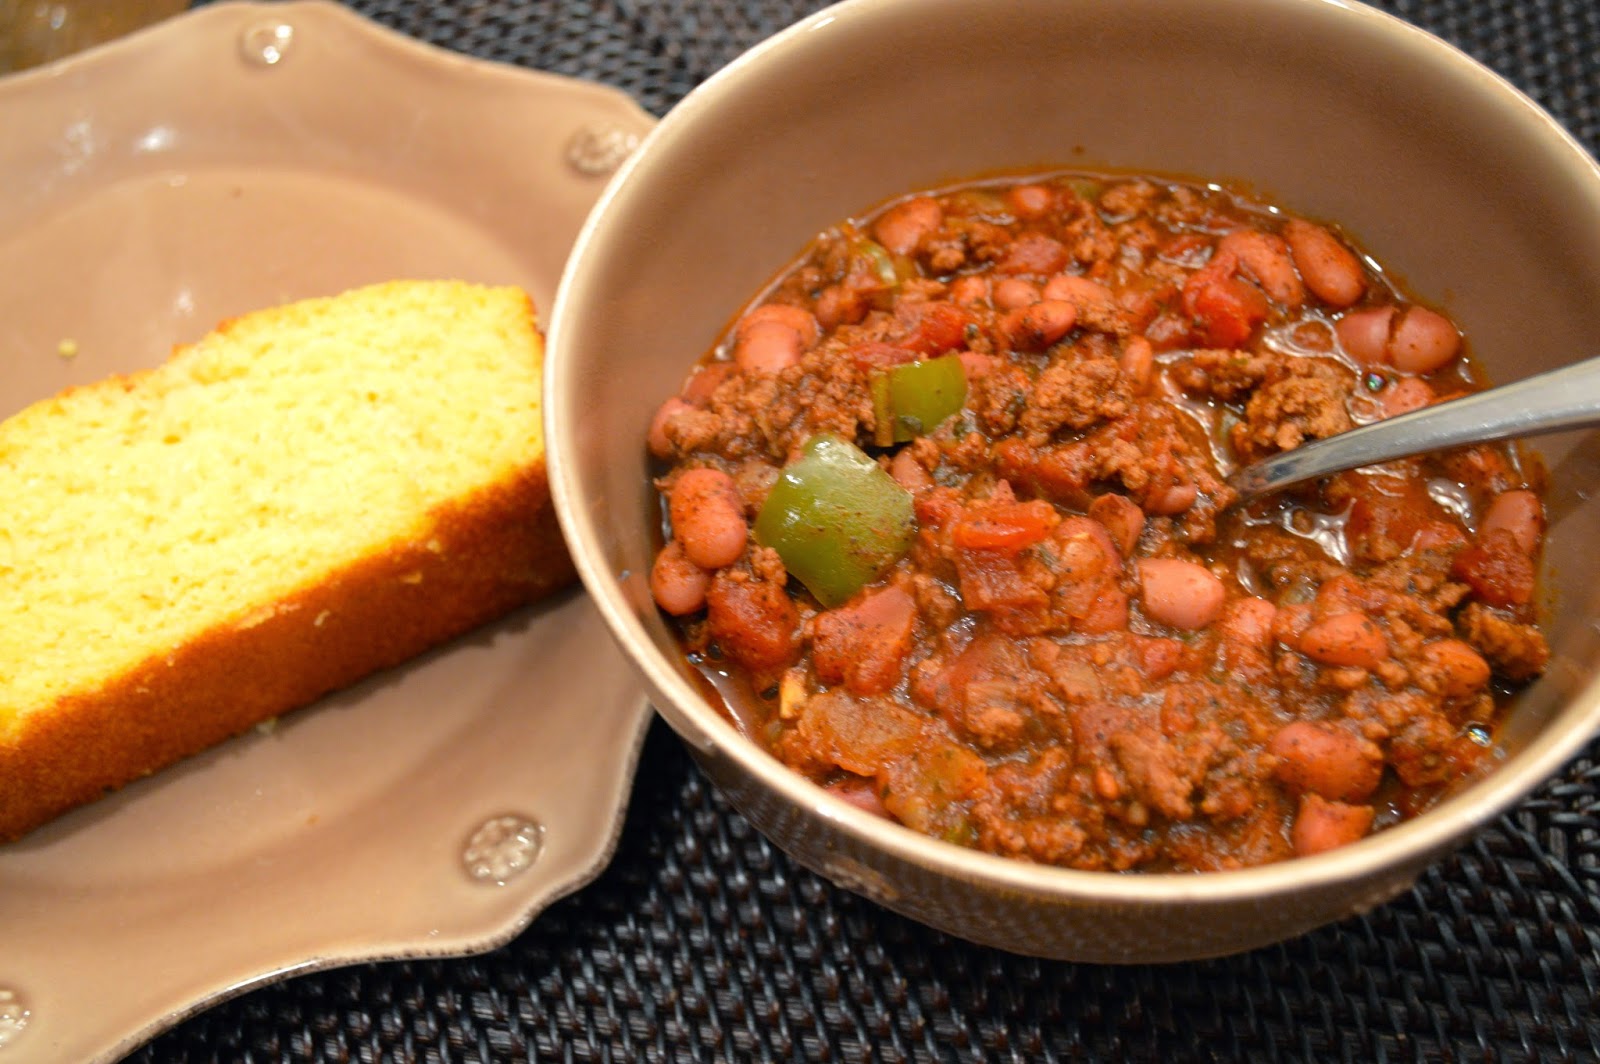
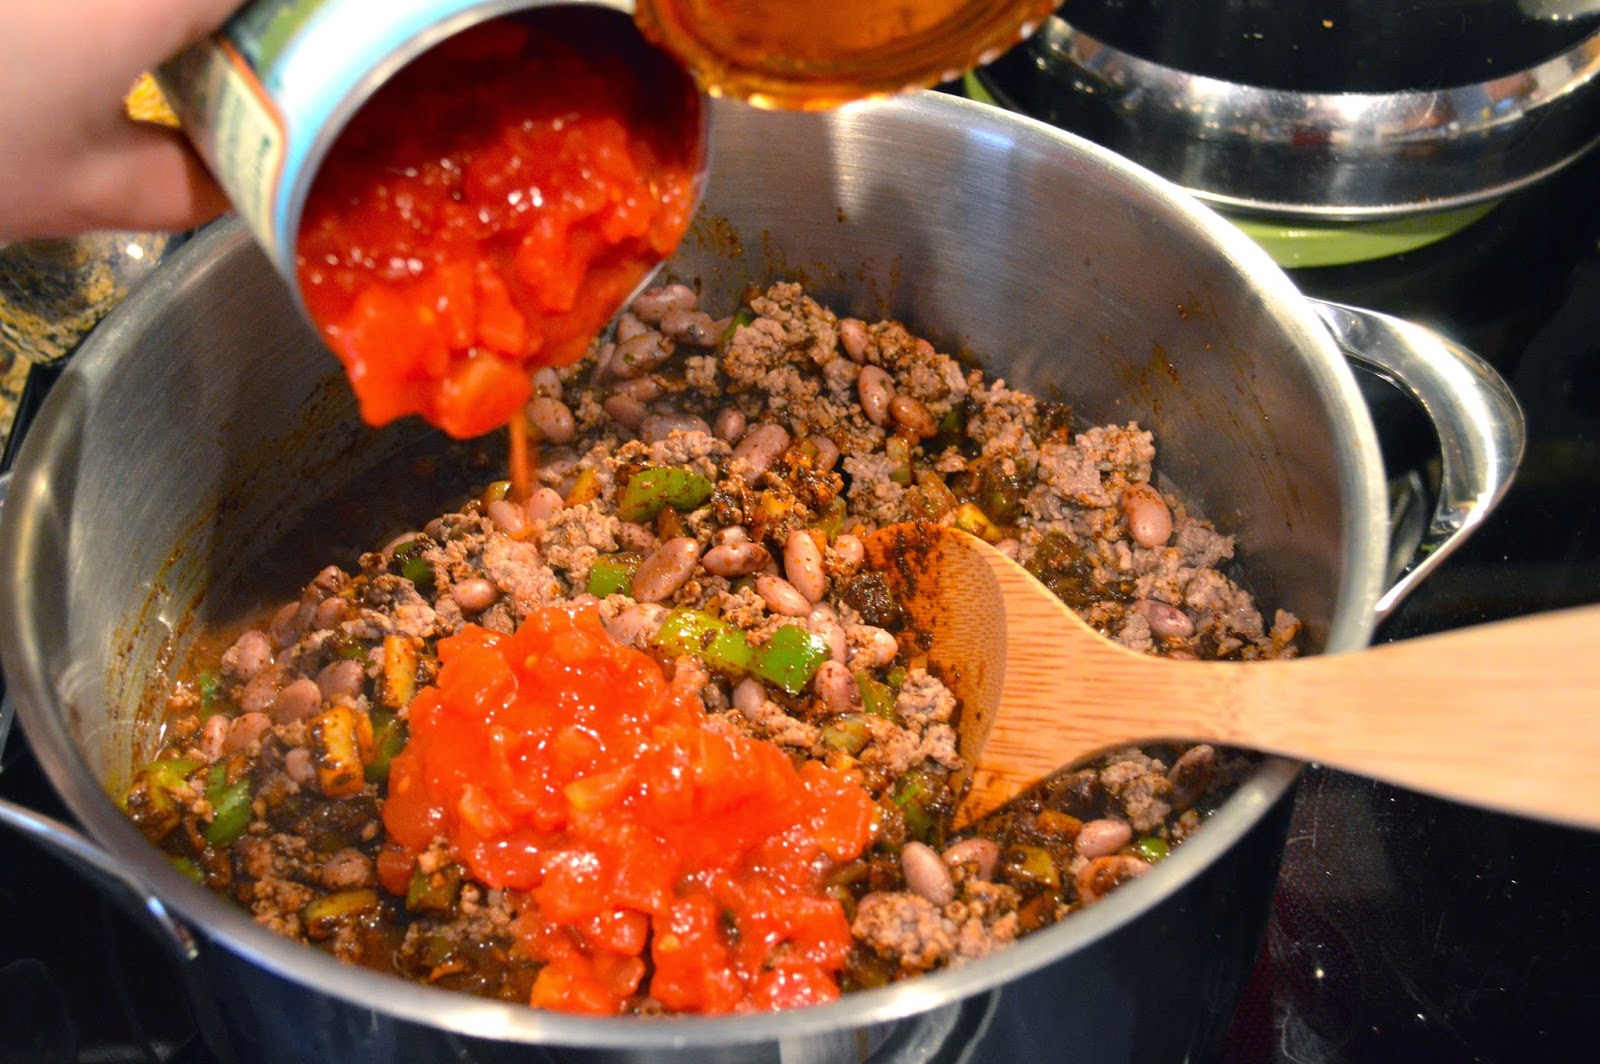
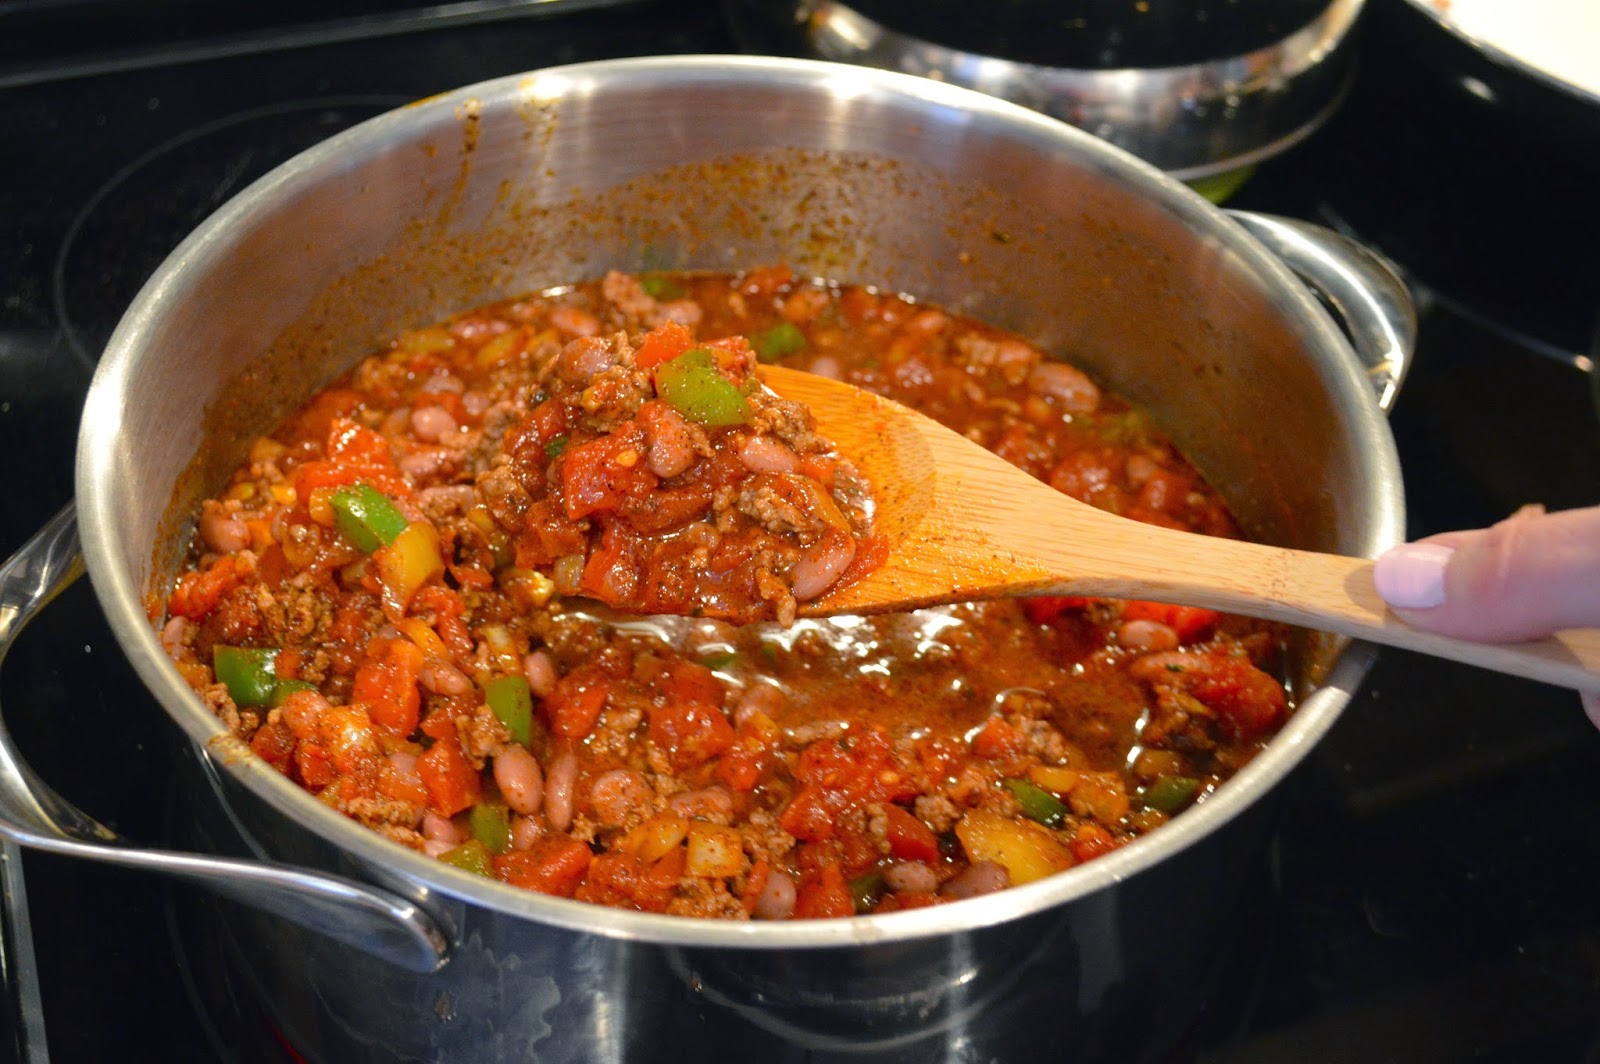
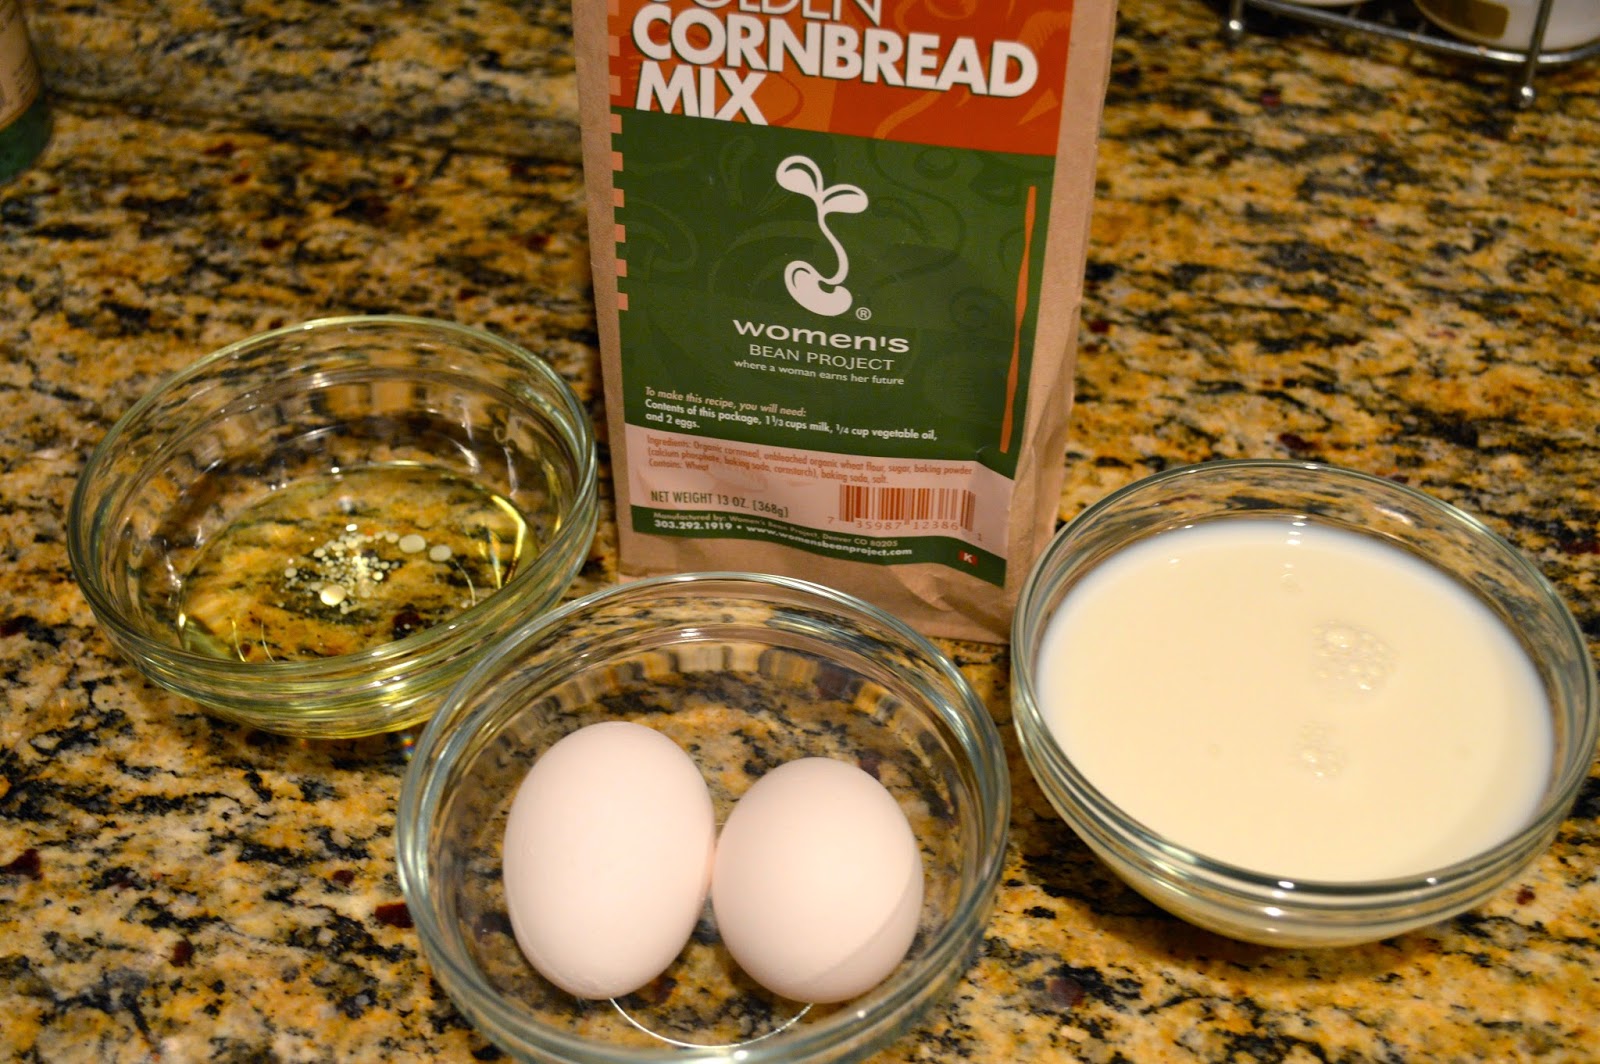
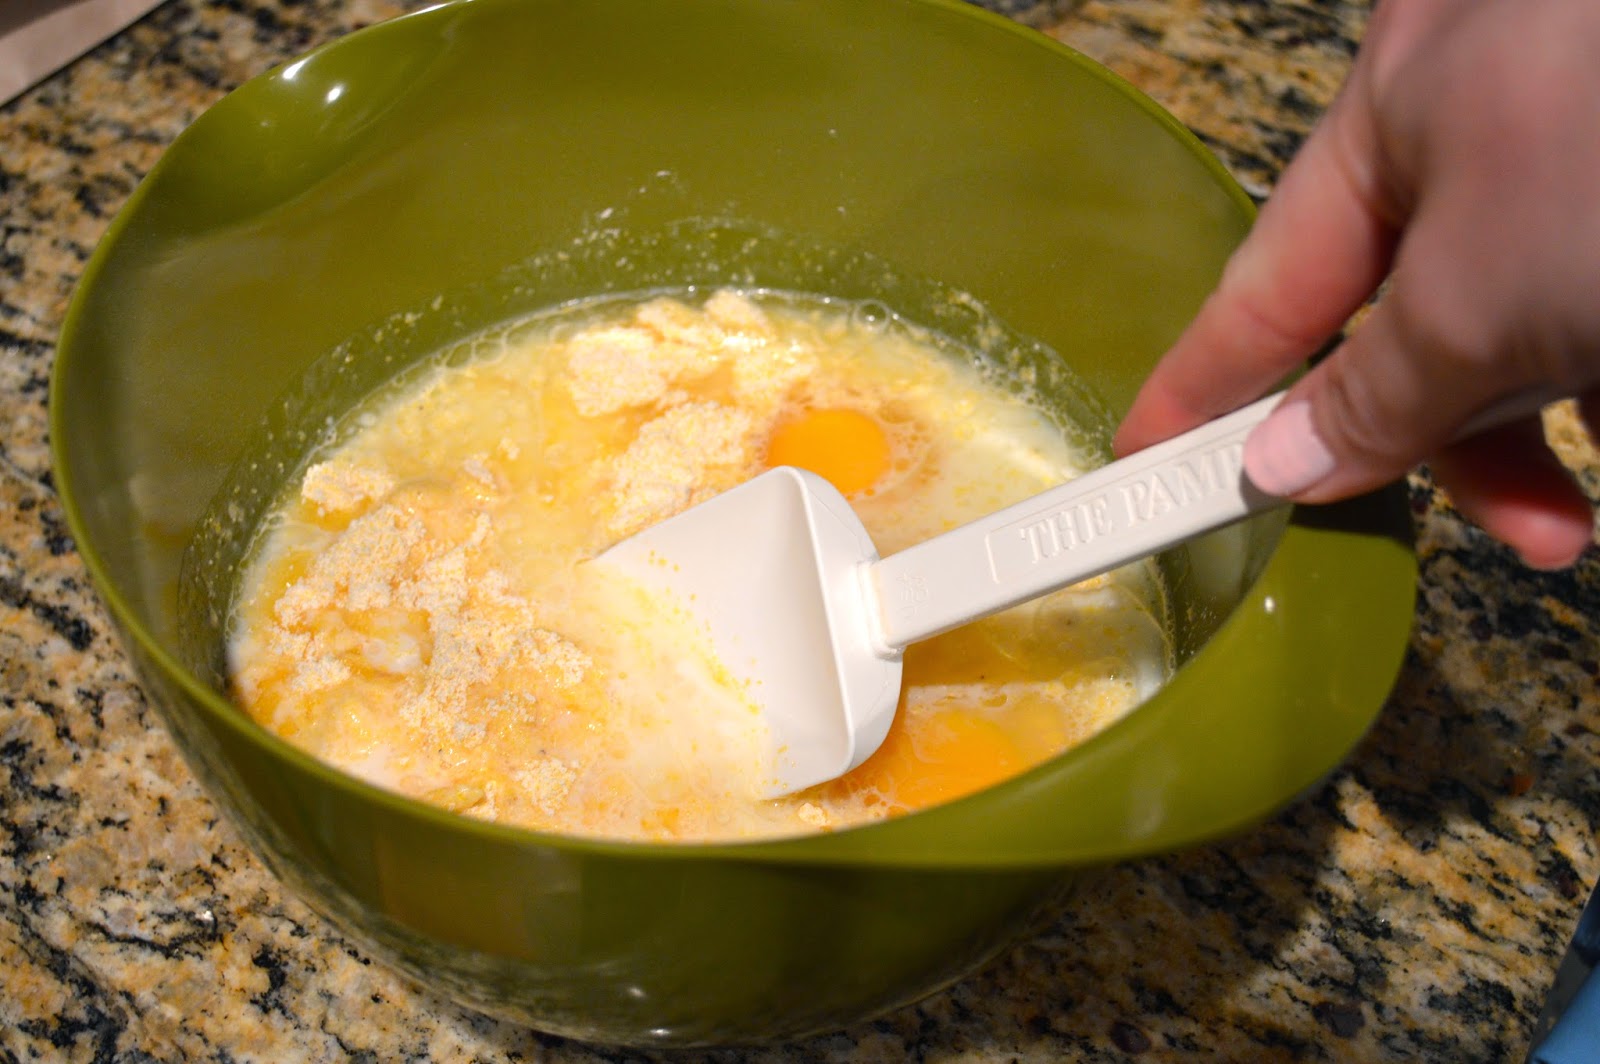
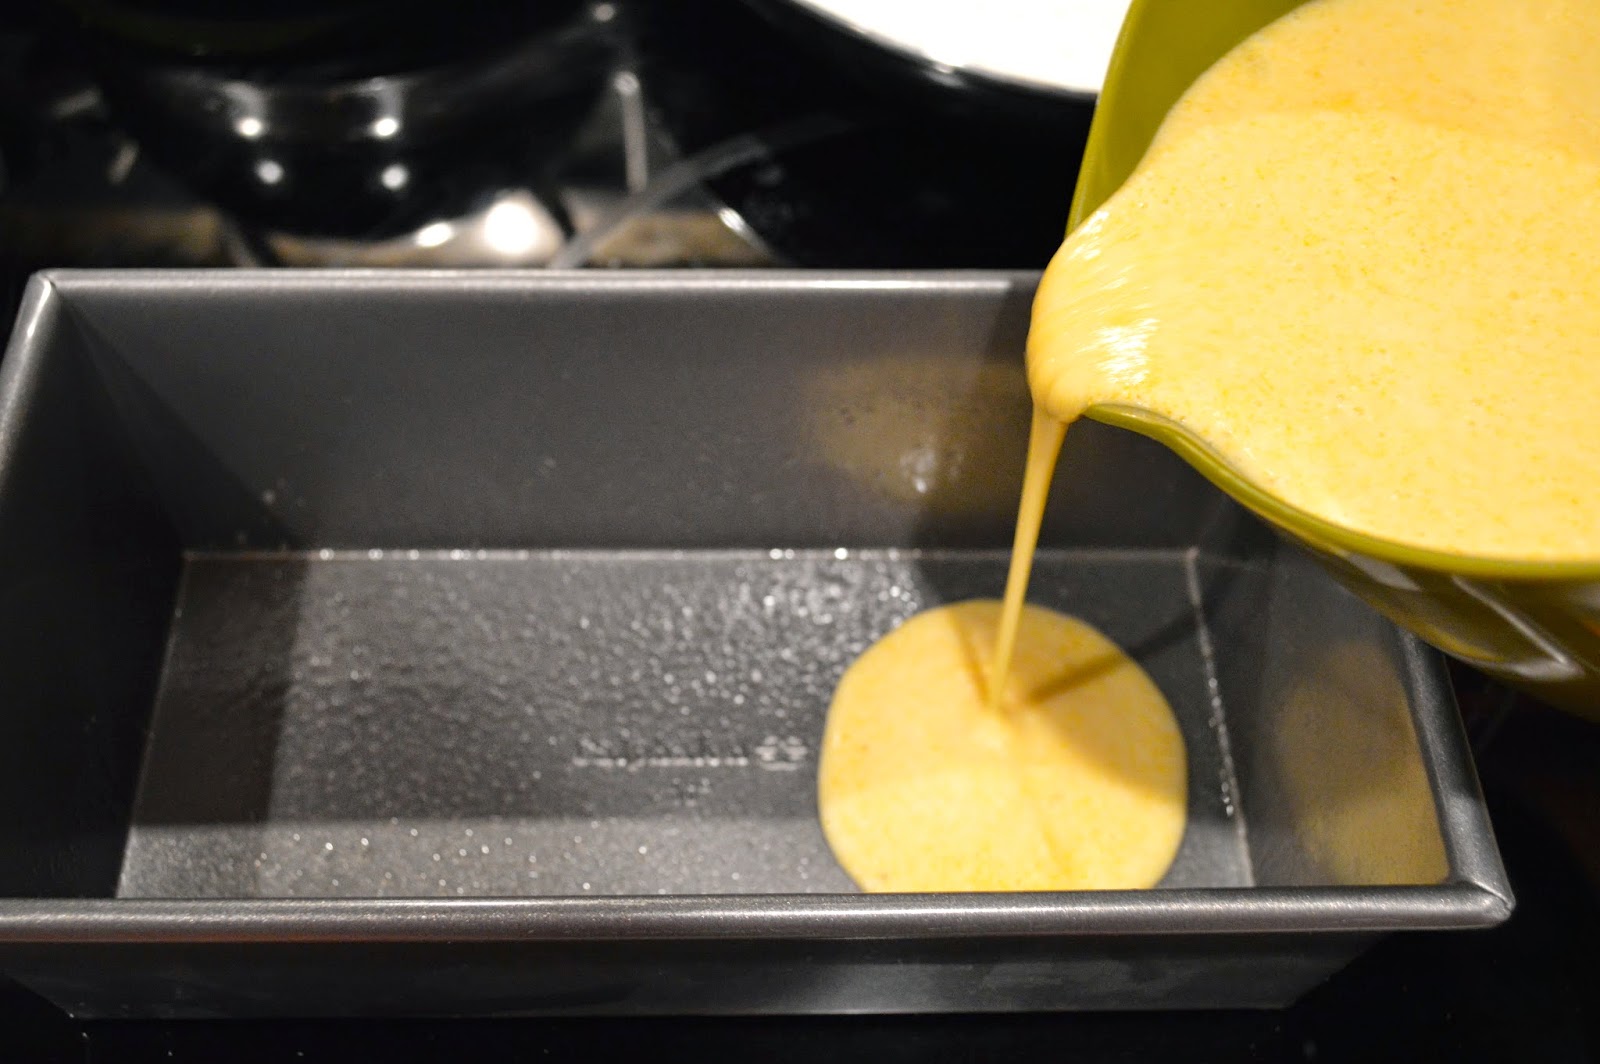
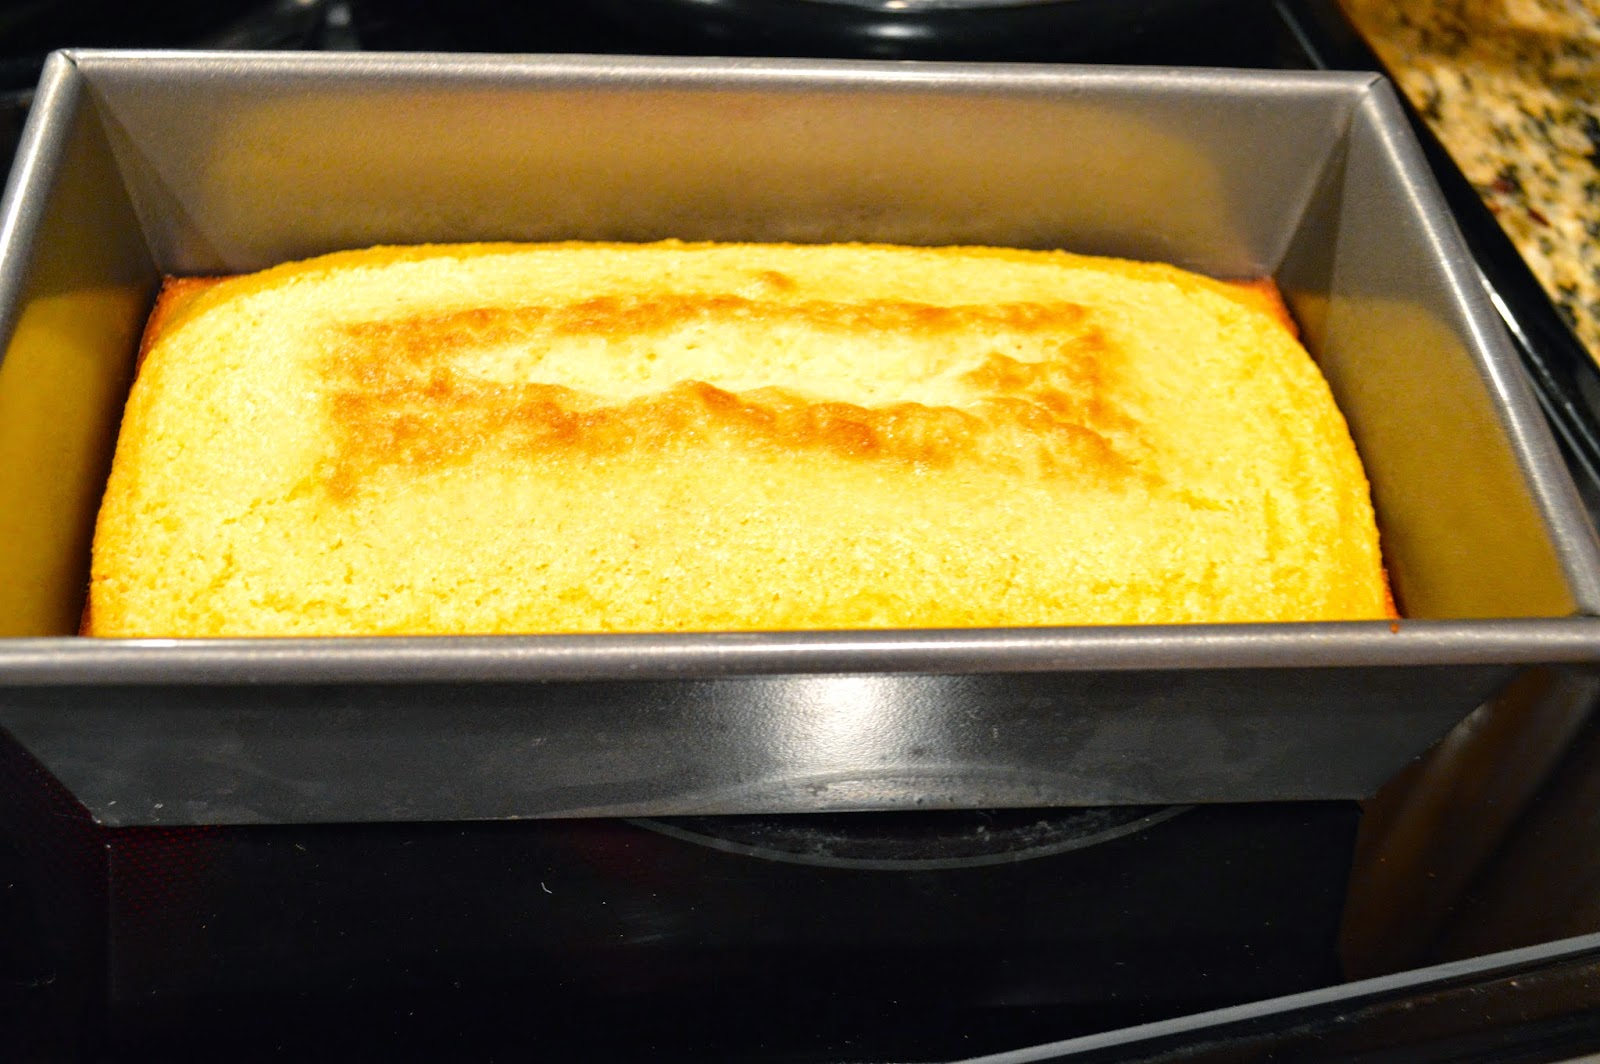
I was first introduced to this project by my mom, who gave Richard and I a box of the chili and cornbread for Christmas. I have been looking forward to making the chili for two months now and with the terribly cold temperatures of last week, I thought this past weekend was the perfect time for a cold weather comfort food. The package my mom purchased for us had two different chili mixes and one cornbread mix. I chose the “old fashion” mix for the dinner, but I am very much looking forward to the spicy mix next time! Richard is not a huge fan of cornbread, but I thought I would ask to see if he would try a slice. To my surprise, he said yes. {I didn’t want to be stuck with a whole loaf of cornbread for myself because I would eat the entire thing!} When the cornbread came out of the oven, it looked and smelled absolutely delicious! And you won’t believe this…Richard had three slices! I thought he didn’t like cornbread?! 😉 

And the chili did not disappoint. I usually use canned beans when making my own chili, so this was my first time using real beans. It does take some time with the soaking and simmering, but totally worth it in the end…the beans were so much more tender than the kind you buy in the canned food section. Overall, this was a fabulous meal that was the perfect choice for a chilly weekend that supports an even more fabulous cause. I know that I will be ordering more products from the Women’s Bean Project as soon as we finish the next chili packet up! And it’s not just chili either! Oatmeal cookies, chocolate brownies and even dog cookies are also for sale — I think Ella would definitely enjoy those! 

If you are interested, you can browse and purchase the products here

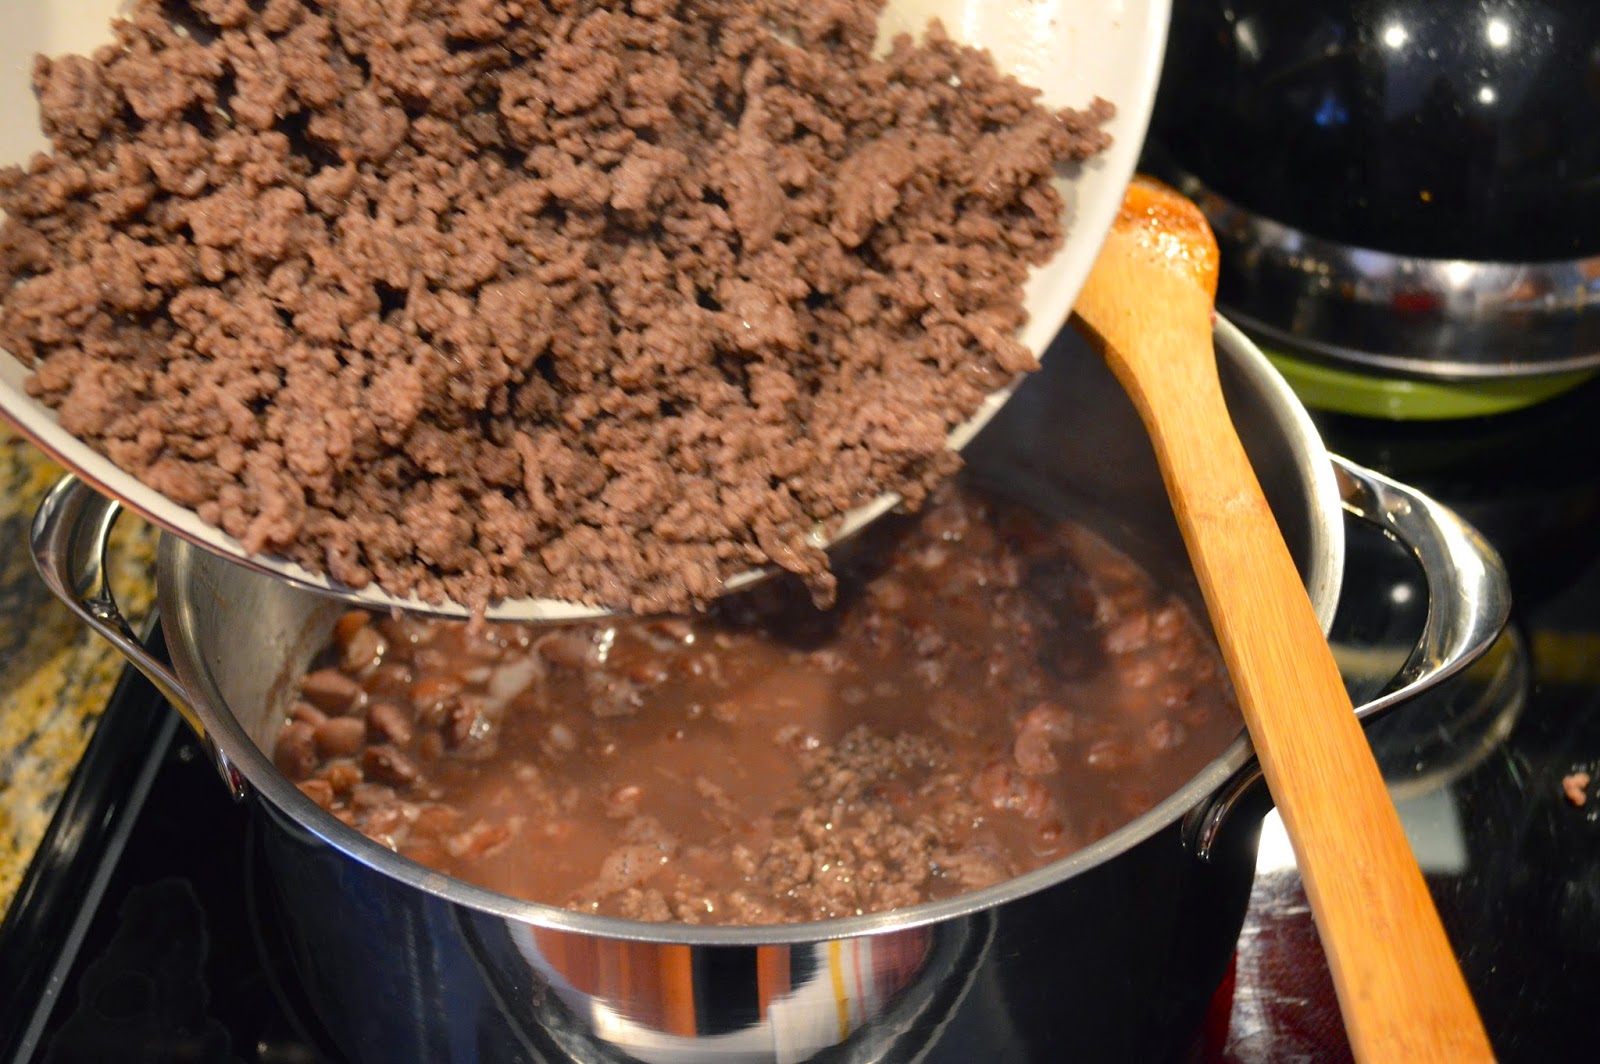
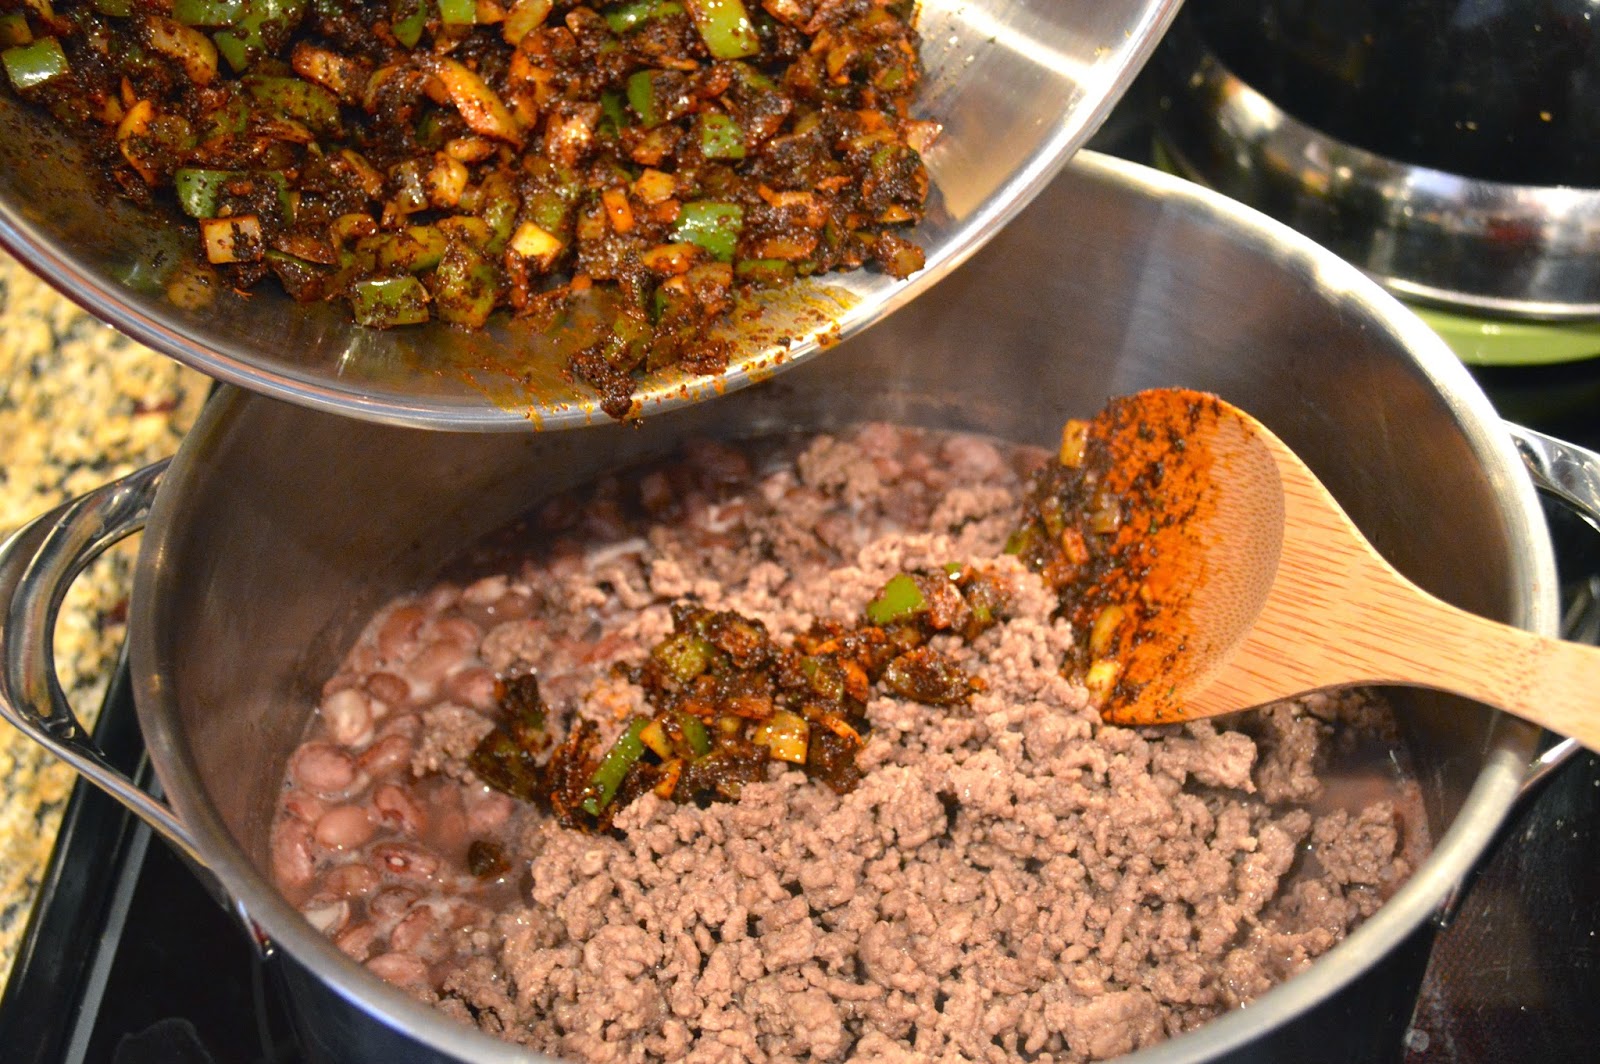
I also have included a few photos of the cooking process below 🙂

Have a wonderful day and thanks for dropping by!

BBQ chicken pizza

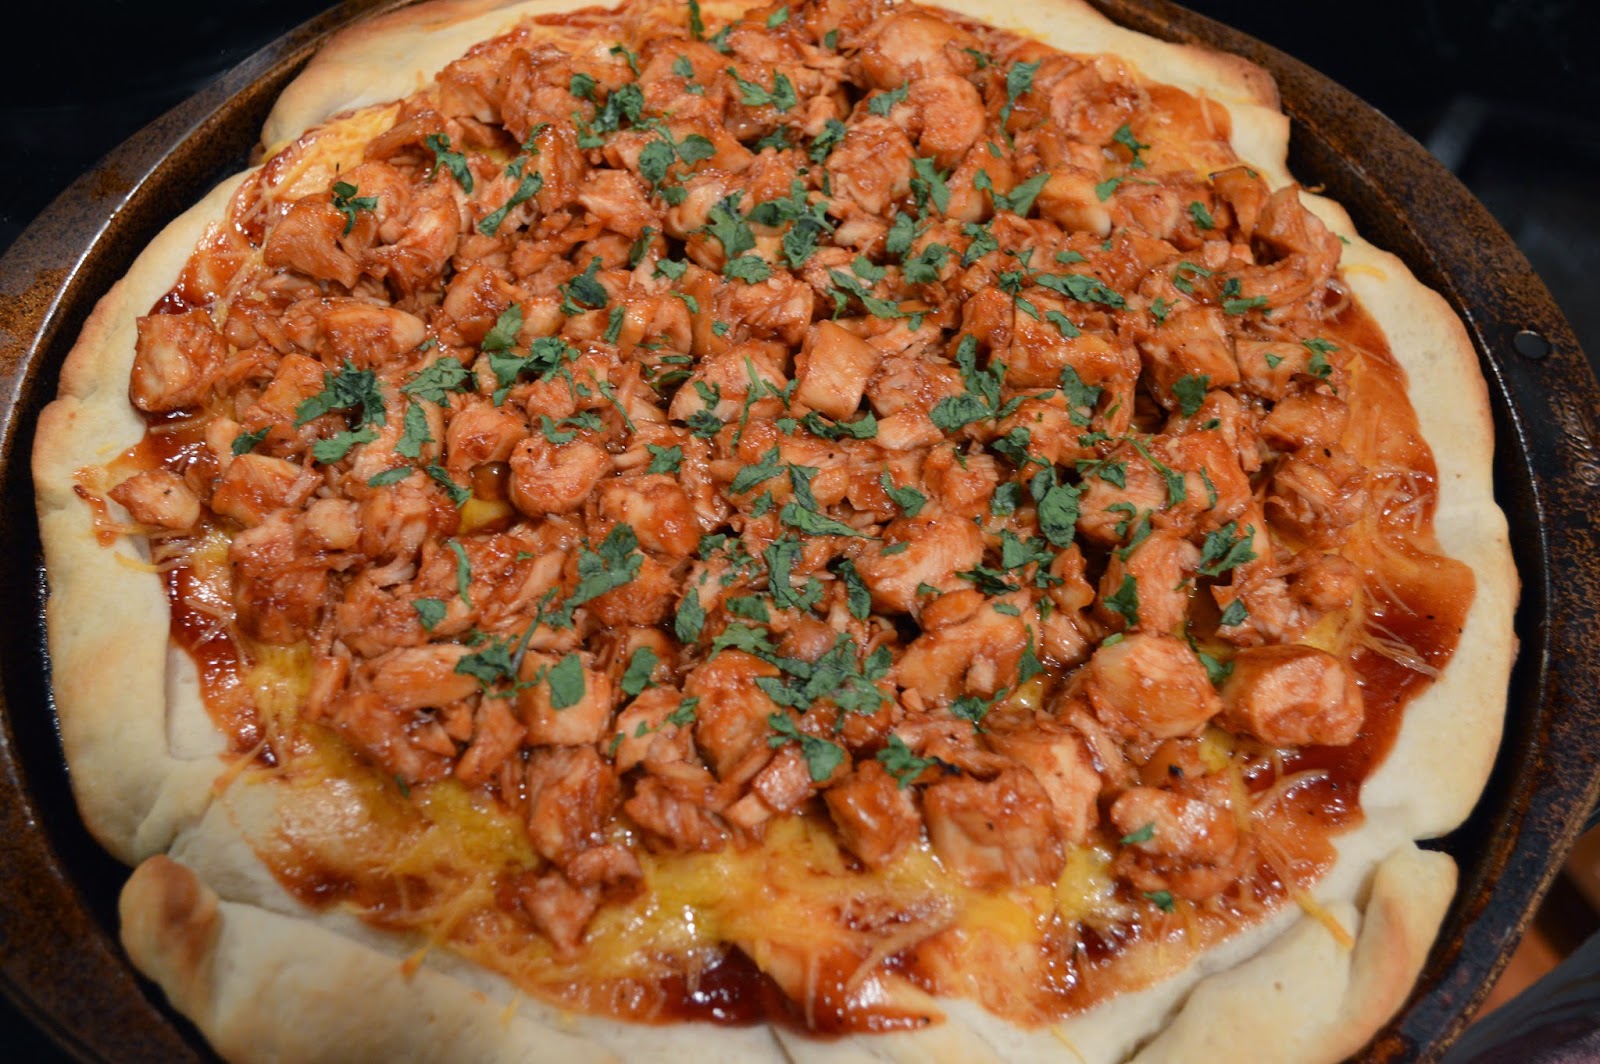
Today I am sharing a very outside the box kind of pizza for me. It’s very rare to have meat on a pizza that I make. Not only do all vegetable pizzas seem easier, they also seem to take a lot less time to prepare. But last Friday, I decided to mix things up and I am so glad that I did! Richard said this is one of his favorite pizzas yet, so I will definitely be incorporating it into the rotation! The only thing that could have made this better was the green onions. I could have sworn I bought them at the grocery store a few days earlier, and after spending 10 minutes searching the refrigerator for them, I gave up. So, if you remember to buy green onions at the store, they would be a great addition to this delicious pizza! 

bbq-chicken-pizza

2 boneless, skinless chicken breasts {about 1 lb.} {I used the tenderloin version, but both work}
Store-bought pizza dough
About 1.5 cups barbecue sauce {I used Sweet Baby Ray’s}
4-6 ounces shredded mild cheddar cheese
1/4 cup fresh cilantro, chopped
Olive oil 
Non-stick cooking spray
Optional: 2 green onions, diced
Preheat oven to 400 degrees {or follow the directions for your store-bought dough}. In a large skillet, heat 2-3 tablespoons olive oil over medium heat. Cook chicken on each side until golden brown and the juices run clear. For my chicken tenderloins, it was about 4 minutes on each side. {I like to use the tenderloin version because it cooks a lot quicker!} Once cooked, transfer the chicken to a cutting board and slice into small cubes. Transfer cubed chicken to a large bowl and pour about 1 cup of the barbecue sauce over the chicken, mixing well to combine. Add more barbecue sauce if needed; you just want enough to coat the chicken. To assemble the pizza, spread about 1/2 cup of the barbecue sauce over the pizza dough, creating the “sauce” layer. You can use as much barbecue sauce as you would like, but I used just enough for a base. Sprinkle the cheddar cheese over the sauce, followed my the cubed chicken. Top with cilantro {and the green onions if you have them!} Bake according to dough package directions, or until cheese has just started to melt and the crust is golden brown. Serve and enjoy! 

buffalo tofu salad

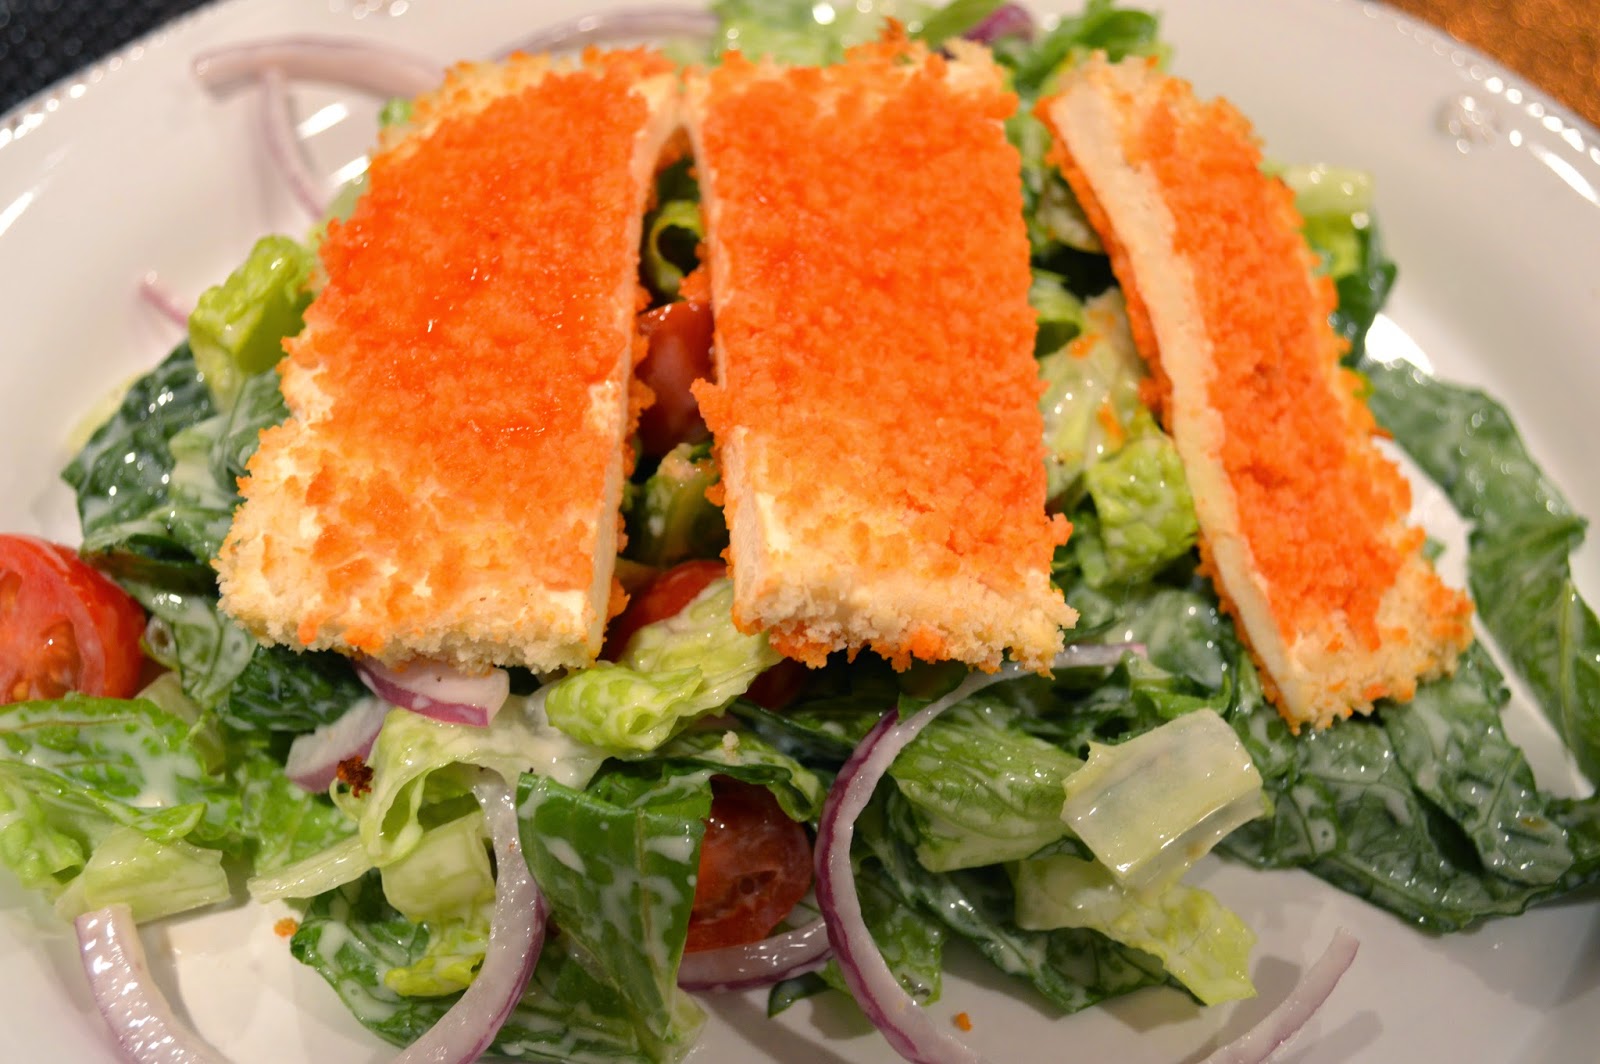
Happy Friday! Today I am sharing a healthy spin on buffalo chicken. You may remember my buffalo tofu sandwiches that I made a few months ago. I thought, in an effort to eliminate some calories, why not use the buffalo tofu and make it into a salad! As I did with the sandwich version of this recipe, I replaced the egg with low fat milk for the breading process. This is another great way to save some calories! Hope you all have a fabulous weekend! 

buffalo-tofu-salad

Buffalo Tofu Salad
14 ounces extra-firm tofu {1 block}
2 cups panko
1/2 cup milk {I used low fat}
1/2 – 1 cup cayenne pepper sauce {I used Frank’s Red Hot Sauce}
1 pint grape or cherry tomatoes, halved
1/2 small red onion, thinly sliced
Romaine lettuce, chopped {I used about 1.5 Romaine hearts}
Ranch dressing {I used low fat}
Non-stick cooking spray
Preheat the oven to 400 degrees. Drain and press the tofu dry with a paper towel. Slice the tofu into four square pieces. Place the milk in a shallow bowl and the panko on a plate. Carefully soak the tofu in the milk and transfer to the plate with the panko, pressing the panko into the tofu on each side. {It’s best to use your hands for this step! My tofu began to come apart when I used tongs the first time!} Place each piece of tofu on a baking sheet that has been sprayed with non-stick cooking spray. Cook for 10 minutes, flip the tofu, and cook for another 10 minutes. If you want the tofu to brown slightly more, you can increase the oven temperature to broil and toast each side for a minute or two. Meanwhile, place the cayenne pepper sauce in a microwave-safe bowl and heat for 10 seconds, just until warm. Brush each side of the cooked tofu with the sauce and cut into strips or cubes, whichever you desire. To assemble salad, place Romaine lettuce, tomatoes and red onion in large bowl. Dress with desired amount of Ranch salad dressing and mix well to combine. Transfer salad to dish and top with buffalo tofu pieces. Serve and enjoy! 

red pepper pasta

red-pepper-pasta

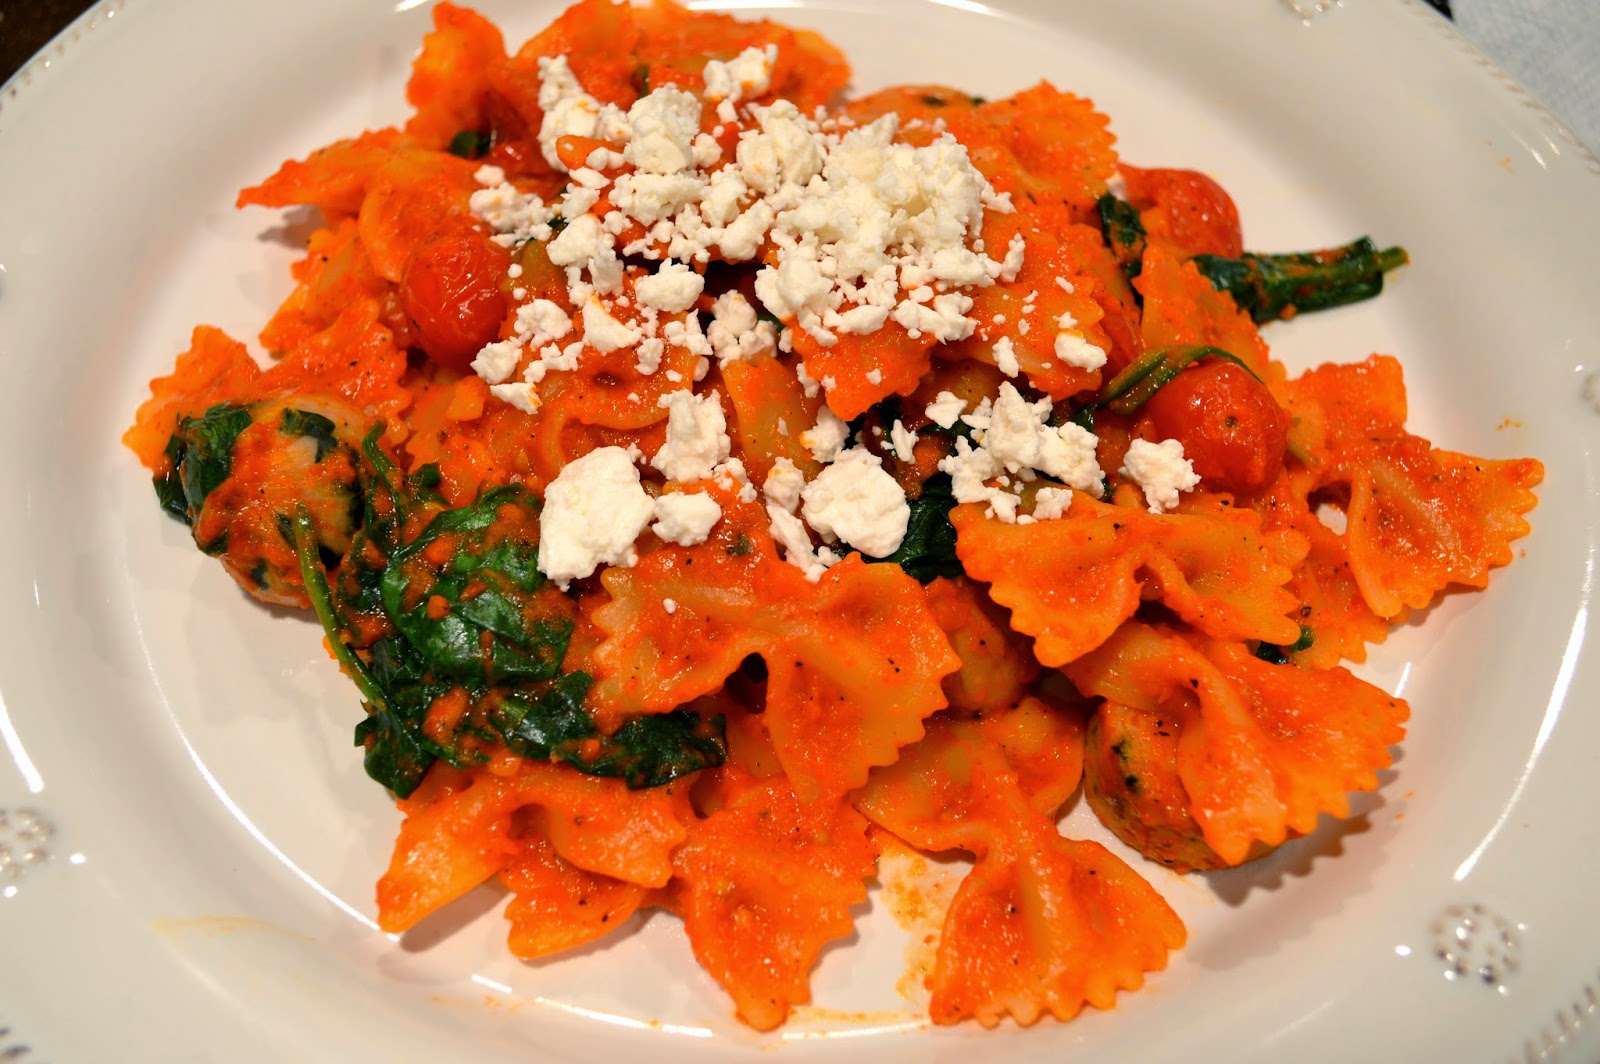
For those of you who follow me on Instagram, you may have noticed I am training for a half marathon in March. This week is my second highest mileage week of training so I am really feeling the lack of energy! With 19 miles this week, I have been craving pasta {I feel like I could probably eat a pound myself!} Two of my favorite ingredients to combine with pasta dishes are tomatoes and spinach. There are so many ways to incorporate vegetables into pasta dishes and I had a lot of fun experimenting with this recipe! Instead of a traditional red sauce or pesto sauce, I used another favorite sauce: pepper sauce! This is such a simple sauce to try and I have found so many uses for it. 


As you may know, I use piquillo peppers a lot in my recipes. They are a sweet pepper with no heat and I have found them at my grocery store packed in water, which is a huge plus! I love roasted red peppers, but they always seem to come packed in oil, which isn’t the healthiest way to eat a pepper! If you can’t find piquillo peppers at your store, you can definitely use roasted red peppers, I would just recommend draining and rinsing them first. 

Another one of my favorite additions to a pasta dish is chicken sausage. I am not a huge fan of meat, but Richard LOVES meat. **As a side note, I have been cooking a lot of vegetarian dishes as of late: tofu, kale, chickpeas, quinoa…you name it. Richard told me last week before I headed to the grocery store that he thought he was going to turn into a vegetable! haha I sometimes get on a kick and I just can’t stop myself! So we are having slightly more meat in our weekly menu ;)** Anyways, chicken sausage is one meat I can tolerate, and the spinach and feta chicken sausage mixture is the perfect compliment to this pasta dish!


Red Pepper Pasta
12 ounces canned piquillo or roasted red peppers, roughly chopped
1 small onion, chopped
2 garlic cloves, minced
16 ounces penne pasta 
12 ounces fully cooked spinach & feta chicken sausage, sliced into bite-sized pieces
1 pint cherry tomatoes, halved
2 cups fresh spinach
1/3 cup feta cheese {I used fat free} 
Olive oil
Salt and pepper to taste


Begin by cooking the pasta according to package directions; reserve up to 1/2 cup cooking water to thin the sauce if needed. Meanwhile, in a large, deep skillet, heat 1-2 tablespoons olive oil over medium heat; add the bite-sized sausages and cook until brown on each side, about 10 minutes. Transfer cooked sausage to clean plate and set aside. In the same skillet, add the onion and garlic; saute for about 3-4 minutes. Add the piquillo or roasted red peppers to the onion and garlic mixture, stir to combine and cook for another 2-3 minutes, just to warm the peppers. Transfer pepper mixture to blender and pulse until completely combined and smooth. In the same skillet, turn down the heat to medium-low; heat 1 tablespoon olive oil and add the halved cherry tomatoes. Allow to cook for a minute or two and transfer the pepper sauce to the skillet; stir to combine. Stir in the pasta and spinach followed by the cooked chicken sausage. Allow to cook another 1-2 minutes just to allow the spinach to begin to wilt. Garnish with feta cheese. 


Thanks for stopping by! Have a wonderful day!

quick quesadillas

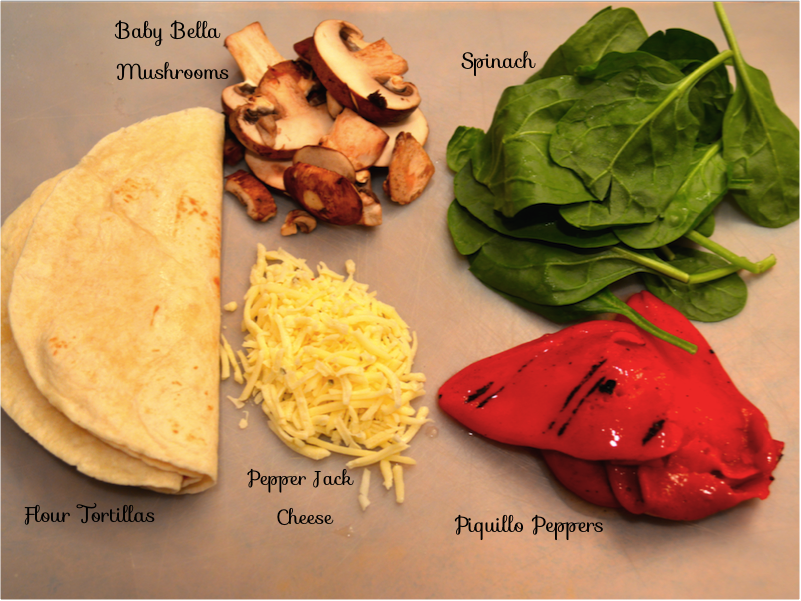
Happy Friday! Today I am sharing a super quick dinner that I just made last night for dinner. I got home late from work and needed a quick meal to throw together and this was the perfect dish! Quesadillas are always a great weeknight dinner, but this was super quick because of the short cooking time ingredients I decided to use. You can customize your quesadilla anyway you like, but this combination was so delicious you should give it a try 🙂

veggie-quesadillas
8 ounces mushrooms {I used baby bella}
6 ounces roasted peppers {I used piquillo, but roasted red are good too!}
6-7 ounces fresh spinach
8 ounces shredded pepper jack cheese
10 flour tortillas {I used 8″ tortillas}
2 tablespoons olive oil
Cooking spray
Guacamole, sour cream, salsa to serve
Preheat oven to 300 degrees. In a large skillet, heat olive oil over medium heat and sauté the mushrooms and peppers until the liquid begins to evaporate, about 10 minutes. Stir in the spinach and cook until just wilted; remove from the heat. Place a separate skillet on the warm burner where you were cooking the mushroom, pepper and spinach mixture. Spray the fresh skillet with cook spray and place a tortilla in the skillet. Spoon about 2 tablespoons {depending on the size of your tortilla} of the vegetable mixture to cover just about the entire tortilla, leaving a very small edge. Sprinkle 1-2 tablespoons of cheese on top of the vegetable mixture. Once you can see the cheese is starting to melt, place another tortilla on top of the vegetables and cheese and lightly press down. Carefully flip the quesadilla over with a spatula making sure the one side is golden brown. Allow the other side to brown for 2-3 minutes, lifting the edge up to check the coloring. Once brown on both sides transfer to baking sheet and place in the oven while making the rest of the quesadillas. Once you are finished, remove the quesadilla from the oven and cut into fourths. Serve with guacamole, sour cream, salsa and any of you other favorite toppings. Enjoy! 

Hope you all have a wonderful weekend! I have some exciting posts planned for next week so stay tuned 🙂 Thanks for stopping by!

kale caesar salad

kale-caesar-salad


I have been on a real “kale-kick” as of late. I feel like every week when I go to the grocery store, I am buying at least one {sometimes two!} of those huge 10 cup bags of kale! Kale is a great vegetable that can be used in so many different ways: smoothies, soup, kale pesto {see my spinach pesto here} and even salads. I have made plenty of kale salads, but was recently inspired by a salad I have seen on a few restaurant menus as of late: Kale Caesar. 


Caesar dressing can be pretty high in fat {and I always opt for the dressings without anchovies} but by using low fat or light mayonnaise, you can really cut down on the calories. I also like to combine the kale with chopped Romaine {you can use any amount you would like, but I used about 1-1.5 cups} since kale can be rough on it’s own. Another fun spin is roasted chickpeas instead of croutons. I am totally obsessed with roasted chickpeas and I love to flavor them with different spices, but the simplicity of olive oil, salt and pepper is so perfect with this salad and it adds the best crunch! If you are looking to add more protein to this salad you could add chicken or even tofu {another one of my current obsessions}. And don’t be afraid to add other favorite Caesar salad ingredients such as tomatoes, hard-boiled eggs or anything else you like! 
kale-caesar-salad-ingredients

kale-caesar-salad

kale-caesar-salad

kale-caesar-salad

kale-caesar-salad
Plates: Juliska | Flatware: Kate Spade | Salad Bowl: Crate & Barrel | Salad Servers: Crate & Barrel, similar here | Citrus Squeezer: Crate & Barrel | Nail Polish: Essie {Fiji}  

3.5-4 cups kale, de-stemmed 

1-1.5 cups Romaine lettuce, chopped
1/2 small red onion, thinly sliced
15.5 ounces garbanzo beans, drained & rinsed
1/2 lemon
Olive oil
Salt & pepper to taste
Additional Parmesan cheese for garnish, if desired

For the dressing:
1/4 cup low fat or light mayonnaise
1/4 cup Parmesan cheese
1/2 lemon
2 tablespoons olive oil
1 teaspoon Dijon mustard
1 teaspoon Worcestershire sauce
Salt & pepper to taste
Preheat the oven to 400 degrees. Toss the garbanzo beans with olive oil and salt and pepper; bake for 30 minutes until crispy. Meanwhile, in a large bowl, combine the kale, chopped Romaine, and red onion; set aside. In a separate bowl, whisk together all the dressing ingredients until smooth. Add the crunchy garbanzo beans to the kale and Romaine mixture and squeeze the other half of the lemon over the salad; toss with the dressing. Garnish with additional Parmesan cheese if desired. 
Thanks for stopping by! Have a wonderful day!


….

rigatoni with spinach pesto & chicken sausage

Happy Friday everyone! Today I am sharing a recipe for one of my favorite sauces and I am pairing it with one of my favorite foods. I love adding pesto to anything from pasta to pizza, but most of the time, I use the store-bought kind {it’s a great shortcut!}. One of the biggest problems I have found with making my own pesto is the amount of basil that is needed! Typically, basil comes in that small container and you would have to buy at least two to have enough for a meal. The other issue I have is the cost of pine nuts…it’s outrageous! So I decided to create a spin on the traditional pesto and use spinach instead of basil and almonds instead of pine nuts. {Almonds can be expensive as well, but they are easier to find in bulk…and they make a great snack 😉 } 

As you may remember, I am obsessed with chicken sausage {see another favorite here}. I love adding it to dishes because it is a quick and healthy way to incorporate protein into a meal. And there are so many different flavors to pick from! I used a spinach and feta based one since there is spinach in the dish, but you can experiment with other flavors too! 

Although making homemade pesto sounds daunting for any weeknight, it’s relatively simple and it might even be worthwhile to double or triple the recipe to save some back in the freezer for when you are in need of a quick dinner!

spinach-pesto-pasta

Rigatoni with Spinach Pesto & Chicken Sausage 
16 ounces dried pasta {I used rigatoni}
4 cups fresh spinach
1 tablespoon almonds {you could use walnuts too!}
1 lemon {juice of half the lemon, zest of the entire lemon}
2 tablespoons Parmesan cheese, plus more for garnish
1 garlic clove
1/4 – 1/2 teaspoon red pepper flakes {depending on how spicy you like it!} 
12 ounces spinach & feta chicken sausage, sliced in bite-sized pieces  {I used these
Olive oil
Salt and pepper to taste
Water
Cook pasta according to package directions. Reserve about 1/2 cup of pasta water; set pasta aside. Meanwhile, pulse 2 cups of the fresh spinach, 2 tablespoons water, 1 tablespoon olive oil, 1 tablespoon almonds, garlic clove, the juice and zest of the lemon, salt to taste and the red pepper flakes. Blend until combined. Add 2 tablespoons Parmesan cheese and finish blending until the pesto is smooth; set pesto aside. 
In a large, deep skillet, heat 1-2 tablespoons olive oil over medium heat; add the bite-sized sausages and cook until brown on each side, about 10 minutes. Once sausage is brown, turn down the heat to low and add the pasta, pesto and about 1/4 cup of the reserved pasta water {to start with, you can always add more} to the skillet. Season with salt and pepper and stir in the remaining 2 cups of spinach. Garnish with grated Parmesan cheese, if desired, and serve! 
Hope you all have a great weekend! Thanks for stopping by!

eggplant meatballs

Today I am sharing the most delicious non-meat meatballs you’ve ever had. Granted, I haven’t had many non-meat meatballs, but these are truly amazing; you won’t even miss the meat! When cooking, I always like experimenting with different ingredients and even replacing the traditional ingredients with non-traditional ingredients for a healthier version, or at least a different taste. 

One of my favorite days of the month is when the Food Network Magazine comes. There are always fun articles and yummy recipes that I love to use as inspiration for my own cooking. Typically, there is always something I change in a recipe to make it my own. But this eggplant meatball recipe from Melissa d’Arabian just seemed too perfect and I could not think of a thing to change! I made these this past weekend and they were just too good not to share with you all! It was a simple, easy to follow recipe that most definitely could be doubled to feed enough for a party or store some in the freezer. The only two discrepancies I found were the cooking time and the amount of meatballs made. In the original recipe, she lists the cooking time for the eggplant to be 40-50 minutes. I checked mine at 40 minutes and decided it definitely needed to cook longer. I ended up taking it out at 50 minutes, but it could have probably gone an extra 3-4 minutes. All ovens are different, so just keep an eye on it 🙂 And as for the number of eggplant meatballs made, I guess I was just a little too generous with the scoop 🙂 

Overall, this was a delicious addition to the normal spaghetti and is something I can see myself incorporating into other meals as well…just think eggplant meatball sandwiches 🙂

eggplant-meatballs

Eggplant Meatballs from Melissa d’Arabian
1 small eggplant
1/2 cup cannellini beans, drained & rinsed
1 garlic clove, finely minced
1 egg, lightly beaten
1/2 cup chopped basil
1/2 grated Parmesan cheese, plus extra for garnish
1 cup panko breadcrumbs
Salt and pepper to taste
Non-stick cooking spray 
16 ounces of your favorite pasta
About 2 cups homemade or store bought marinara sauce
Preheat the oven to 375 degrees. Line a baking
sheet with foil and place the eggplant on top. Use a fork to prick the eggplant
4-5 times, then place the eggplant in the oven and roast it until it has
completely collapsed about 40 to 50
minutes {for me, it was closer to 50 minutes}. Cool the eggplant for about 20 minutes and leave the oven on. 
Slice the eggplant in half lengthwise and use a spoon to
scoop out the flesh, you can discard the skin. Place the eggplant flesh in a medium
bowl and stir in the egg and beans. Add the garlic, basil, Parmesan, and salt and pepper to taste and stir to combine. Fold in the panko breadcrumbs. 
Line the baking sheet with a clean piece of foil and lightly mist it with nonstick cooking spray. Shape the eggplant mixture into balls
about the size of a golf ball {roughly 2 tablespoons in size. I got the odd number of 13 when I made mine, Melissa says 16 😉 }. Place them on the prepared baking sheet and lightly mist the top of each eggplant ball with spray. Bake the eggplant balls until they are golden brown and firm,
about 20 minutes.
While the meatballs cook, cook the pasta according to package directions and warm the marinara sauce in a small
saucepan. Remove the meatballs from the oven, sprinkle with a little extra Parmesan, if desired, and serve with the pasta and marinara sauce.
Thanks for stopping by and happy cooking!