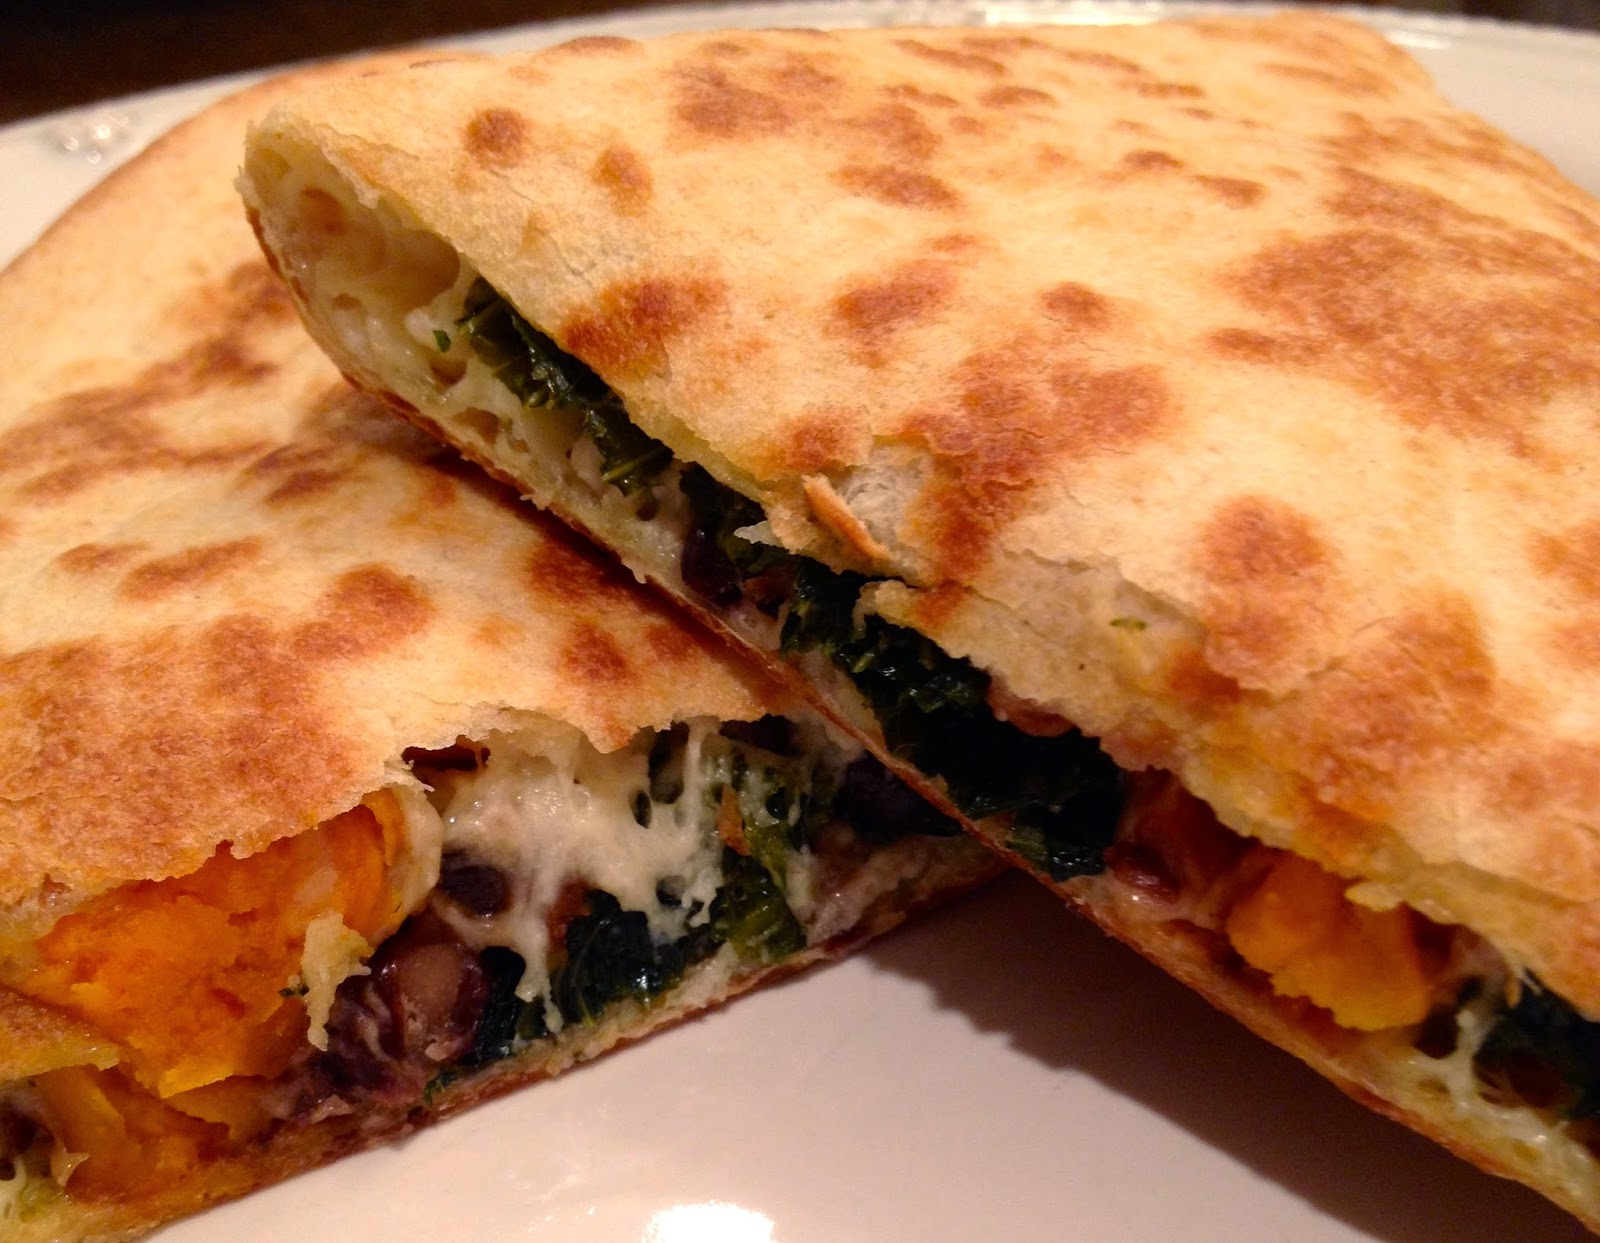
sweet potato, kale + black bean quesadillas

We love Mexican food in our house. And I love experimenting with different kinds of tacos and quesadillas. If you haven’t noticed, I’m really obsessed with fall, {see more of favorite fall recipes here & here} and these quesadillas make the perfect weeknight fall meal. I love the combination of kale and sweet potatoes, it’s so delicious and so healthy! I added the black beans to give it a little Mexican flare {and for extra protein!} and I think it worked perfectly! I’ve really been on a quesadilla kick lately, so stay tuned for more twists on the quesadilla!
sweet-potato-kale-black-bean-quesadillas

Sweet Potato, Kale + Black Bean Quesadillas
2 sweet potatoes, peeled & chopped into chunks
1 1/2 – 2 cups kale, de-stemmed
1 15.5-ounce can black beans, drained & rinsed
2-3 cups shredded mozzarella cheese
4 10-inch flour tortillas
Salt and pepper to taste
Olive oil
Cooking spray
Preheat the oven to 250 degrees. Heat a few tablespoons olive oil in a medium-sized skillet over medium heat; add the sweet potatoes. Cook, stirring occasionally, for about 15 minutes or until the sweet potatoes begin to brown. Add the kale to the skillet, season with salt and pepper. Cook for about 3 minutes, or until the kale begins to wilt. Add the black beans and cook for another 1-2 minutes, just to heat the beans. Transfer the sweet potato mixture to a large bowl. Leaving the cook top on, place a clean skillet on the same burner you used to cook the sweet potato mixture. Spray the clean skillet with cooking spray. Place one tortilla in the skillet and spread a layer of the mozzarella cheese over the entire tortilla. Take a spoonful of the sweet potato mixture and place on one half of the tortilla. Once the cheese begins to melt, fold the tortilla in half. Remove the quesadilla and transfer to a cutting board; cut into wedges. Wipe the skillet clean with a paper towel and repeat this process. Keep finished quesadillas in the warm oven on a baking sheet.

hot salad

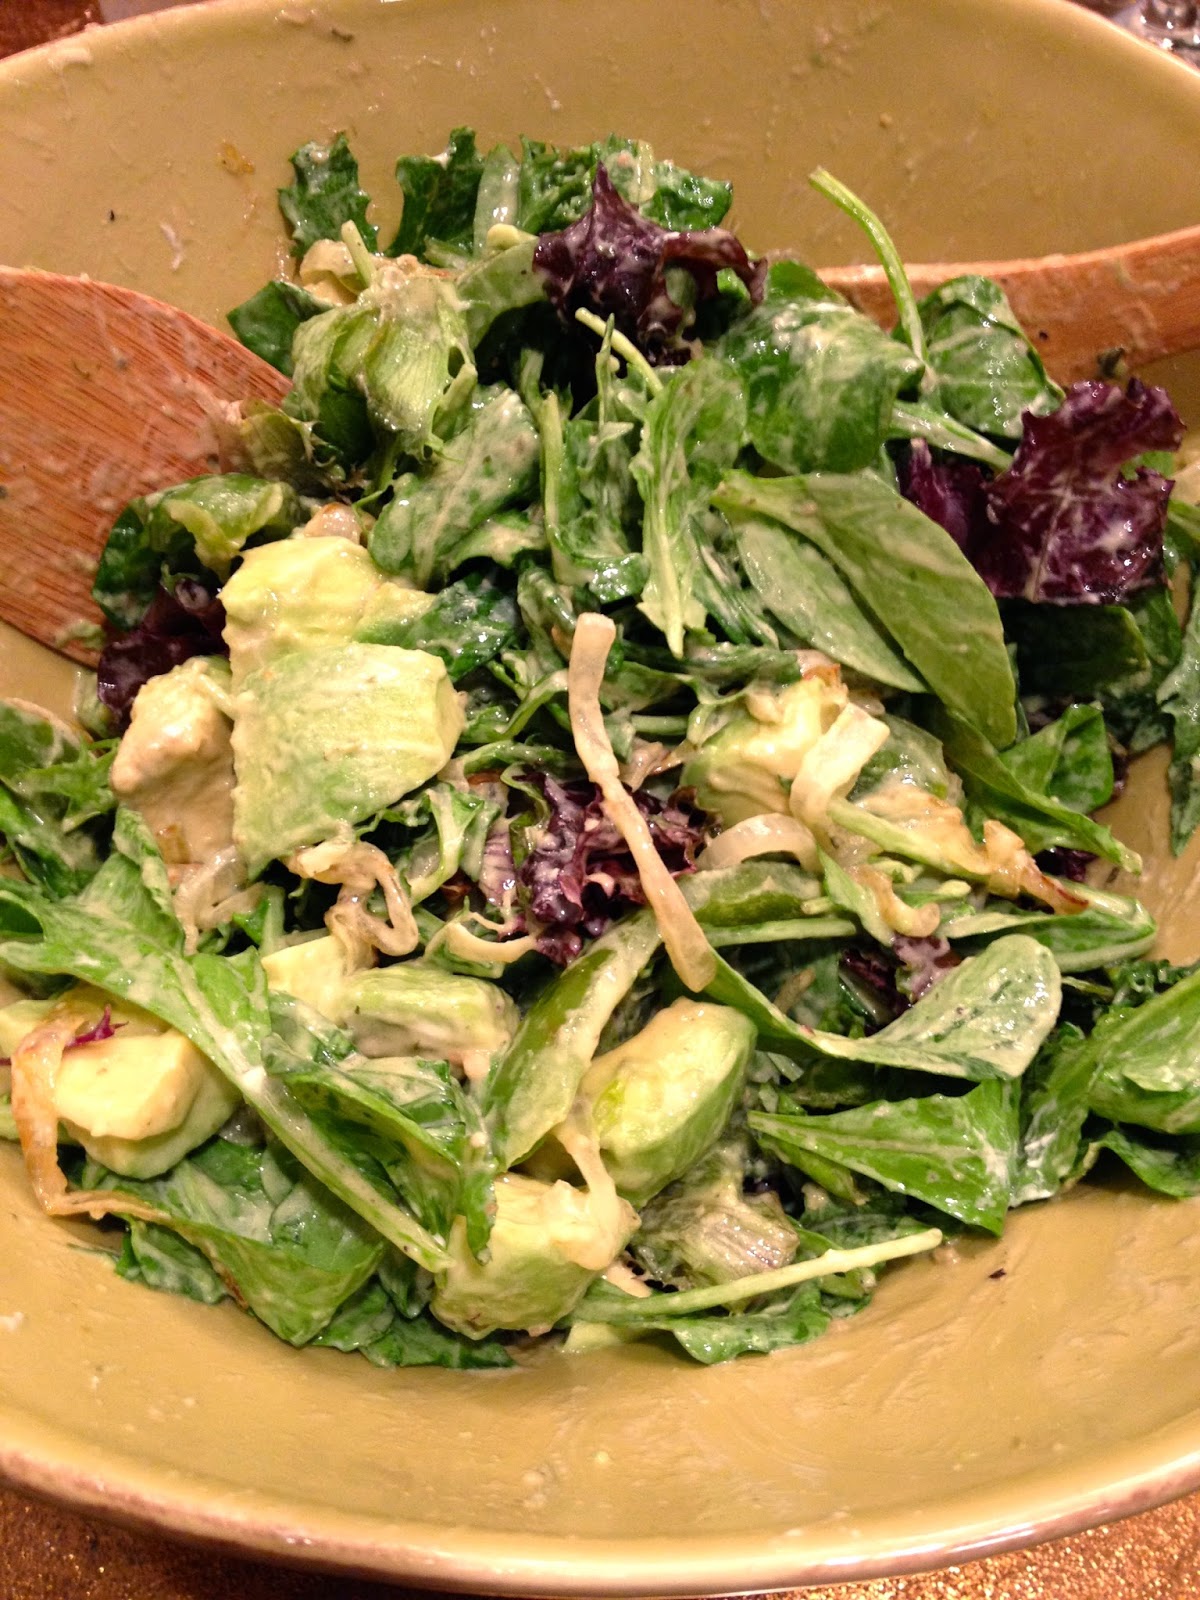
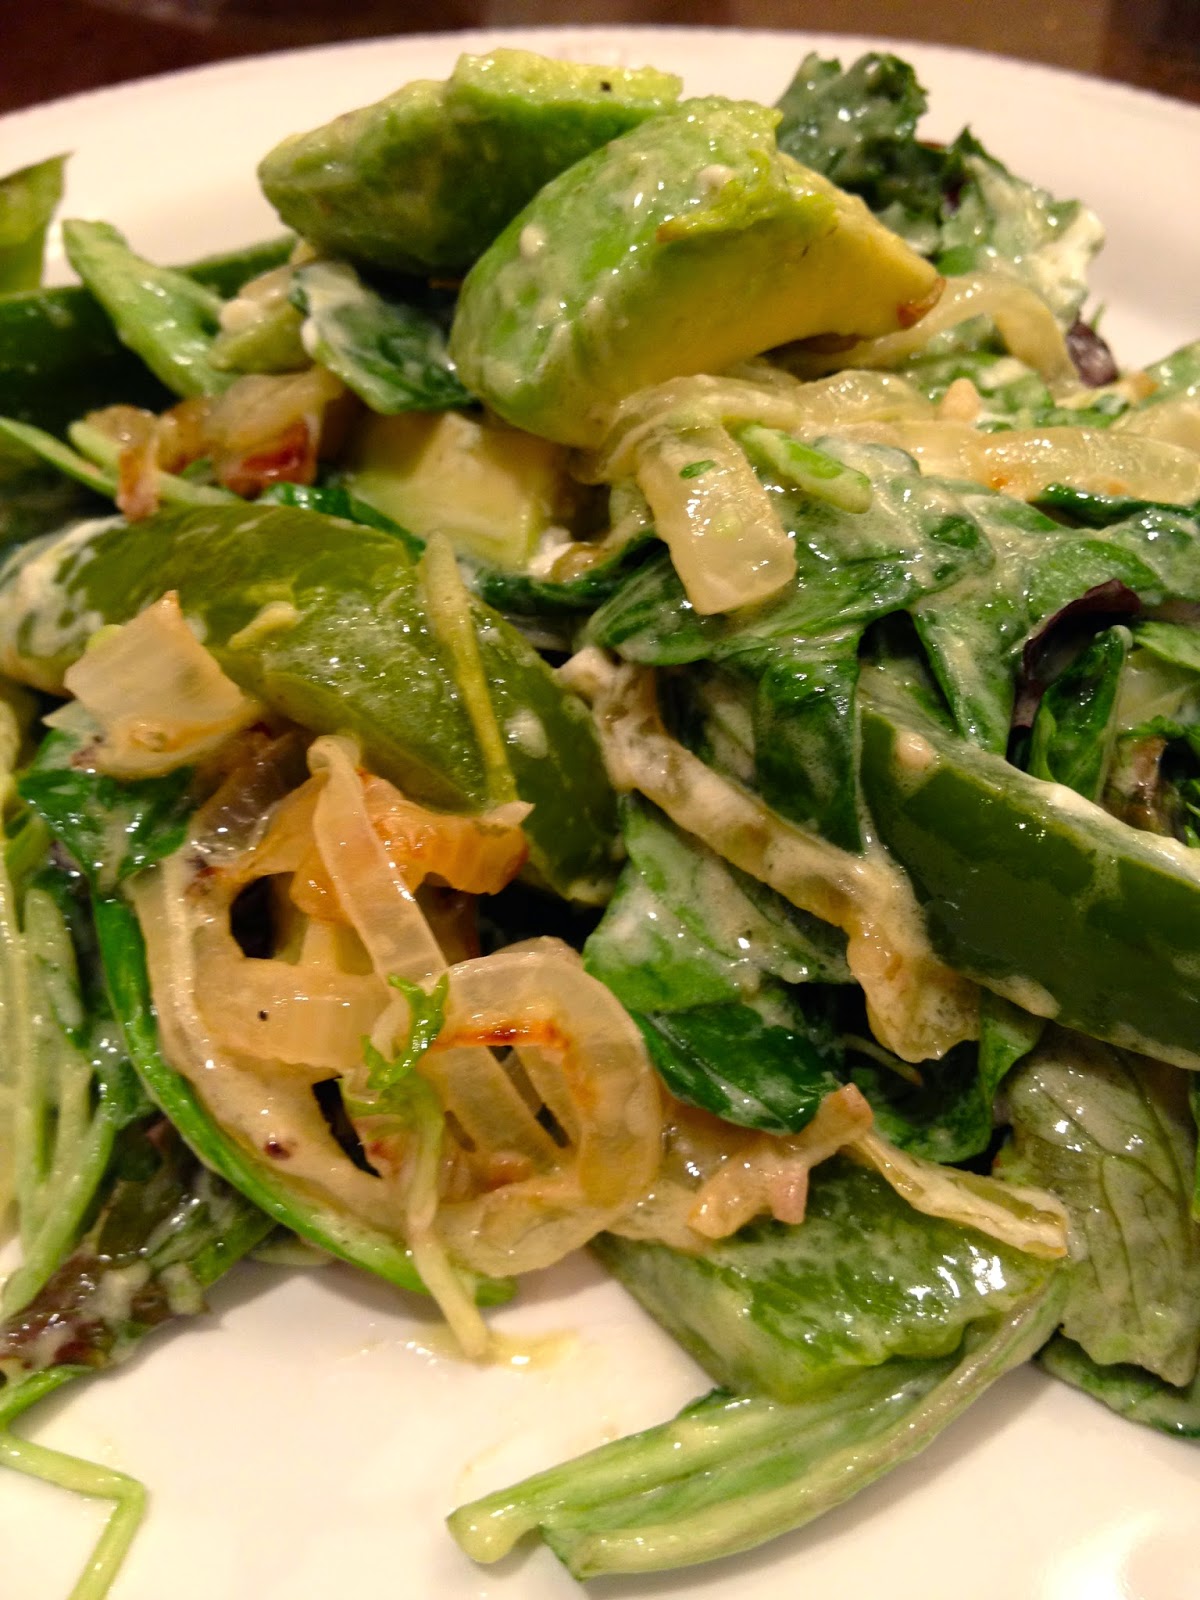
This is one of my go-to, favorite weeknight meals. It is so simple yet so fabulous! The best part of this salad {besides the easy clean-up!} is the way the hot vegetables melt the goat cheese and avocado to create the most creamy, delicious salad. There are so many possibilities for a variation to this salad – use different kinds of peppers or even switch out the yellow onion for a red onion. It’s a healthy meal for any night of the week!!
hot-salad

Hot Salad
1 yellow onion, thinly sliced
1 green pepper, thinly sliced
1 avocado, peeled and sliced into chunks
1 bag {5 ounces} spring mix
3-4 ounces goat cheese, crumbled
Dressing to garnish salad {I used this Green Goddess dressing, but any vinaigrette will work!}
Olive Oil
Salt and pepper

Heat a few tablespoons of olive oil over medium heat in a medium-sized skillet. Sauté onion and pepper until soft and beginning to brown, about 10 minutes; season with salt and pepper. Meanwhile, assemble the rest of the salad: place lettuce, avocado and goat cheese in a large salad bowl. Once the onion and pepper are finished cooking, spoon the mixture over the salad. Toss with your dressing and serve.
hot-salad

sunday football short rib sandwiches…

Some things just go together. Peanut butter and jelly, chocolate and peanut butter, you know what I mean? Well for me, it’s Sunday football and sandwiches. Most probably gravitate towards burgers, wings, nachos….but for me, it’s sandwiches. {I’m thinking this association started with having a Primanti Bros. sandwich at every Steelers game over the years! See my post about Primanti Bros. and Pittsburgh here}

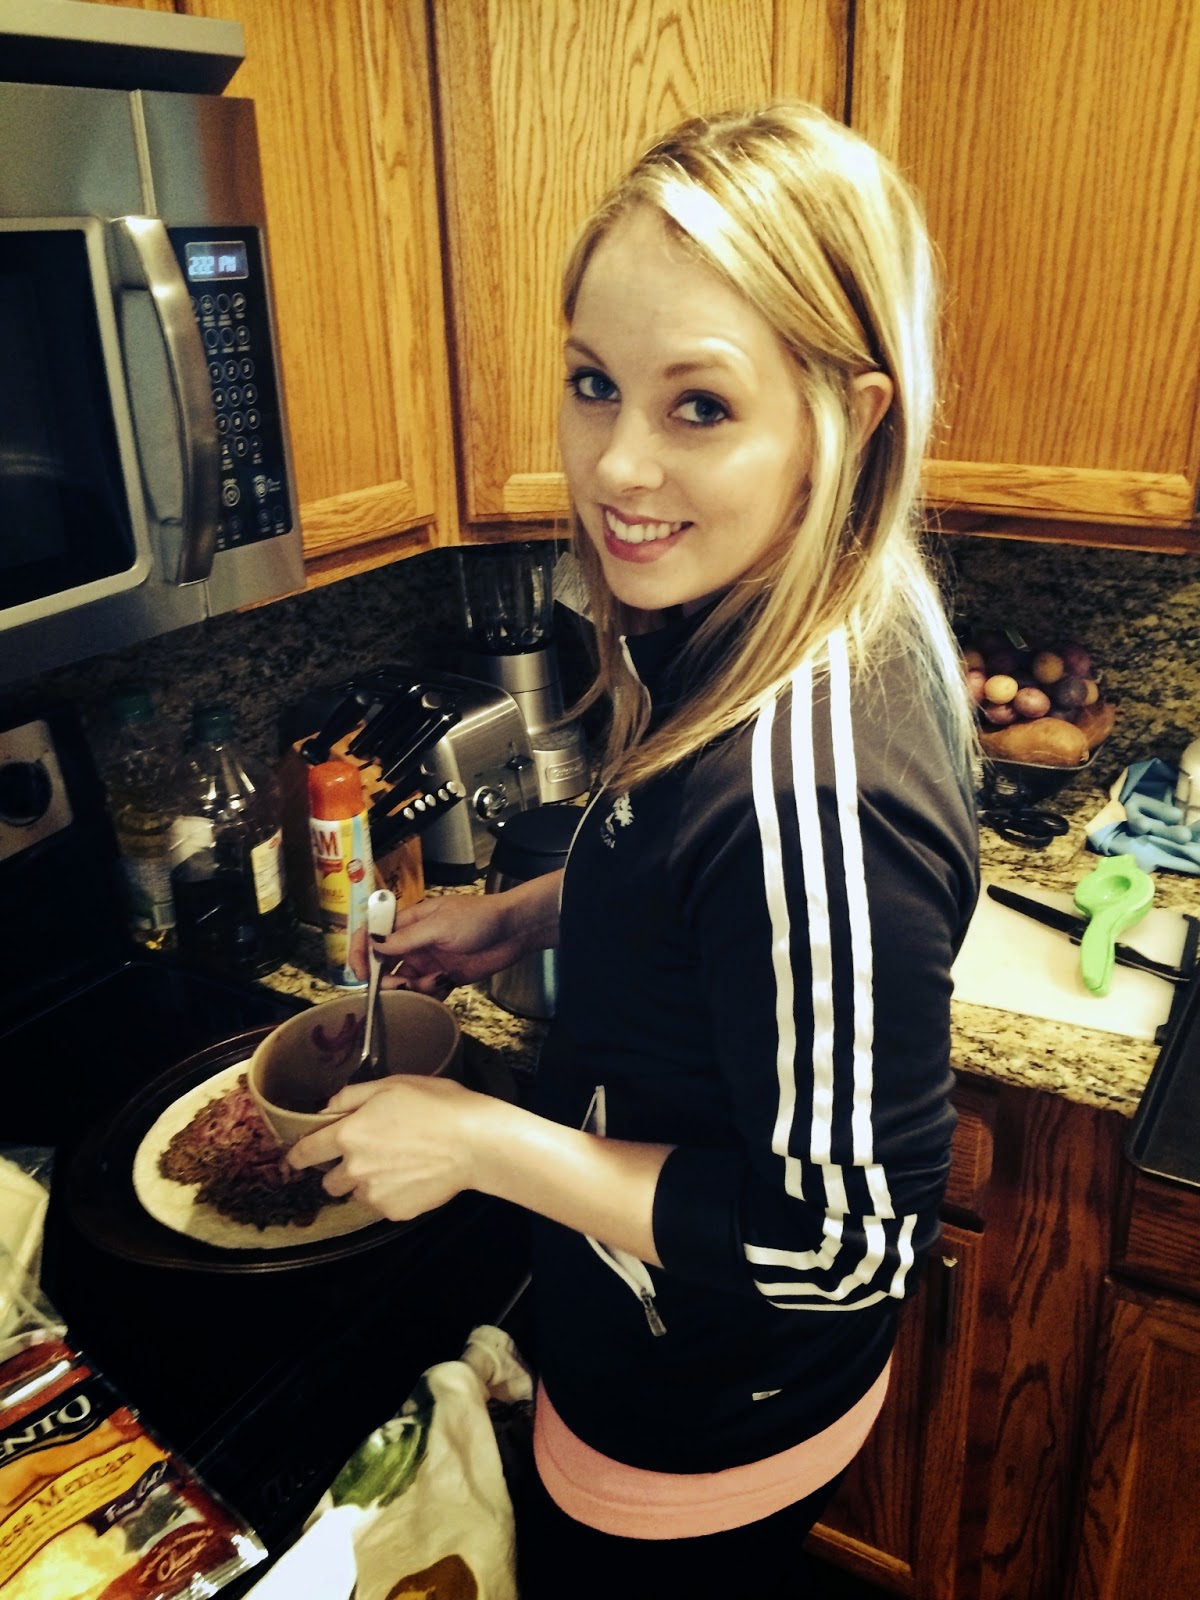
I made this delicious short rib sandwich this past weekend and they were unbelievable. The short ribs were delicious on their own, but adding the brie cheese, arugula and pickled onions truly took this sandwich to the next level. It gave a typically heavy sandwich some freshness {or at least that’s what I told myself 🙂 } And since 2 pounds of short ribs is a lot for two people and two sandwiches, I used the leftovers the following day to make short rib quesadillas! I just placed the beef on a tortilla, topped it with the pickled onions and four Mexican cheeses and placed another tortilla on top. I baked it at 400 degrees for about 5 minutes before flipping.  You can see the picture of me assembling them below 🙂 

Short Rib Sandwiches

2 pounds beef short ribs

1 medium onion, diced
2 large carrots, diced
2 garlic cloves, minced
1 cup red wine
1 cup beef stock {I used no salt added}
Olive oil
Salt and pepper
1 baguette or other crusty bread

For pickled onions {see recipe below}:

1 large red onion, thinly sliced
1 tablespoon butter
4 1/2 tablespoons red wine vinegar
1 1/2 teaspoons sugar


Optional: garnish sandwich with brie cheese and arugula
Preheat the oven to 300 degrees. Salt and pepper each side of the short ribs. Heat a few tablespoons olive oil in a dutch oven over high heat. Sear each short rib on all sides until a crust forms {about 1-2 minutes per side}. Remove short ribs to plate. Reduce the heat to medium-high heat. Add the onion, carrots and garlic; cook for about 1 minute. Pour in wine and beef broth and stir. Place short ribs back in the pot and place lid on the dutch oven. Move to the oven and cook for about 2 1/2 hours. By this time, the meat will be falling off the bone! Remove the short ribs to a cutting board and shred the meat using two forks; discard the bones. Place the shredded beef back in the dutch oven and stir to incorporate the meat with all the juices. To assemble sandwiches: Begin by preheating the broiler. Place a spoonful of beef on one side of the baguette and top with thin slices of brie cheese. Place the sandwich on a baking sheet under the broiler for about 2 minutes or until the bread is toasted and the cheese begins to melt. Top with arugula and the pickled onions.

Pickled Onions: Melt butter in large skillet and add the red onion; sauté until brown, about 10 minutes. Add the red wine vinegar and sugar and stir until most of the vinegar has been absorbed into the onions {no more than 1 minute}. Season with salt and pepper. Transfer to small bowl to cool completely before assembling sandwiches.

Assembling the Short Rib Quesadillas!

I have to say, there is a reason why I chose to post this recipe today…it’s Thursday which means the Steelers will be playing in Baltimore tonight. Living in DC, we don’t get to see too many Steelers games, so we get super excited when they are on tv in our area. So in honor of tonight’s game, enjoy Thursday football short rib sandwiches 🙂 #gosteelers 

As always, thanks for stopping by!

roasted butternut squash + kale pizza

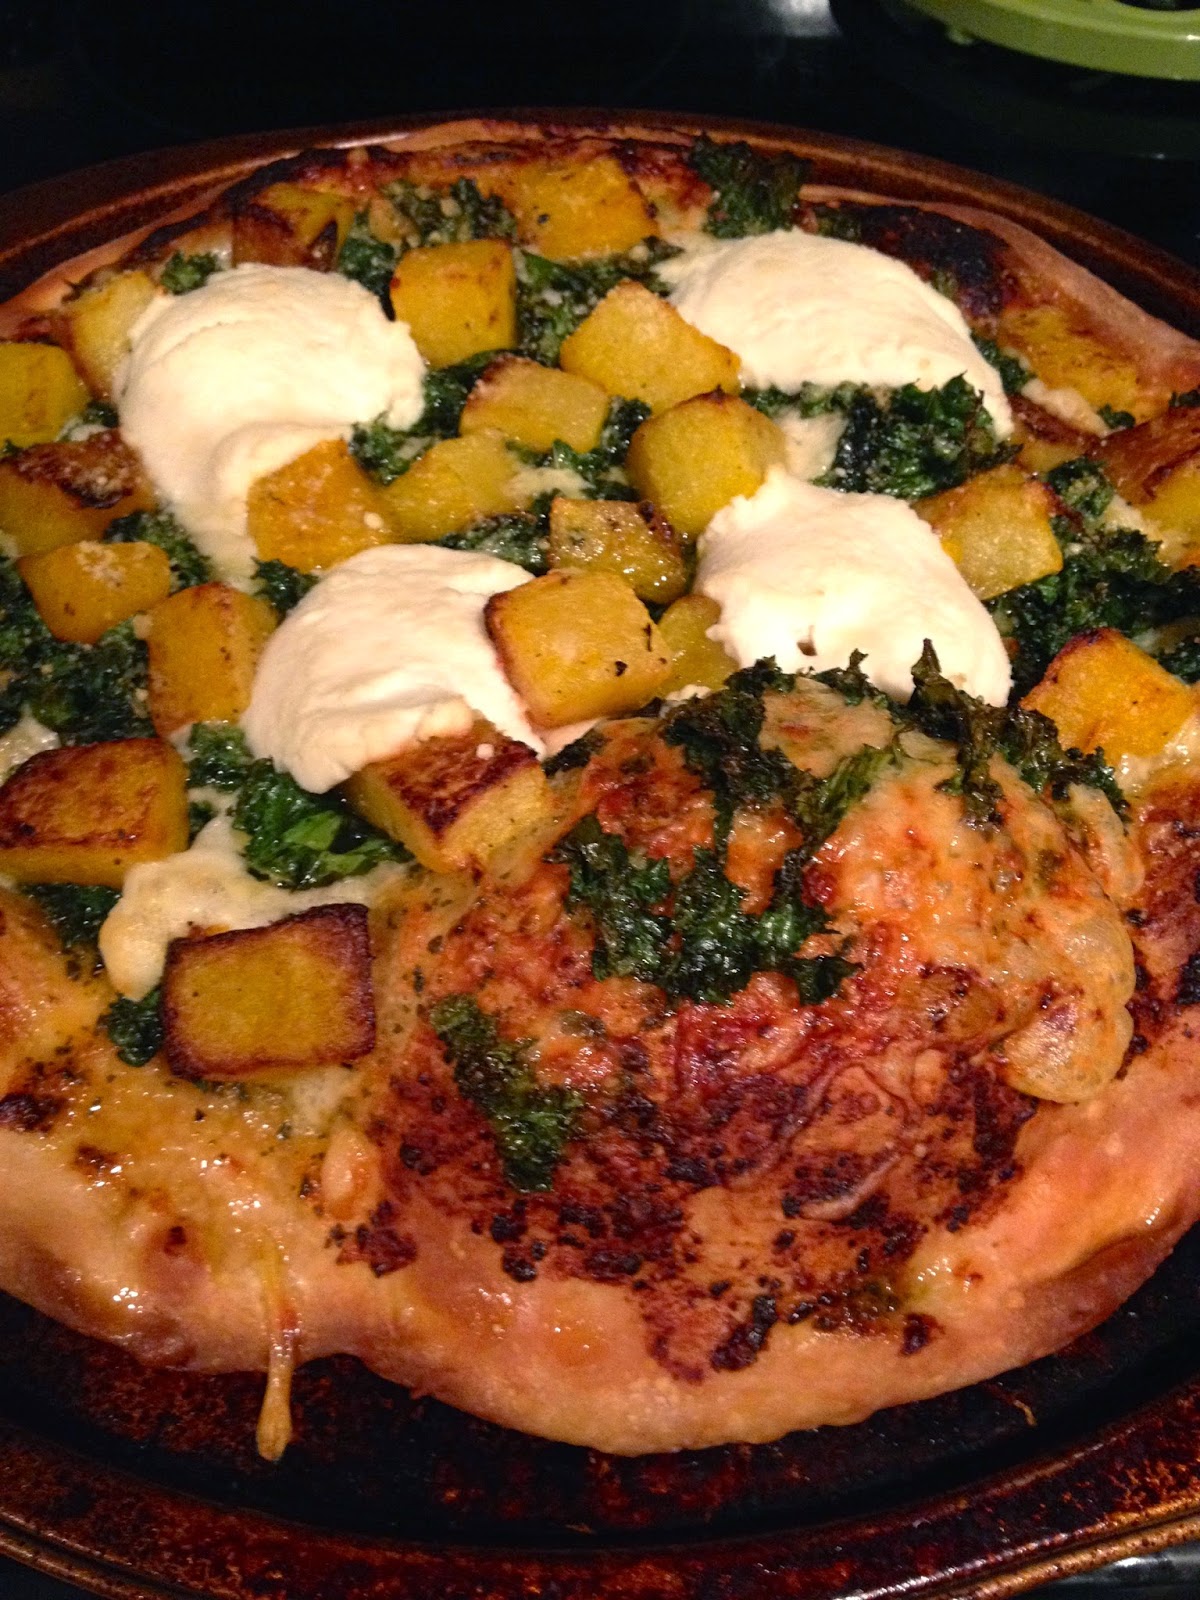
This is my first truly fall pizza and I am so excited about it! I made this over the weekend and it was so delicious! After eating the entire pizza, my husband expressed his initial concerns with this concoction: he thought the butternut squash would be too sweet for a pizza. I considered this too when I first came up with the idea, but my hope was that the kale and ricotta would balance the sweetness out perfectly…and I’m happy to say it did! The butternut squash browned just enough to mix with the crispy kale to create the most divine pizza ever. And the colors on this pizza are so awesome, they just scream fall! This was the perfect introduction to fall pizzas…I am so excited to try out new ideas in the coming weeks! Thanks for reading!

roasted-butternut-squash-kale-pizza
Roasted Butternut Squash + Kale Pizza


1 medium butternut squash, peeled, seeds remove and diced
1 1/2 cups kale, de-stemmed
1 cup shredded mozzarella cheese
1 1/2 – 2 tablespoons basil pesto
4 tablespoons ricotta cheese
1 1/2 tablespoons Parmesan cheese
Olive oil
Pizza dough
Salt and pepper

Preheat oven to 400 degrees. Spray a rimmed sheet pan with cooking spray. Place diced butternut squash in a medium bowl and toss with 2 tablespoons olive oil, salt and pepper. Transfer to baking sheet and spread evenly into one layer. Roast for 30 minutes, turning with spatula once. Transfer roasted butternut squash to a clean bowl. In the same medium bowl previously used to coat the squash with olive oil, toss kale with 1 tablespoons olive oil and salt and pepper. Arrange kale on same baking sheet used for the squash and cook for about 6 minutes until the kale is crunchy. Increase oven temperature to 450 degrees. To assemble pizza: place a thin layer of basil pesto on the pizza dough and place in the oven for 5 minutes. Remove from the oven and top with the shredded mozzarella cheese. Place kale on top of the mozzarella followed by the butternut squash. Finish with a few tablespoon dollops of ricotta cheese and top with Parmesan cheese. Bake for about 20 minutes until the crust is golden brown and the cheese begins to melt.

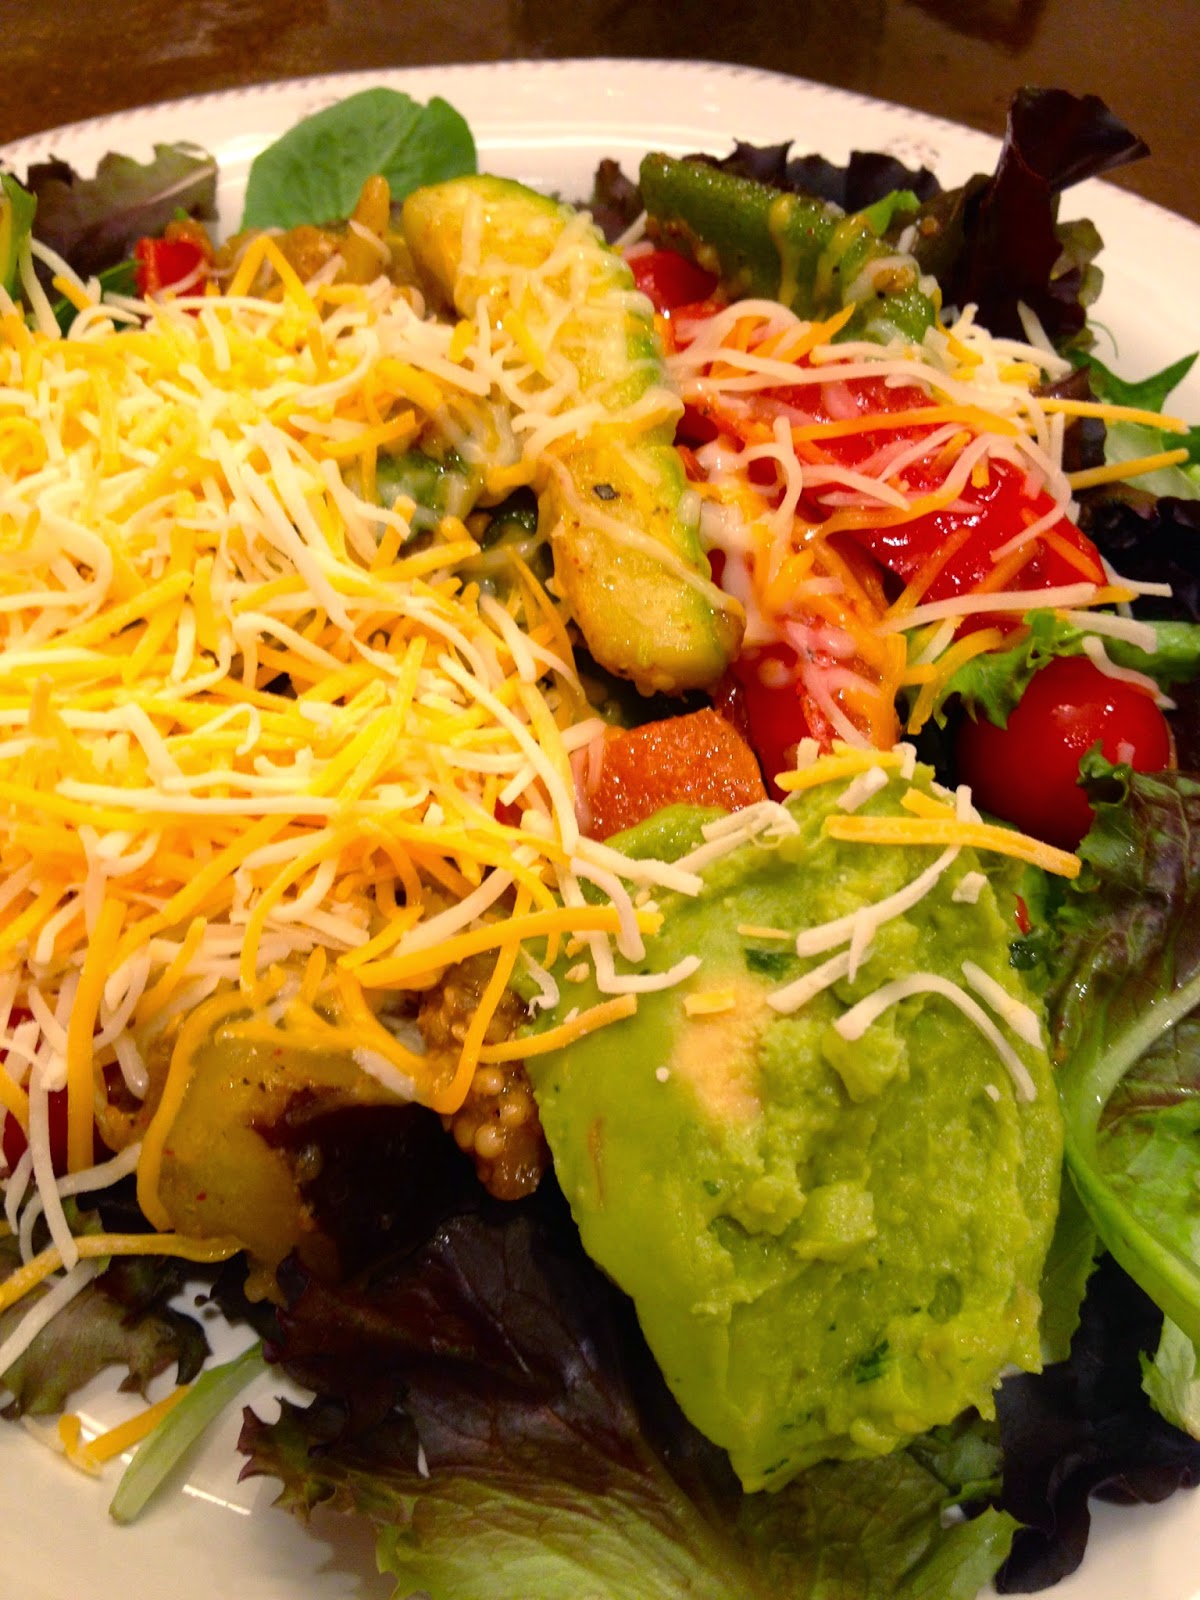
veggie fajita salad

When I first came up with the idea of a fajita salad, the vegetables were going to be grilled. But Mother Nature had a different plan. The clouds opened and it started POURING. So I went to plan B. The recipe definitely works with sautéed vegetables, but if you do have access to a grill {and it’s not storming terribly!} I think the flavors would only be enhanced with the grill. The great thing about the sautéed version is that the juices from the vegetables mixed with the olive oil creating it’s own dressing for the lettuce {and the sour cream and guacamole only add to this!} Also, I went with the cumin, chili powder, onion and garlic powder mixture for seasoning, but you could use store-bought taco seasoning as well 🙂 It was the perfect weeknight meal, and it’s great to know that this recipe can be made year-round! 
veggie-fajita-salad

Veggie Fajita Salad

1 eggplant, thinly sliced

1 zucchini, thinly sliced

1 red pepper, thinly sliced
1 green pepper, thinly sliced
1 teaspoon onion powder
1 teaspoon garlic powder
1 tablespoon cumin
1/2 tablespoon chili powder
Salt and pepper to taste
4-5 tablespoons olive oil
1 pint cherry tomatoes
1 large handful {per serving} spring mix
Optional toppings: shredded 4 cheese Mexican cheese, guacamole and sour cream

Heat olive oil in large skillet over medium heat. Add eggplant, zucchini, red and green peppers; season with the salt and pepper, cumin, onion powder, garlic powder and chili powder. Cook, stirring occasionally, until soft and beginning to brown, about 15 minutes. Add tomatoes to skillet and cook for another 2-3 minutes, just until the tomatoes are soft. To assemble: place lettuce on plate as a base and top with vegetable mixture. Add toppings, as desired.

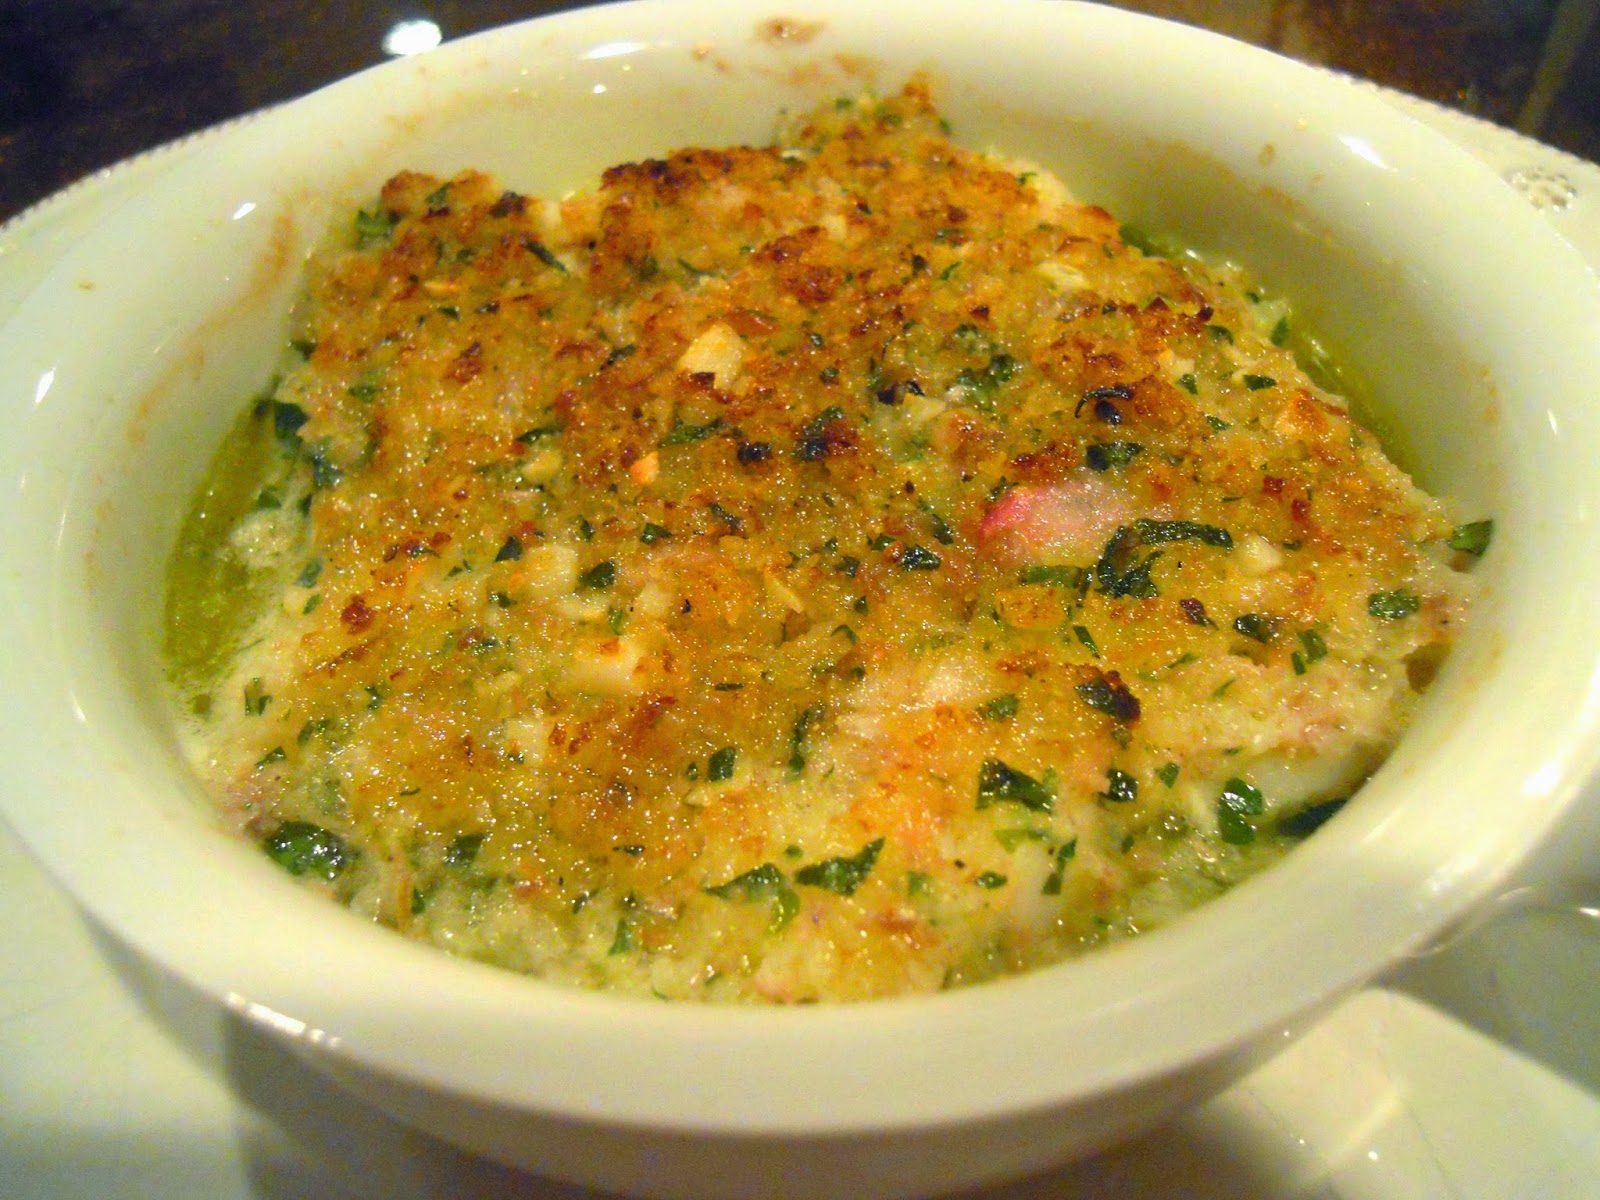
scallop gratin

My husband has been asking for scallops for a couple of weeks now. I’m not a huge fan of fish, so we don’t eat it that often in our house, but I thought I would make this familiar recipe for him. I had first made the Barefoot Contessa bay scallop recipe back when I was in college for my husband. I remember it being super involved and extremely overwhelming {maybe I was just inexperienced!}. This time, I used Barefoot Contessa’s recipe again, but only as a basis {and it seemed a lot less overwhelming and rather quick in fact!}. I wasn’t able to find the bay scallops she uses, so I went with the sea scallops. And I wasn’t able to find fresh, so I had to go with frozen. I have to say though, the frozen scallops were not bad!  Just be sure to remove the muscle {as a mentioned above} around the scallops if has not already been removed. Scallop gratin seems like such a fancy dish and it took hardly any time at all. This modified recipe is definitely a keeper 🙂

Thanks for stopping by!
scallop-gratin
Scallop Gratin

3 tablespoons unsalted butter, at room temperature

3 large garlic cloves, minced

1 small shallot, minced
1 ounce thinly sliced prosciutto di Parma, minced {regular prosciutto is fine too}
2 tablespoons parsley, minced
1 tablespoons lemon juice
3 tablespoons olive oil
1/4 cup panko
2 tablespoons white wine {I used a Sauvignon Blanc}
12 oz. sea scallops {I had to use frozen because fresh were not available!}
Salt and pepper to taste

Preheat the oven to 425 degrees. Place 2 small gratin dishes on a sheet pan. To make the scallop topping, place the butter, garlic, shallot, prosciutto, parsley, lemon juice, salt and pepper in a medium sized bowl and mix with a hand mixer until combined. With the mixer on low, slowly add the olive oil until completely combined. Carefully fold in the panko. Place 1 tablespoon of wine in the bottom of each gratin dish. With a knife, remove the white muscle from the side of each scallop, if necessary {I didn’t need to remove}. Distribute the scallops among the two gratin dishes. Spoon the butter mixture evenly over the top of the scallops. Bake for 10 to 12 minutes or until the topping is golden brown and sizzling. If you would like the top to be crisper, place the gratin dishes under the broiler for about 2 minutes, until browned.

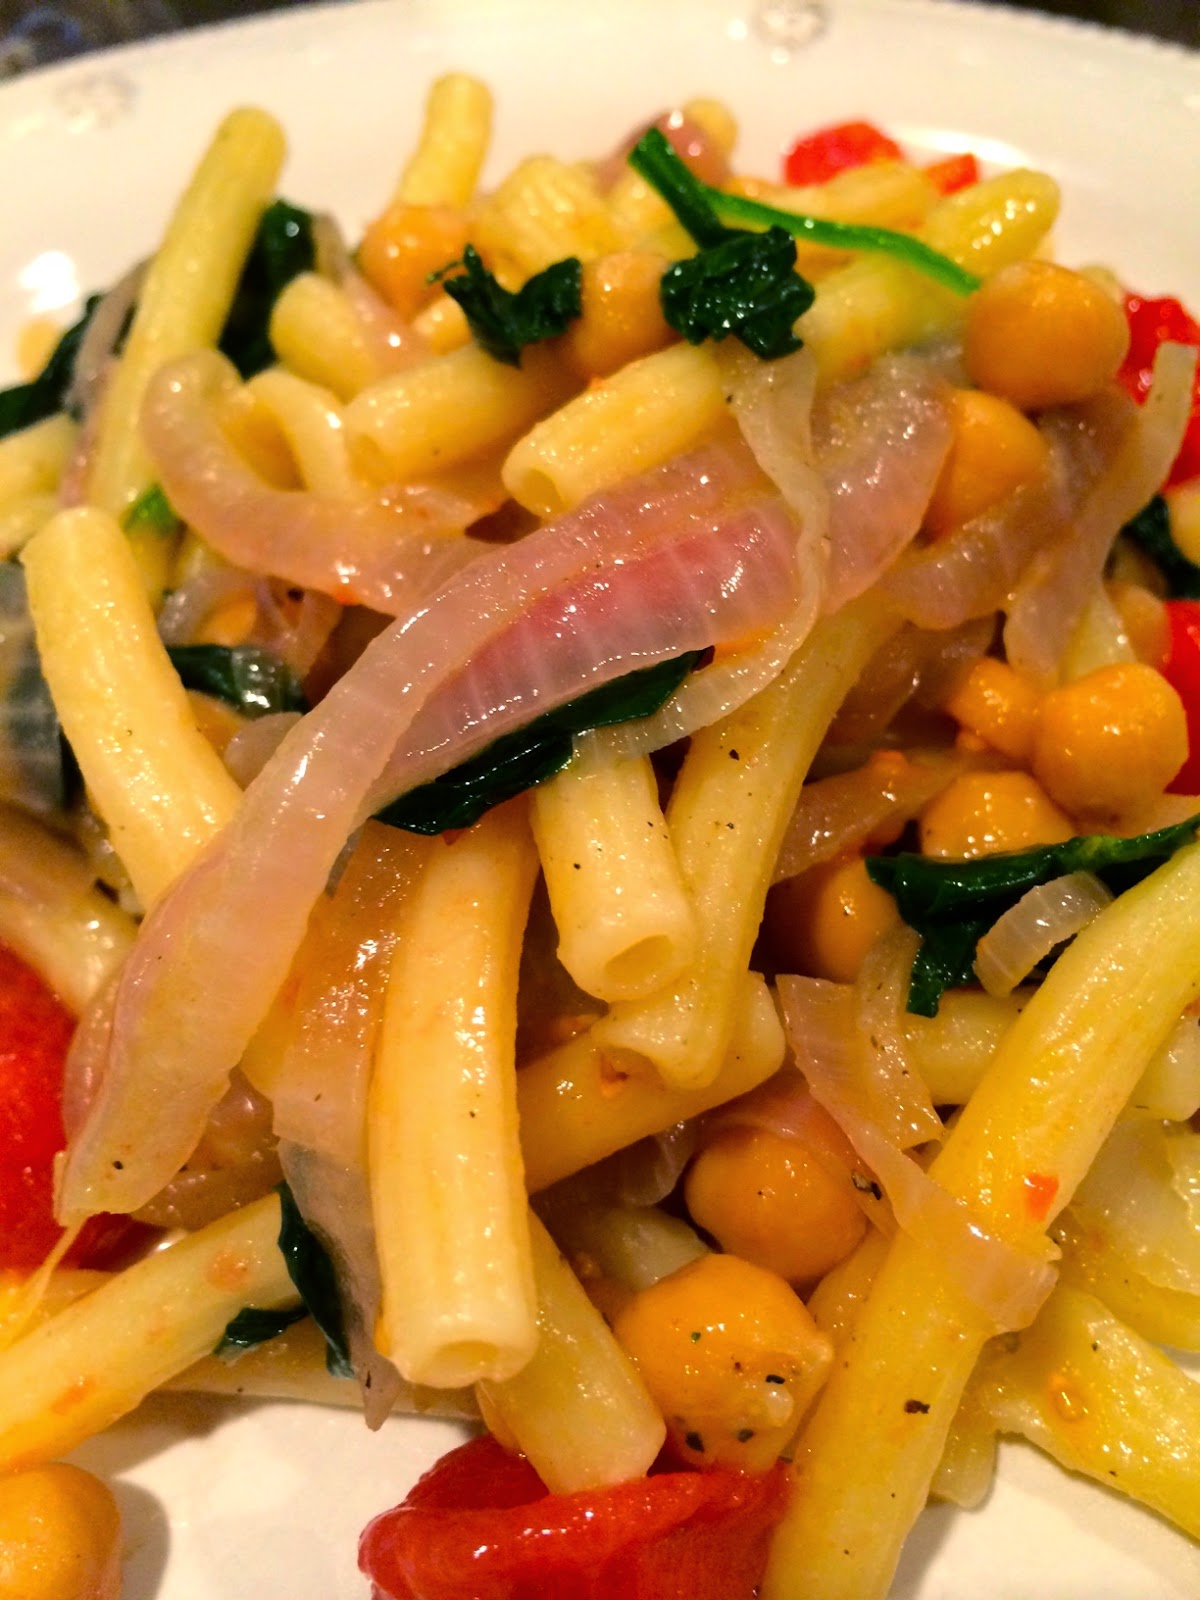
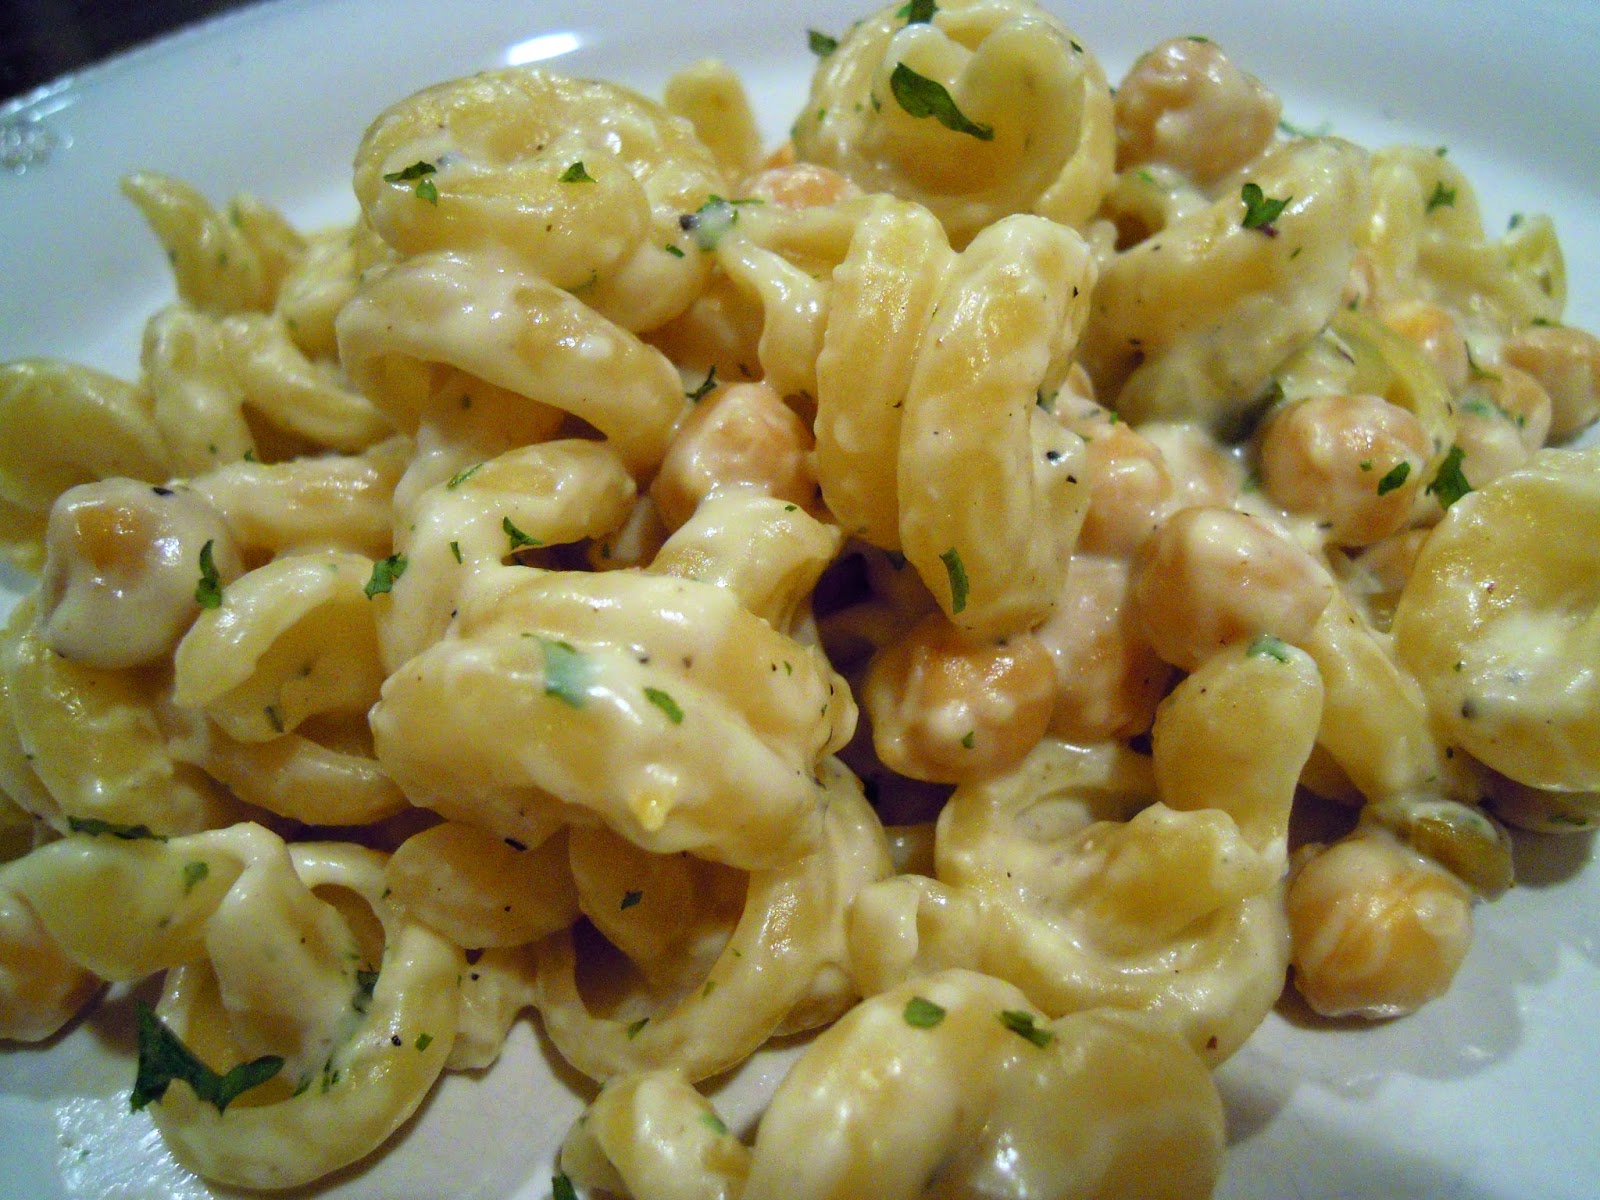
greek pasta

I love this new, quick and easy weeknight pasta I came up with this week! I am taking advantage of all the fresh vegetables while I can and it was great to combine them in a healthy pasta dish. I was thinking about adding feta cheese to this {to make it a real Greek dish!} but decided to save the calories. The toughest part about this dish was slicing the onion! I kept the tomatoes whole for two reasons, it cut down on prep time and I love when tomatoes are sautéed and just about to burst, the flavor is unbelievable! Try this super-quick weeknight meal any day of the week and know that it is not only quick and healthy, but also an easy clean-up!

Thanks for reading!
greek-pasta

Greek Pasta

1 pound pasta {I used Bucati Rigati but penne would work too!}
1 red onion, thinly sliced
1 pint cherry tomatoes
1 15.5-ounce can chickpeas {garbanzo beans}, drained & rinsed
1 1/2 cups fresh spinach
3-4 tablespoons olive oil
Salt and pepper to taste

Begin by cooking pasta according to package instructions. {I saved about a cup of the pasta water in case I needed to add it at the end, although I didn’t use it} Heat olive oil in large skillet over medium heat and add the red onion, season with salt and pepper; cook, stirring occasionally, until the onion is soft and starting to brown, about 10 minutes. Stir in the chickpeas; cook for 2 minutes. Add in the tomatoes and cook for another 2-3 minutes {just long enough so the tomatoes don’t burst!} Stir in the spinach just until the spinach begins to wilt. Transfer vegetable mixture to large bowl and toss with cooked pasta.

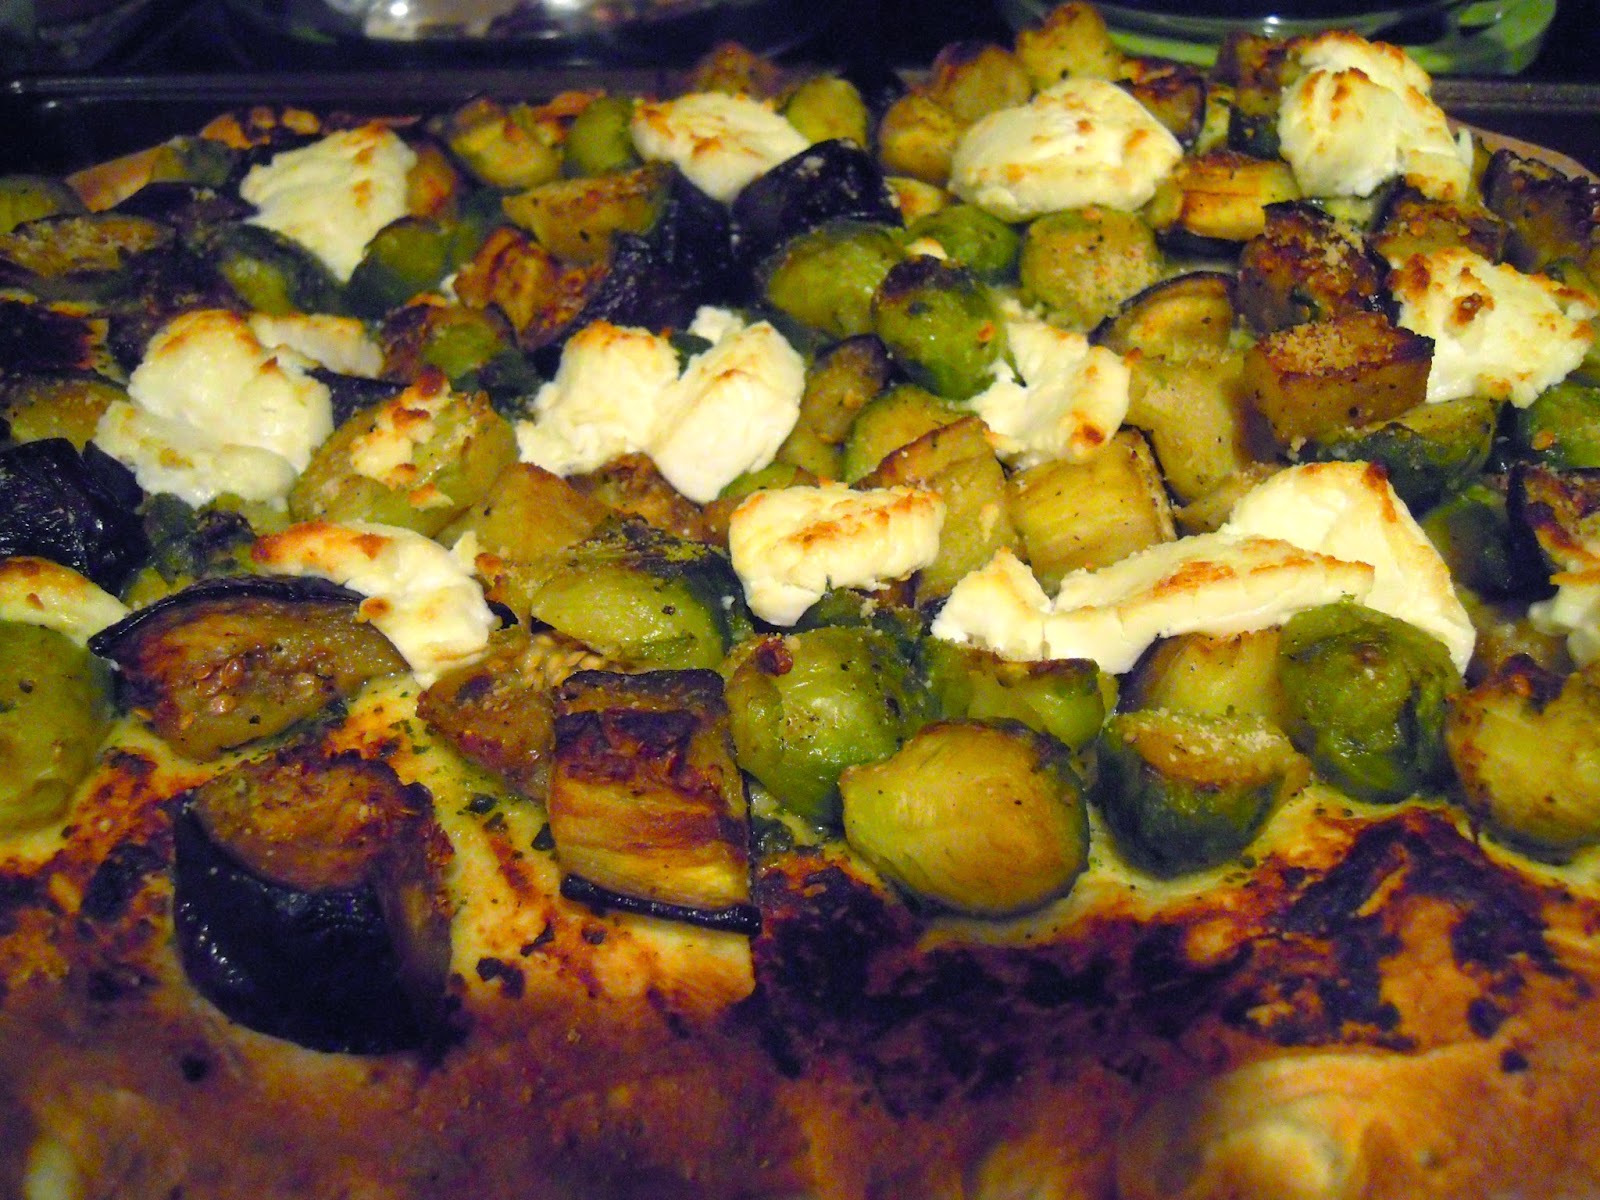
roasted brussels sprout + eggplant pizza

Last Friday night, I posted a teaser picture of this pizza on my Instagram account just as it was going in the oven. I promised to share the recipe this week so here it is! For those who have been following A Blonde’s Moment, it’s no secret I’m super excited for fall. And one thing that screams fall to me is brussels sprouts. It is one of my favorite vegetables no matter what season, but it just seems to be the perfect fall vegetable. For those that don’t like brussels sprouts, the flavors of eggplant, pesto and goat cheese combine to make you forget that you are even eating brussels sprouts! This was one of my favorite pizza creations, as evident by the fact there was only one slice left {and only two of us eating it!!}. Next time I make this pizza, I will try the fresh brussels sprouts route — it was great with the frozen, but I can’t even imagine how delicious it would be with the fresh, right off the stem, brussels sprouts!

Thanks for reading and happy cooking! 
P.S. Don’t forget to follow A Blonde’s Moment on social media!


A Blonde’s Moment on Facebook


A Blonde’s Moment on Instagram

roasted-brussels-sprout-eggplant-pizza

Roasted Brussels Sprout + Eggplant Pizza

16 ounces brussels sprouts, halved {I used frozen because it was a weeknight, but you can definitely use fresh!}
1 eggplant, diced into bite-sized pieces

2-3 tablespoons basil pesto {I used store-bought}
4 ounces goat cheese
2-3 tablespoons grated Parmesan cheese
1 store-bought pizza dough
3 tablespoons olive oil
Salt and pepper to taste

Preheat broiler. Cook brussels sprouts {if frozen} according to package directions. Place cooked brussels sprouts {that have been halved} and diced eggplant in a large bowl. Stir in olive oil, salt and pepper. Distribute brussels sprouts and eggplant evenly on baking sheet {that has been lightly sprayed with cooking spray} and roast in broiler. I roasted mine for a total of 12 minutes, and every 3 minutes I removed them from the oven and moved them around. Roast until just beginning to brown. Decrease the heat to 450 degrees. To assemble pizza, spread the pesto on the pizza dough and then top with the roasted brussels sprouts and eggplant. Slice the goat cheese into thin circles {I placed my goat cheese in the freezer for about 10-15 minutes to make sure it was firm enough to slice}. Place the goat cheese slices on top of the vegetables and top with Parmesan cheese. Bake for 15-20 minutes or until the goat cheese begins to brown and the crust turns golden brown.

baba ghanoush pasta

Although pasta is one of my favorite {if not my favorite!} meals, we rarely eat it in our house. Earlier this week, I decided I needed a quick and simple meal with an easy clean up to start off the week. I had seen the Baba ghanoush dip at Wegmans during a previous visit and had been wanting to try it. I grow tired of the typical pasta with red sauce and thought why not use a dip for the sauce? For those that don’t know, baba ghanoush is a mixture of eggplant, onions, tomatoes, olive oil and various seasonings. Typically served with pita bread or veggies, I found this to be a great substitute for pasta sauce. 

Unfortunately, I can’t label this pasta as “healthy” after looking at the ingredients on this store-bought dip. But, every once in a while it’s alright to go with the prepared version {although this would be delicious with a homemade baba ghanoush — when I have more time!}. I wanted to add Middle Eastern and Mediterranean flavors to the dish so I decided to go with the chickpeas, capers and lemon juice. For those that don’t like capers, you can definitely leave them out 🙂 This was a super-quick dinner and something out of the norm for us. And it made a ton, so I have had leftovers for lunch, which is always a plus! 

Thanks for reading! 

baba-ghanoush-pasta
Baba Ghanoush Pasta
8 ounces prepared Baba ghanoush {I used this}

1 15.5-ounce can chickpeas, rinsed & drained {I used organic}
2 tablespoons capers, rinsed & drained
1 pound pasta {I recommend using something similar to penne}
½ lemon, juiced
1-2 tablespoons parsley

Cook pasta according to package directions. Before draining, reserve ½ cup pasta water. While pasta is cooking, place prepared Baba ghanoush in a large skillet with chickpeas and capers on low heat. Squeeze half of a lemon into the Baba ghanoush sauce. Once pasta is drained and pasta water is reserved, transfer pasta to skillet, stir to combine. Add pasta water slowly to loosen sauce {I probably only used a 1/3 or the ½ cup of water}. Stir to combine and top with 1-2 tablespoons parsley for some color.

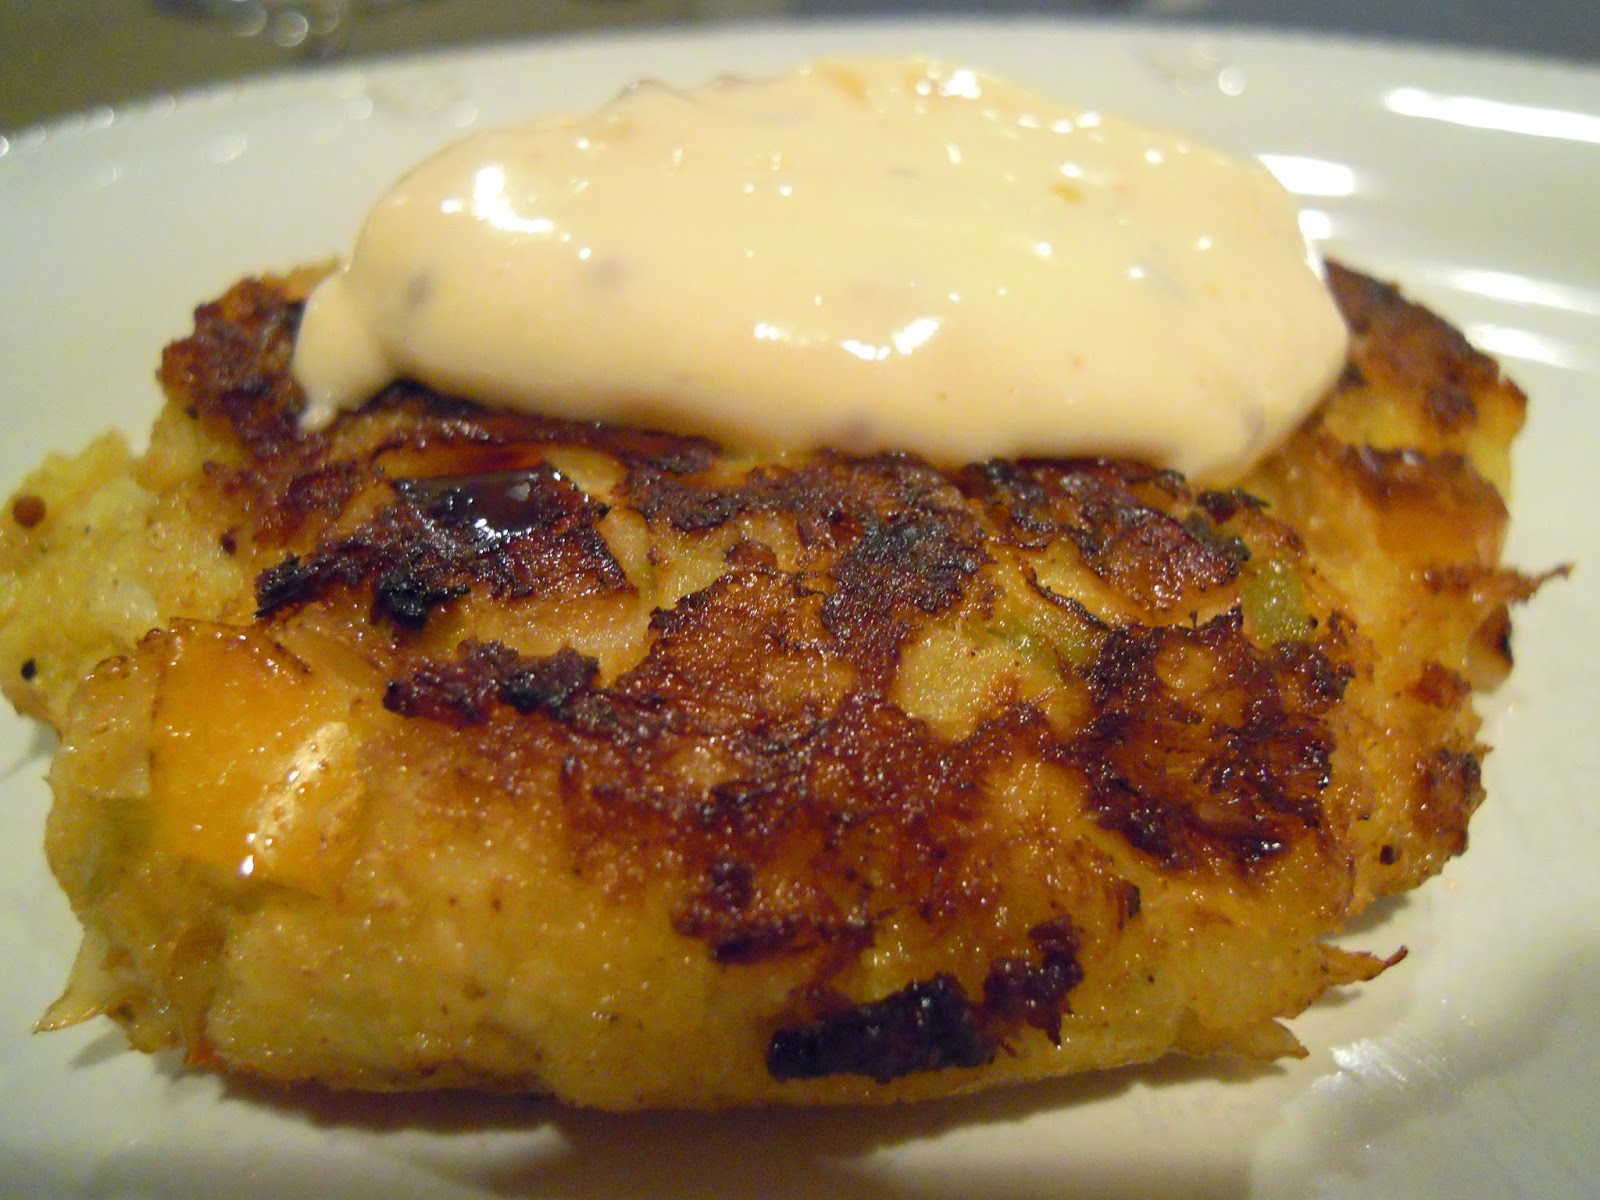
maryland crab cakes + spicy remoulade

When it comes to food, there aren’t many things that I enjoy more than crab cakes. I’m very particular about my crab cakes, {which no doubt comes from my Grandmother who grew up in the crab-eating state of Maryland} so I’ve found it very difficult to find good crab cakes out a restaurants. Most restaurants seem to use way entirely too much “filler” and not enough crab. In the past, I have made them just with a few spices {of course Old Bay}, mayo, bread crumbs and lemon. But after having Founding Farmer’s {in my opinion, one of the best restaurants in D.C. & the only exception to my eating out search for good crab} crab cakes, I decided to try to recreate their delicious dish. I love the added texture and flavor of the vegetables with the crab — it definitely adds a little something to this always fabulous dish! And the spicy remoulade compliments the flavors of the crab cake so perfectly, you will want to eat the remoulade by itself , with a spoon…it’s that good. 
maryland-crab-cakes

Maryland Crab Cakes + Spicy Remoulade

1 small red onion, finely diced

1 red pepper, diced
1 yellow pepper, diced
2 celery stalks, diced
1 tablespoon butter
2 tablespoons olive oil
¼ teaspoon Frank’s Red Hot sauce
½ teaspoon Worcestershire sauce
½ tablespoon Old Bay seasoning {I probably put more in, we love Old Bay!}
Salt and pepper to taste
1 pound lump crab meat, drained & picked to remove shells
½ cup panko bread crumbs
½ mayo {I used low fat}
1 teaspoon Dijon mustard
1 teaspoon whole grain mustard
2 large eggs, beaten
3-4 tablespoons olive oil (for frying)

For the Spicy Remoulade:


½ cup mayo {I used low fat}
1 tablespoon Dijon mustard
½ tablespoon whole grain mustard
1 tablespoon lemon juice
1 teaspoon Worcestershire sauce
2-3 dashes Frank’s Red Hot sauce

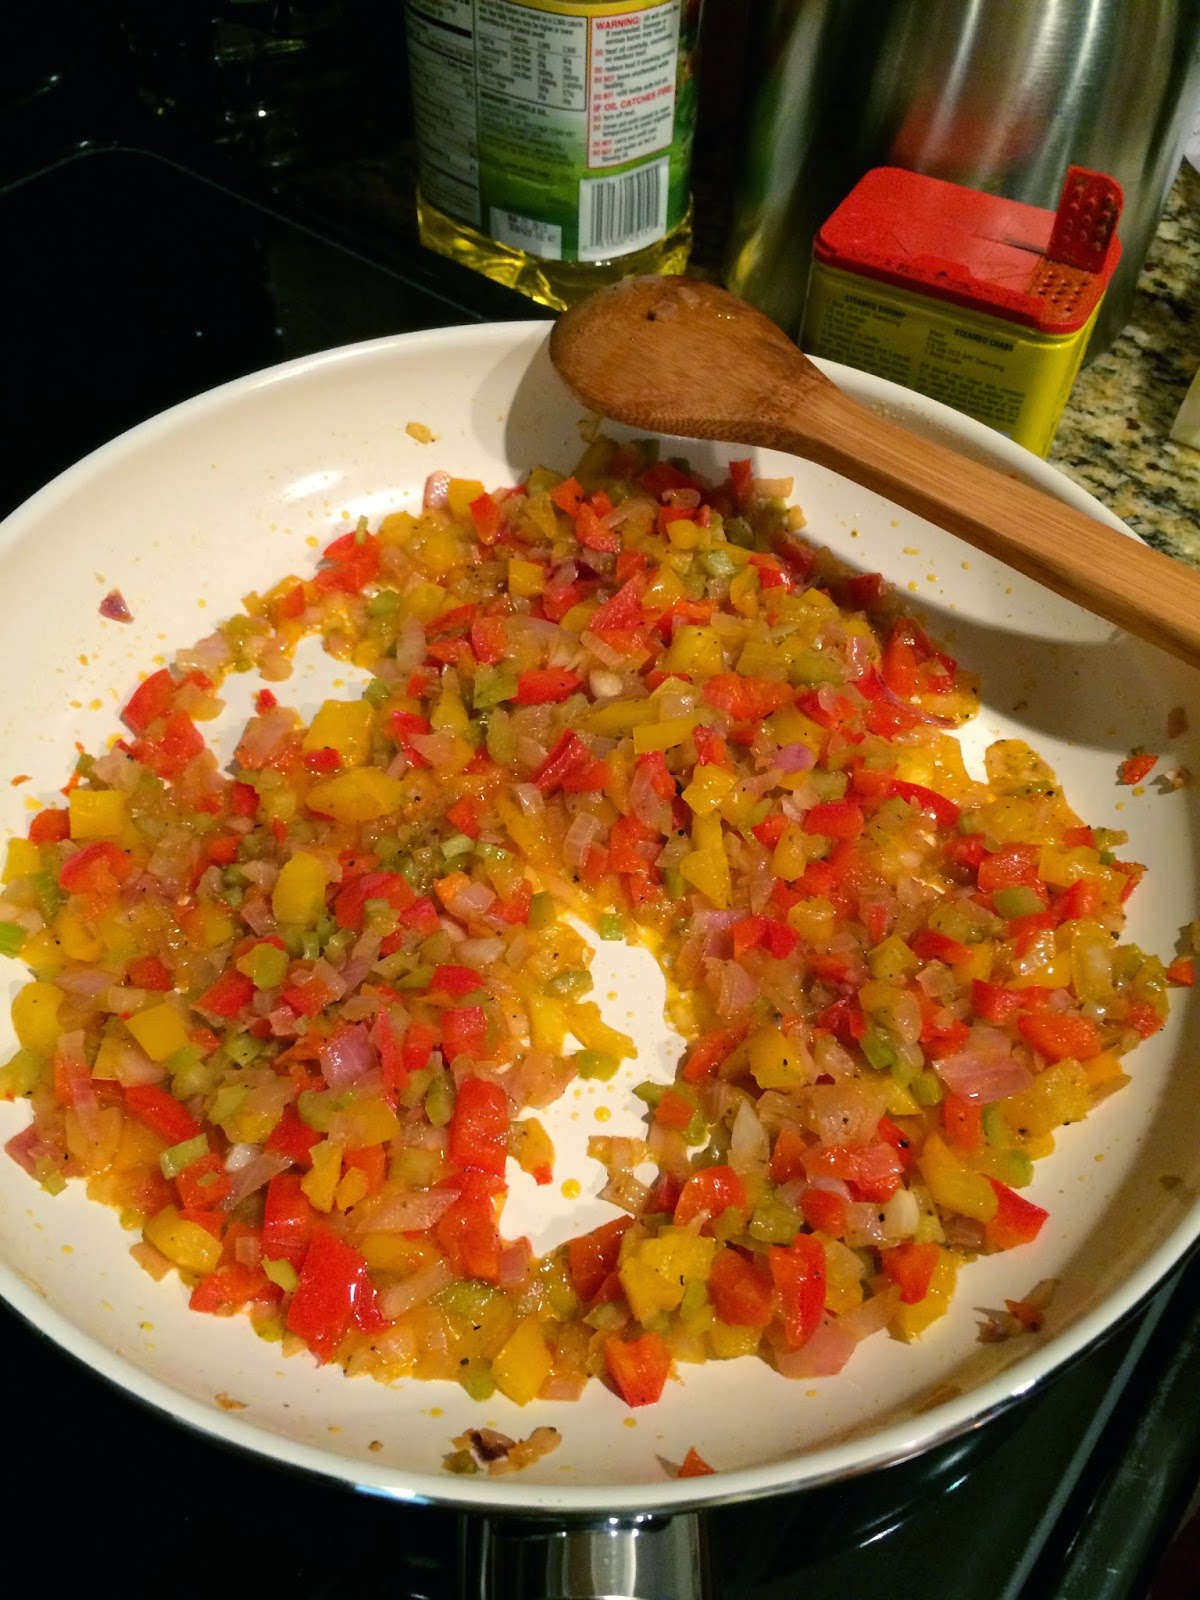
Preheat oven to 250 degrees. Heat 2 tablespoons olive oil and 1 tablespoon butter in large skillet over medium heat; add red onion, red pepper, yellow pepper, celery, Frank’s Red Hot sauce, Worcestershire sauce, Old Bay, and salt and pepper to taste. Cook until the vegetables are soft, about 15 minutes.

vegetable-mixture-for-crab-cakes
Vegetable Mixture

Allow vegetables to cool to room temperature. In a large bowl, mix the crab meat with the panko, mayo, both mustards and eggs. Add the vegetable mixture to the crab mixture and stir to combine. Chill in the refrigerator for about 30 minutes. Shape into 3-inch diameter cakes. Heat the remaining 3-4 tablespoons olive oil in a large skillet over medium heat. Add the crab cakes and cook for 4 minutes {or until golden brown} on each side. Make the crab cakes in batches so as not to crowd the skillet. Place the completed crab cakes on a parchment-lined baking sheet in the warm oven. For the Spicy Remoulade sauce: place the mayo, Dijon and whole grain mustards, lemon juice, Worcestershire sauce and Frank’s Red Hot sauce in a medium bowl. Stir to combine. Refrigerate for at least 20 minutes before serving.
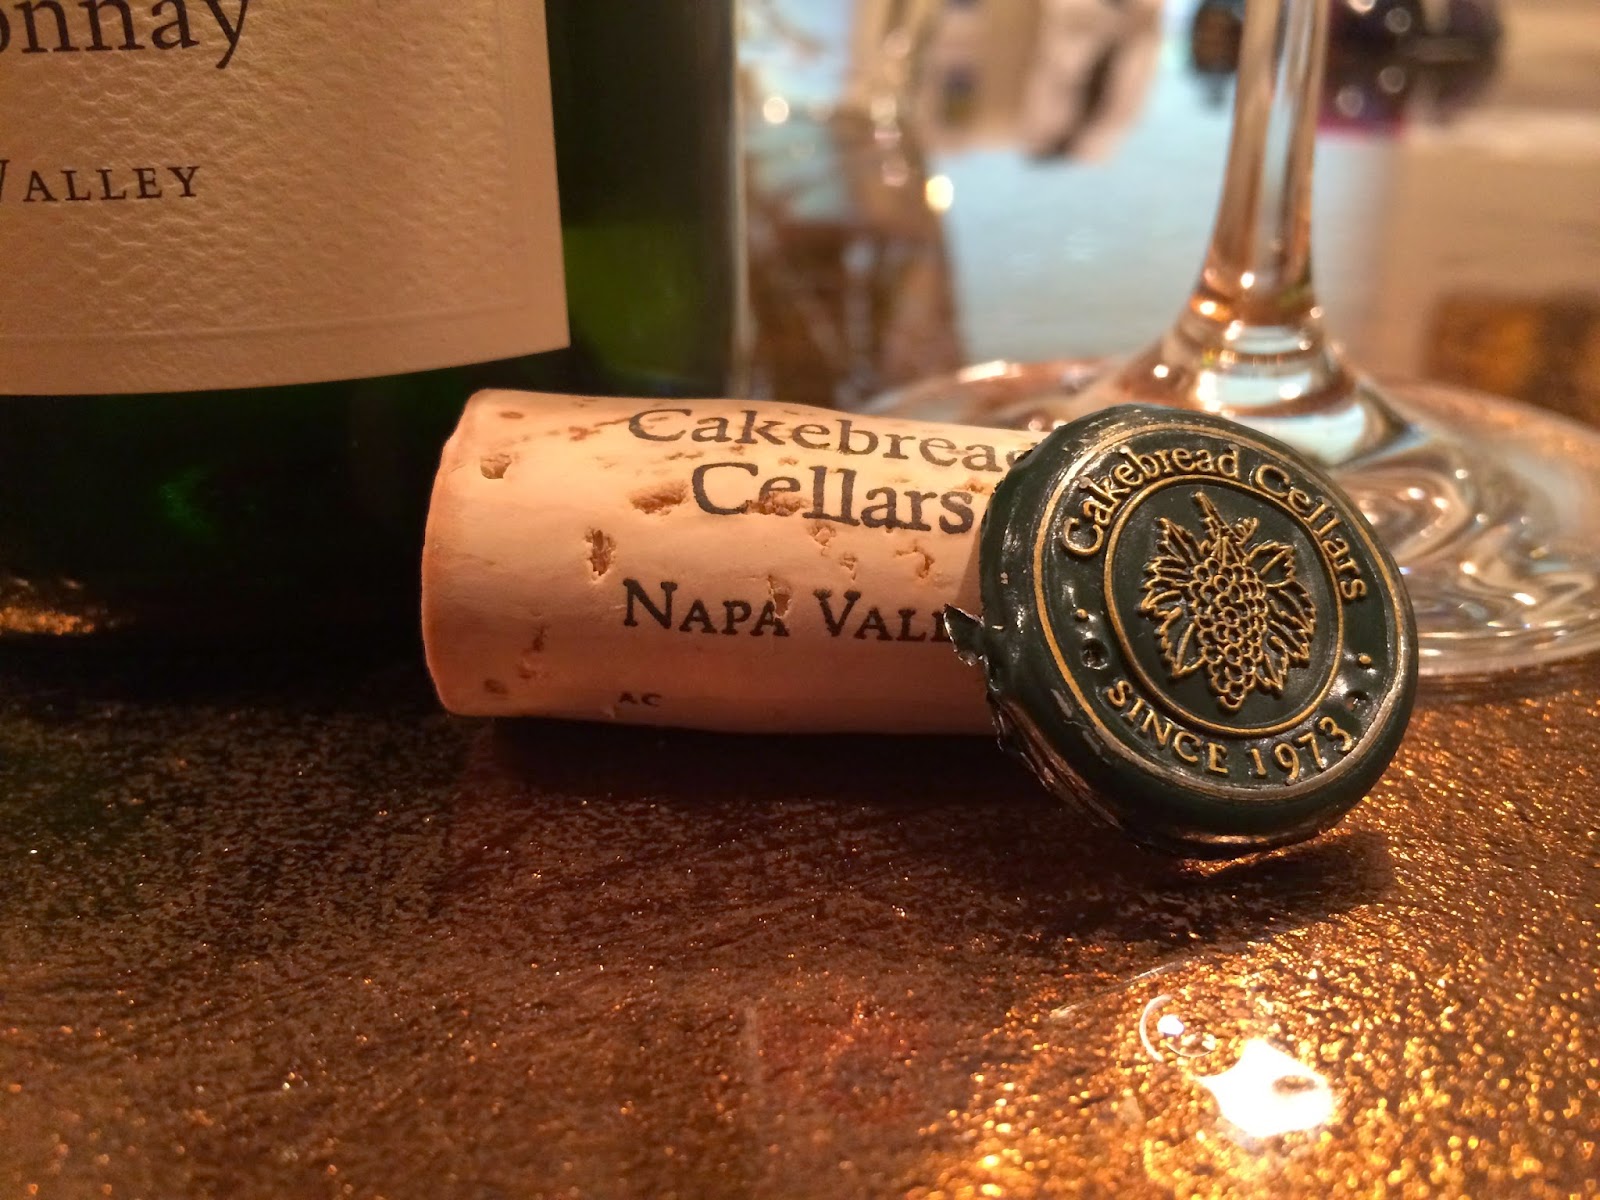
Below you will see a very artistic wine photo, taken by my husband {the official A Blonde’s Moment photographer}. My husband is quite the sommelier and always picks the best wine for our meal. The chardonnay was a perfect addition to the crab cakes!

cakebread-cellars-chardonnay
Cakebread Chardonnay