dressy camo

CAbi-camo-jeans

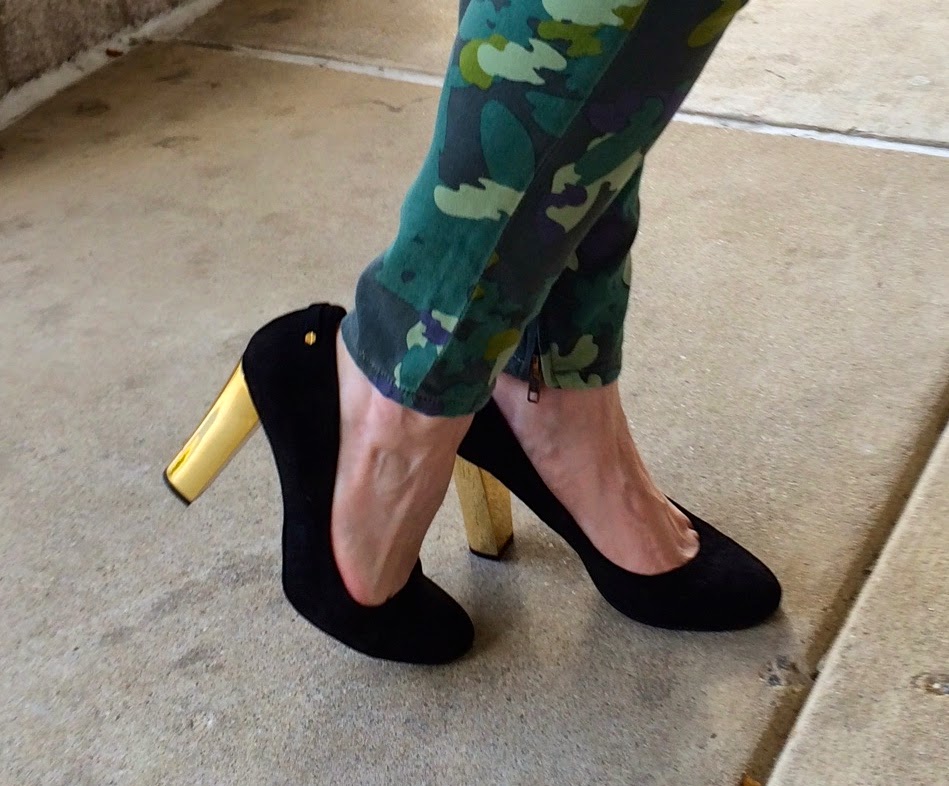
black-pumps-with-gold-heel

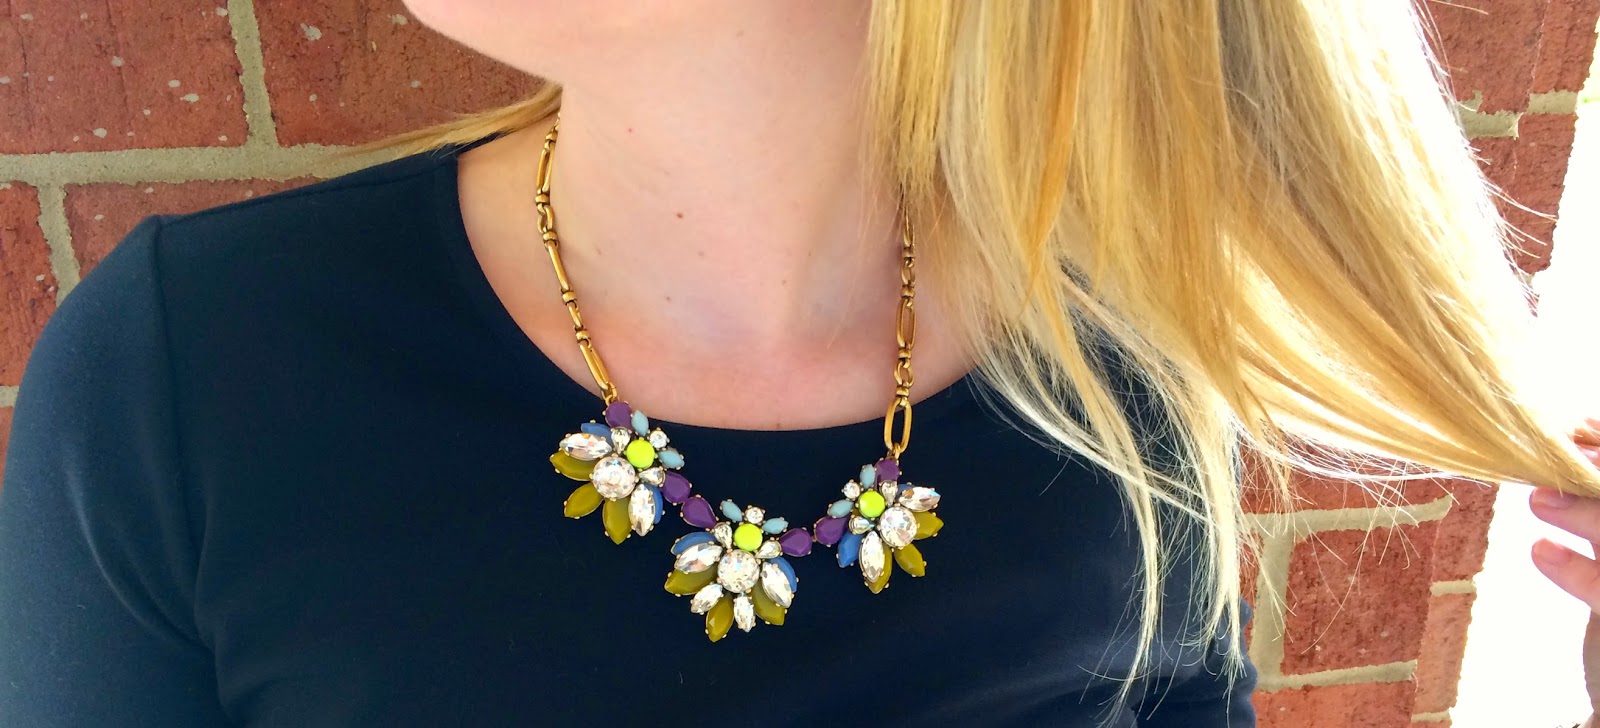
J.Crew-statement-necklace

black-Ann-Taylor-peplum-top

camo-jeans
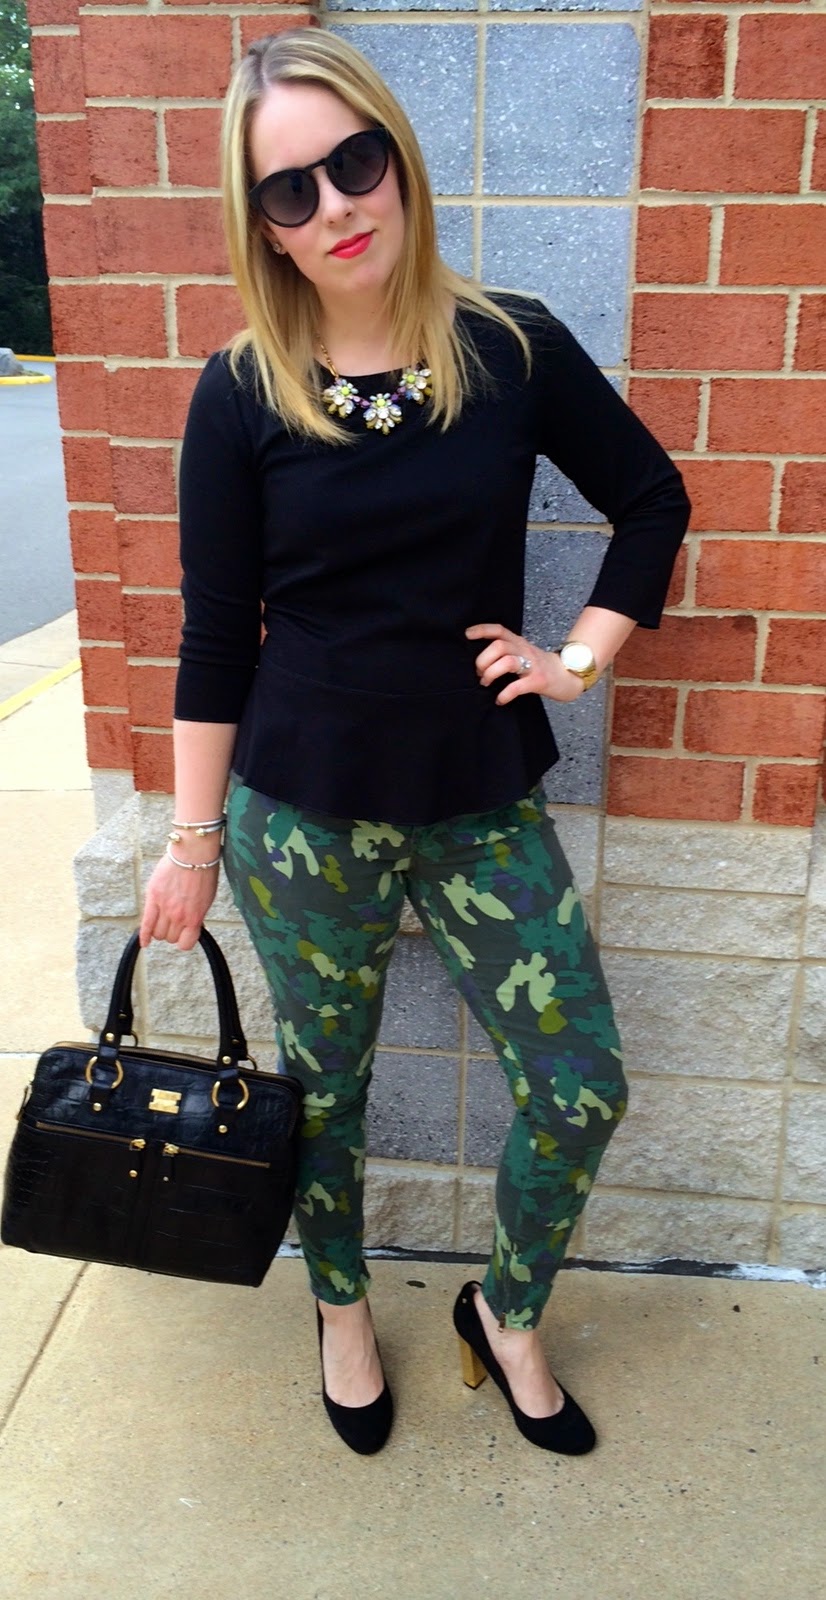
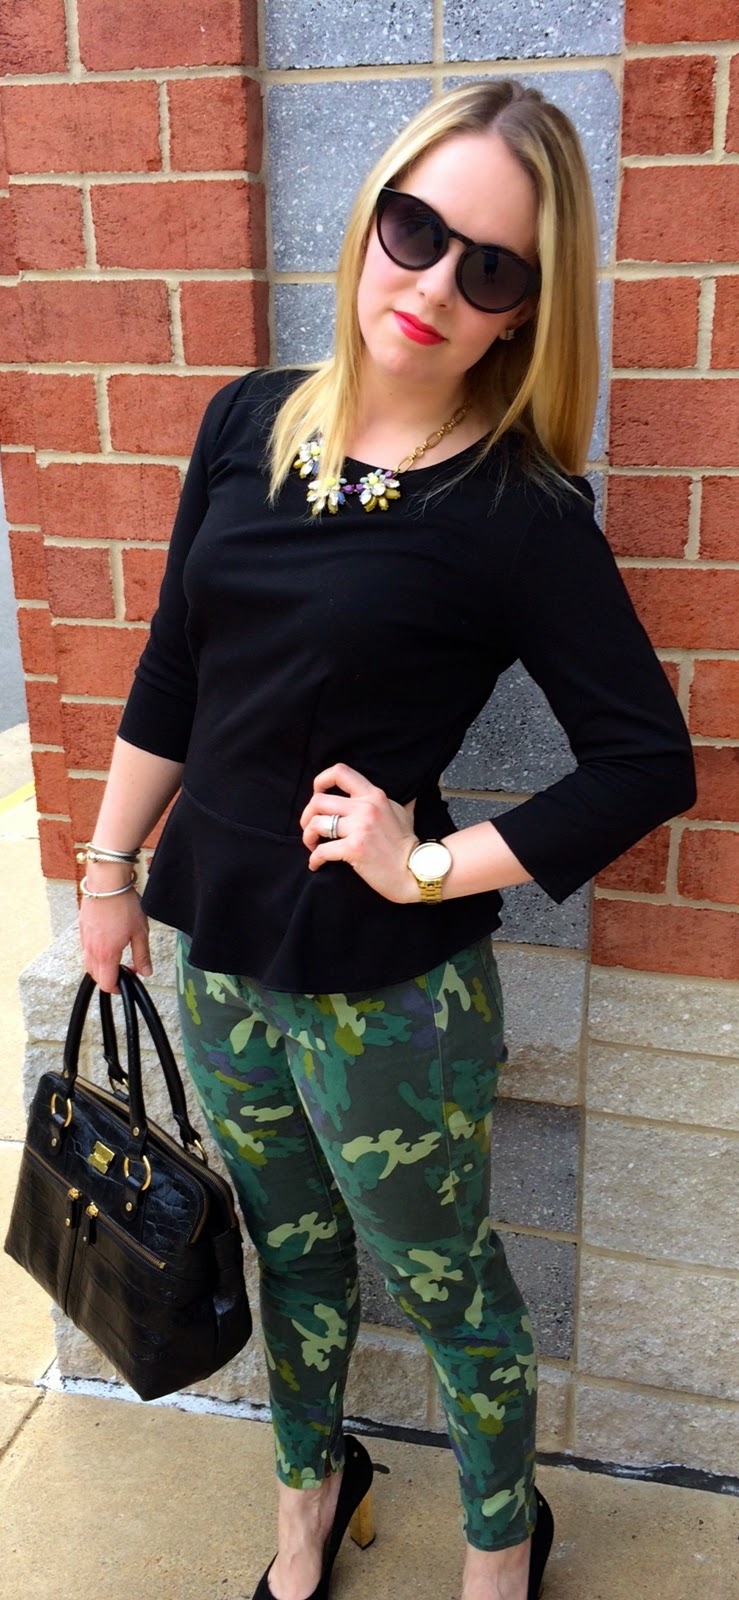
Top: Ann Taylor {similar here, on sale!} | Pants: CAbi, no longer available {similar here} | Pumps: C. Wonder, similar here| Bag: Modalu | Necklace: J.Crew, no longer available but love this | Watch: Kate Spade | Bracelets: hereherehere | Earrings: Nordstrom | Sunglasses: Ann Taylor| Lipstick: Bobbi Brown {Pink Blossom}

These camo pants have been the perfect transitional piece. I have worn them from spring to summer and now transitioning into fall {last see here}. Not only do the black accessories make it more fall-like, it also dresses the camo up 🙂 I’m looking forward to pairing these camo jeans with other accessories throughout fall. And one of my favorite fall accessories is featured in this post…my gold-heeled, black C. Wonder pumps: by far one of my favorite purchases from last fall.

Hope everyone had a fabulous weekend! Thanks for reading!

essie fall giveaway winner

Thank you so much to everyone who enter the Essie Fall Giveaway! It’s Sunday morning and we have a winner! The winner was randomly selected with Random.org. 

The winner is….Kelly S! Email me at rachel@ablondesmoment.com

Thanks to all who entered and thanks for reading! Check back soon for even more giveaways! 

zucchini + chickpea + quinoa burgers

zucchini-chickpea-quinoa-burger

zucchini-chickpea-quinoa-burger

Zucchini + Chickpea + Quinoa Burgers

1/2 cup quinoa, cooked according to package directions

1 can chickpeas, drained & rinsed
1 zucchini, peeled & roughly chopped
1/2 cup panko bread crumbs
1 tablespoon Dijon mustard
1 cup fresh spinach
Burger buns
1/2 tablespoon cumin
1 teaspoon onion powder
1 teaspoon garlic powder
Salt and pepper to taste

For the Dijon aioli:

1/2 cup mayo {I used low fat}

1 tablespoon Dijon mustard
1 garlic clove, finely minced
1/2 tablespoon whole grain mustard
1 tablespoon lemon juice
Salt and pepper to taste

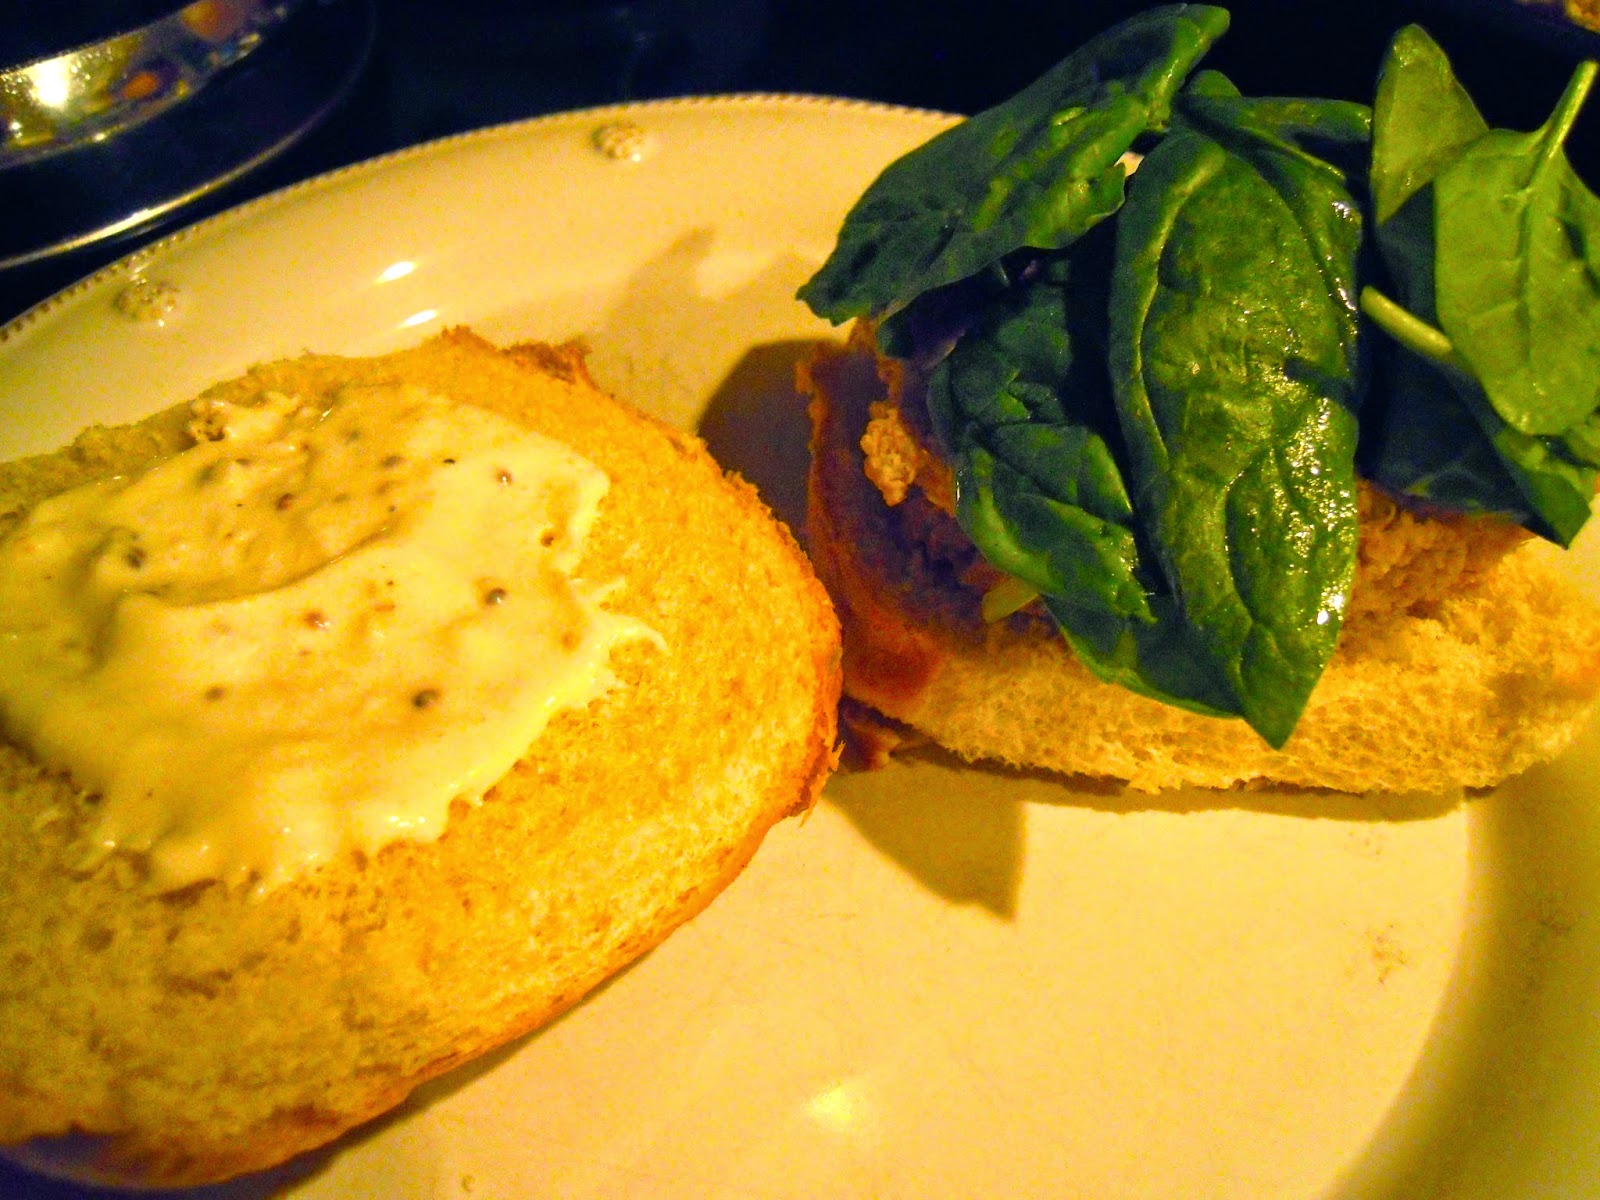
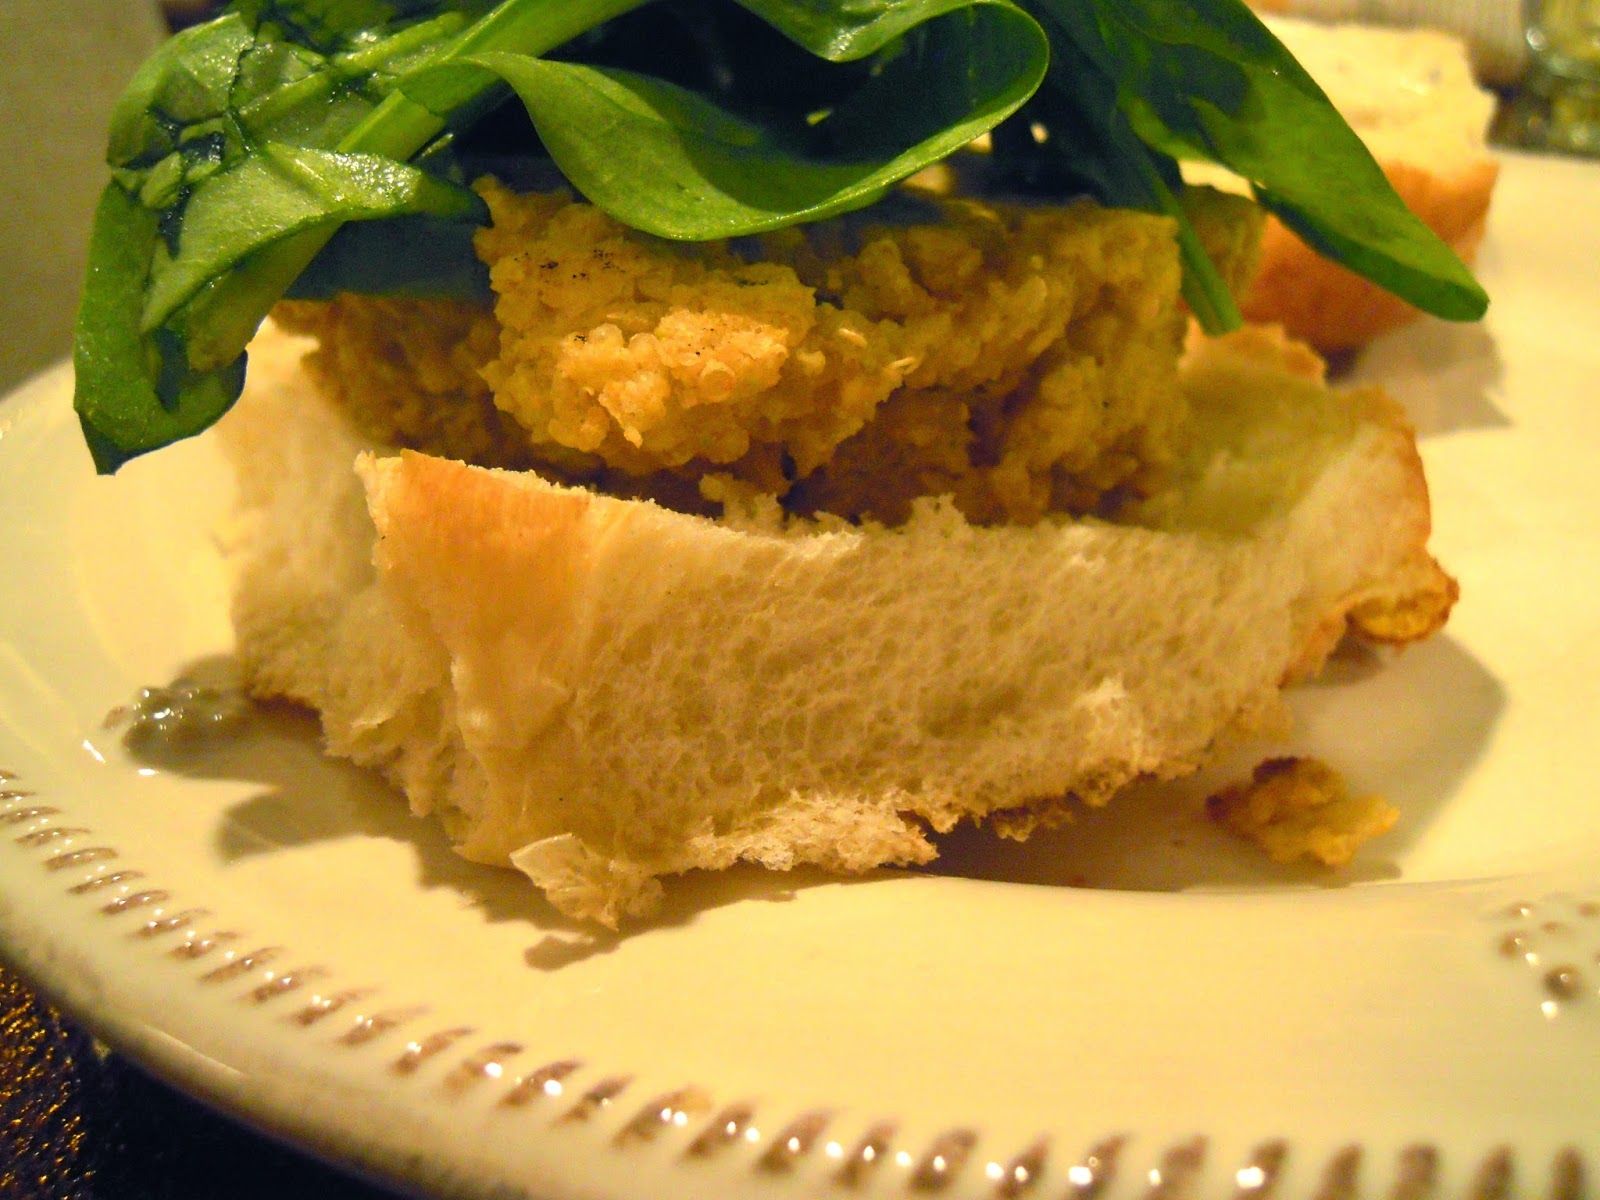
Preheat oven to 375 degrees. Begin by cooking quinoa according to package directions {see how I cook my quiona here}. Place zucchini and chickpeas in food processor and pulse until chopped. Add the 1 tablespoon Dijon mustard, cumin, onion powder, garlic powder and salt and pepper. Continue to pulse {or just leave the food processor on} until completely combined and smooth {the consistency should look like hummus}. Transfer to large bowl. Once quiona has finished cooking, remove from the heat and allow to cool, at least 20 minutes. Once cool, add the quinoa to the chickpea and zucchini mixture. Stir in the panko bread crumbs. With an ice cream scoop, form patties on a baking sheet that has been sprayed with cooking spray. Cook for 10 minutes, flip the patties and then cook another 10 minutes. Meanwhile, make the Dijon aioli: In a small bowl, combine the mayo, garlic, Dijon and whole grain mustards, lemon juice and salt and pepper. Stir to combine. Refrigerate until burgers are ready. To assemble the burgers: turn broiler on and place burger buns under the broiler to toast, about 3 minutes. With a spoon, place 1 tablespoon of aioli on each side of the bun followed by the burger and fresh spinach, if desired. This recipe made six average size burgers.

I love experimenting with different veggies for veggie burgers. I’ve been on a real “zucchini kick” as of late (see herehere, here) and I wanted to find a way to incorporate them into a veggie burger {that didn’t include my regular black bean burgers}. I love the combination of the chickpeas with the zucchini and Dijon mustard, it was almost like eating a crab cake! And by adding quinoa, it gave the burgers a different texture and were also much more filling. What are your favorite kinds of veggies to add to veggie burgers? Let me know in the comments section of this post! 

p.s. We are only 2 days away from the giveaway closing! Make sure you “like” A Blonde’s Moment on Facebook, share the giveaway on your Facebook and leave me a comment here that you have done both. You don’t want to miss out on this free Essie nail polish giveaway!!

black + white

white-dress-with-bow

black-wedge-sandals-black-modalu-bag

summer-white-linen-dress
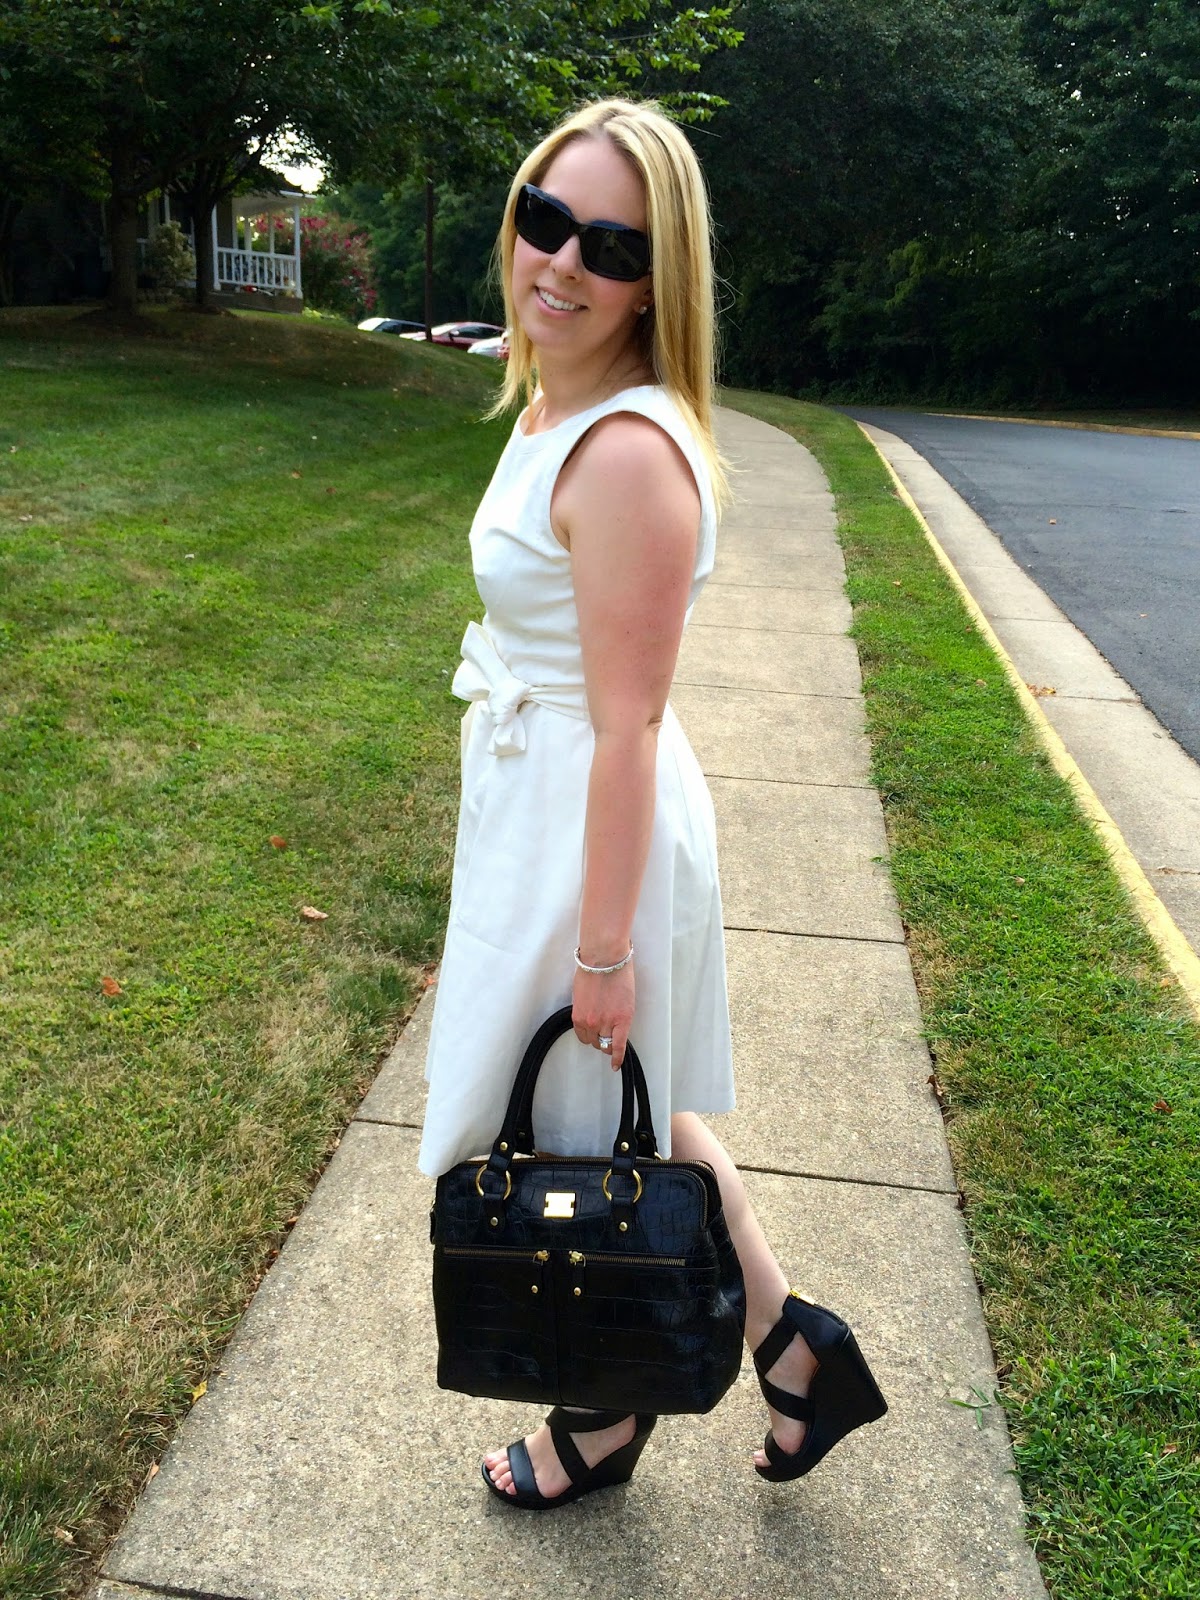
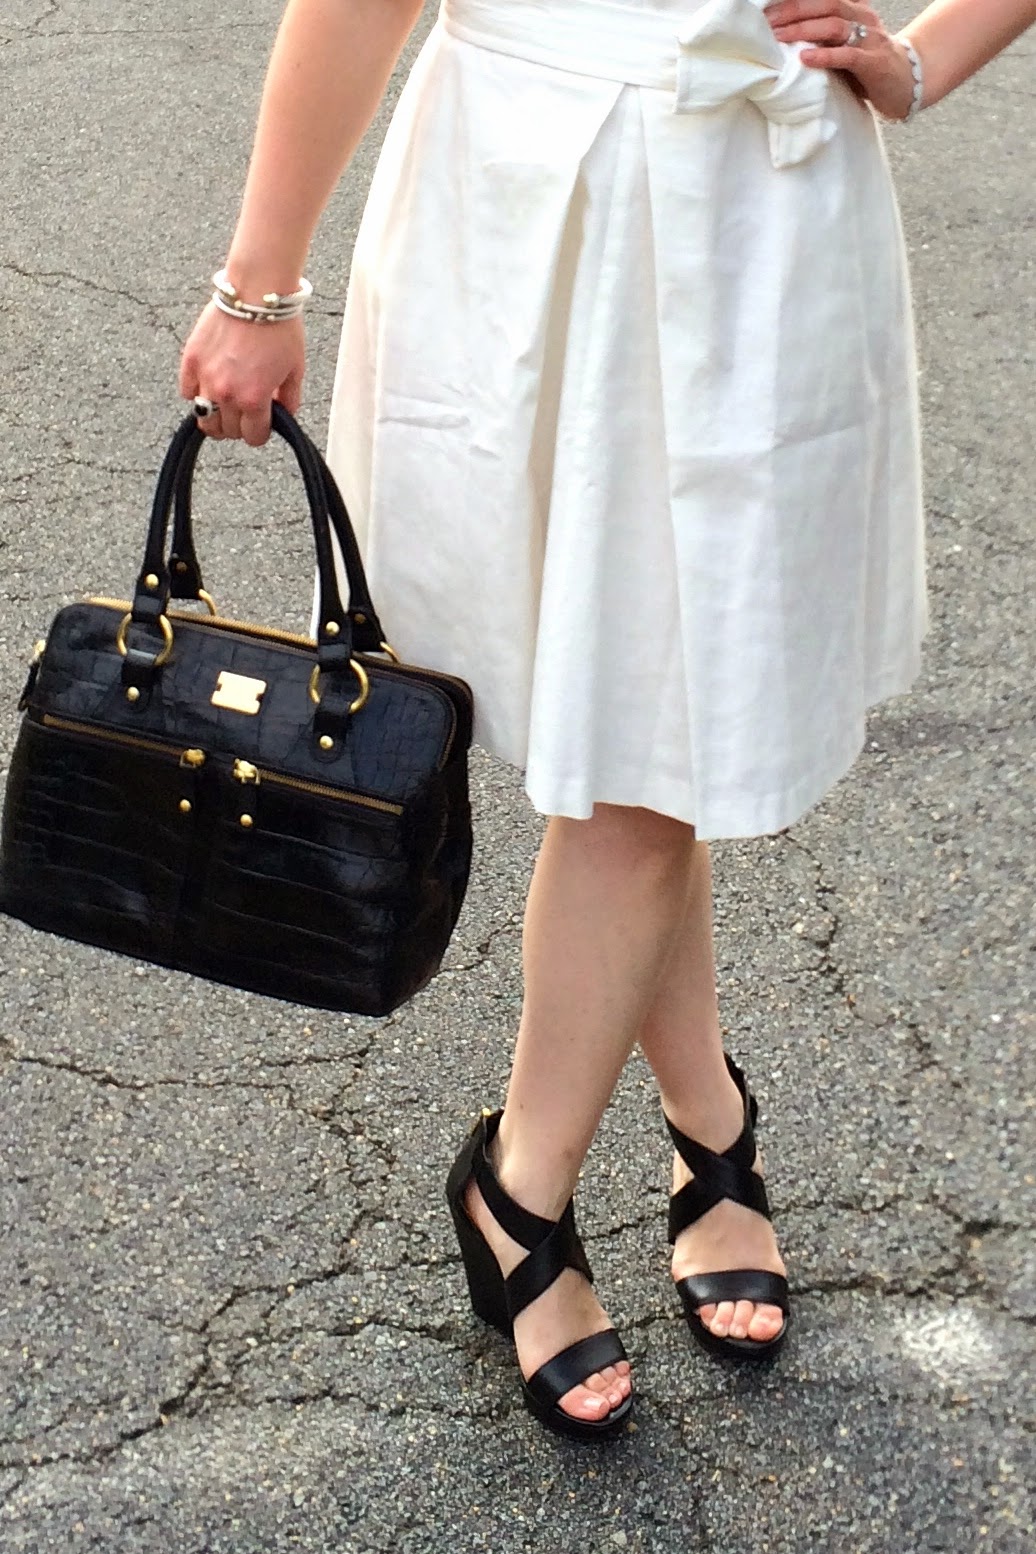
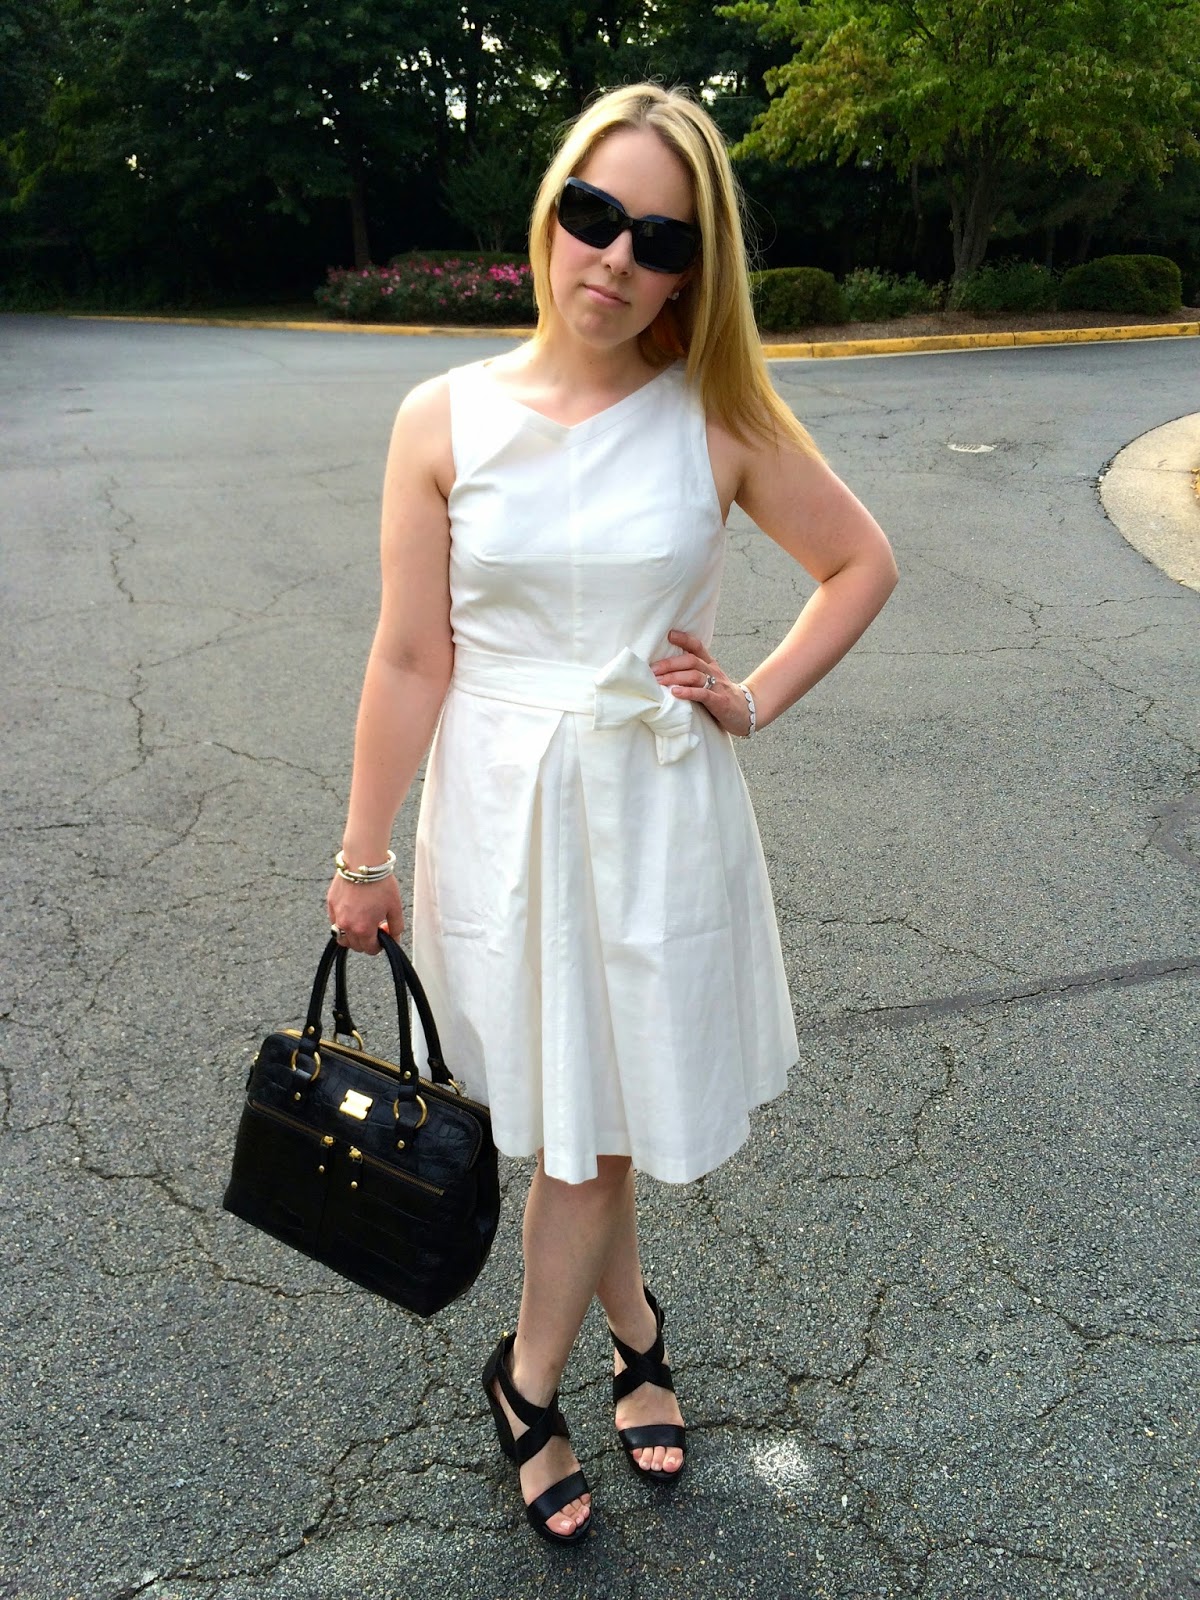
Dress: Ann Taylor {on sale!} | Shoes: Jessica Simpson | Bag: Modalu | Bracelets:  hereherehere, here | Earrings:  Nordstrom | Sunglasses: Chanel {similar here}

I love this white dress from Ann Taylor. The dress is made of linen and it is so cool and comfortable! And I love the tied waistband bow 🙂 I am really starting to like the black and white combination {last seen here}. In the past, I’ve always paired white with beige shoes and accessories, but I think when pairing with black, it dresses the outfit up. Wear your white dresses while you can, fall is quickly approaching! 

Just a reminder that there are only 3 days left to enter the Essie Giveaway! To enter, all you have to do is:

1) “Like” A Blonde’s Moment on Facebook {here}

2) Share the giveaway on your Facebook or blog

3) Leave me a comment that you’ve done both! 

Giveaway closes this Saturday {August 16th} at midnight EST! The winner will be randomly selected and announced Sunday morning! For further details, click here 🙂 

Good luck!!

portobello + brie sandwiches with kale pesto

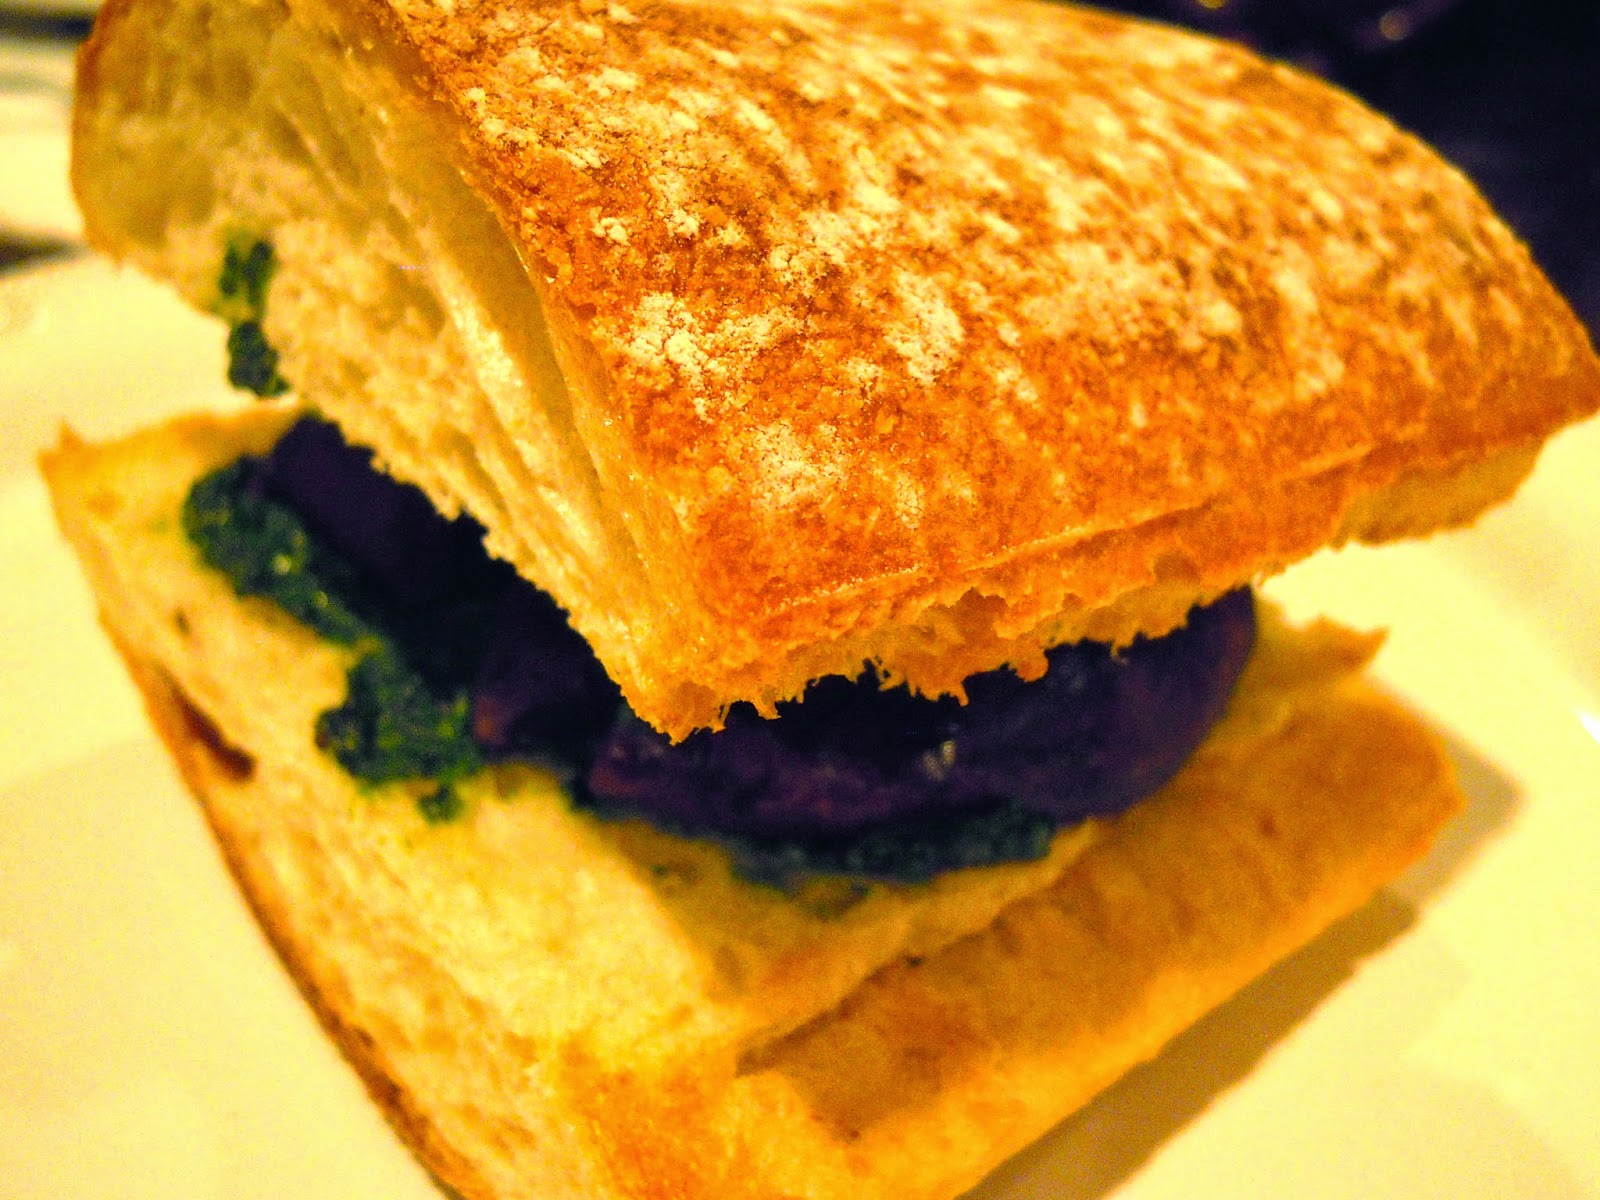
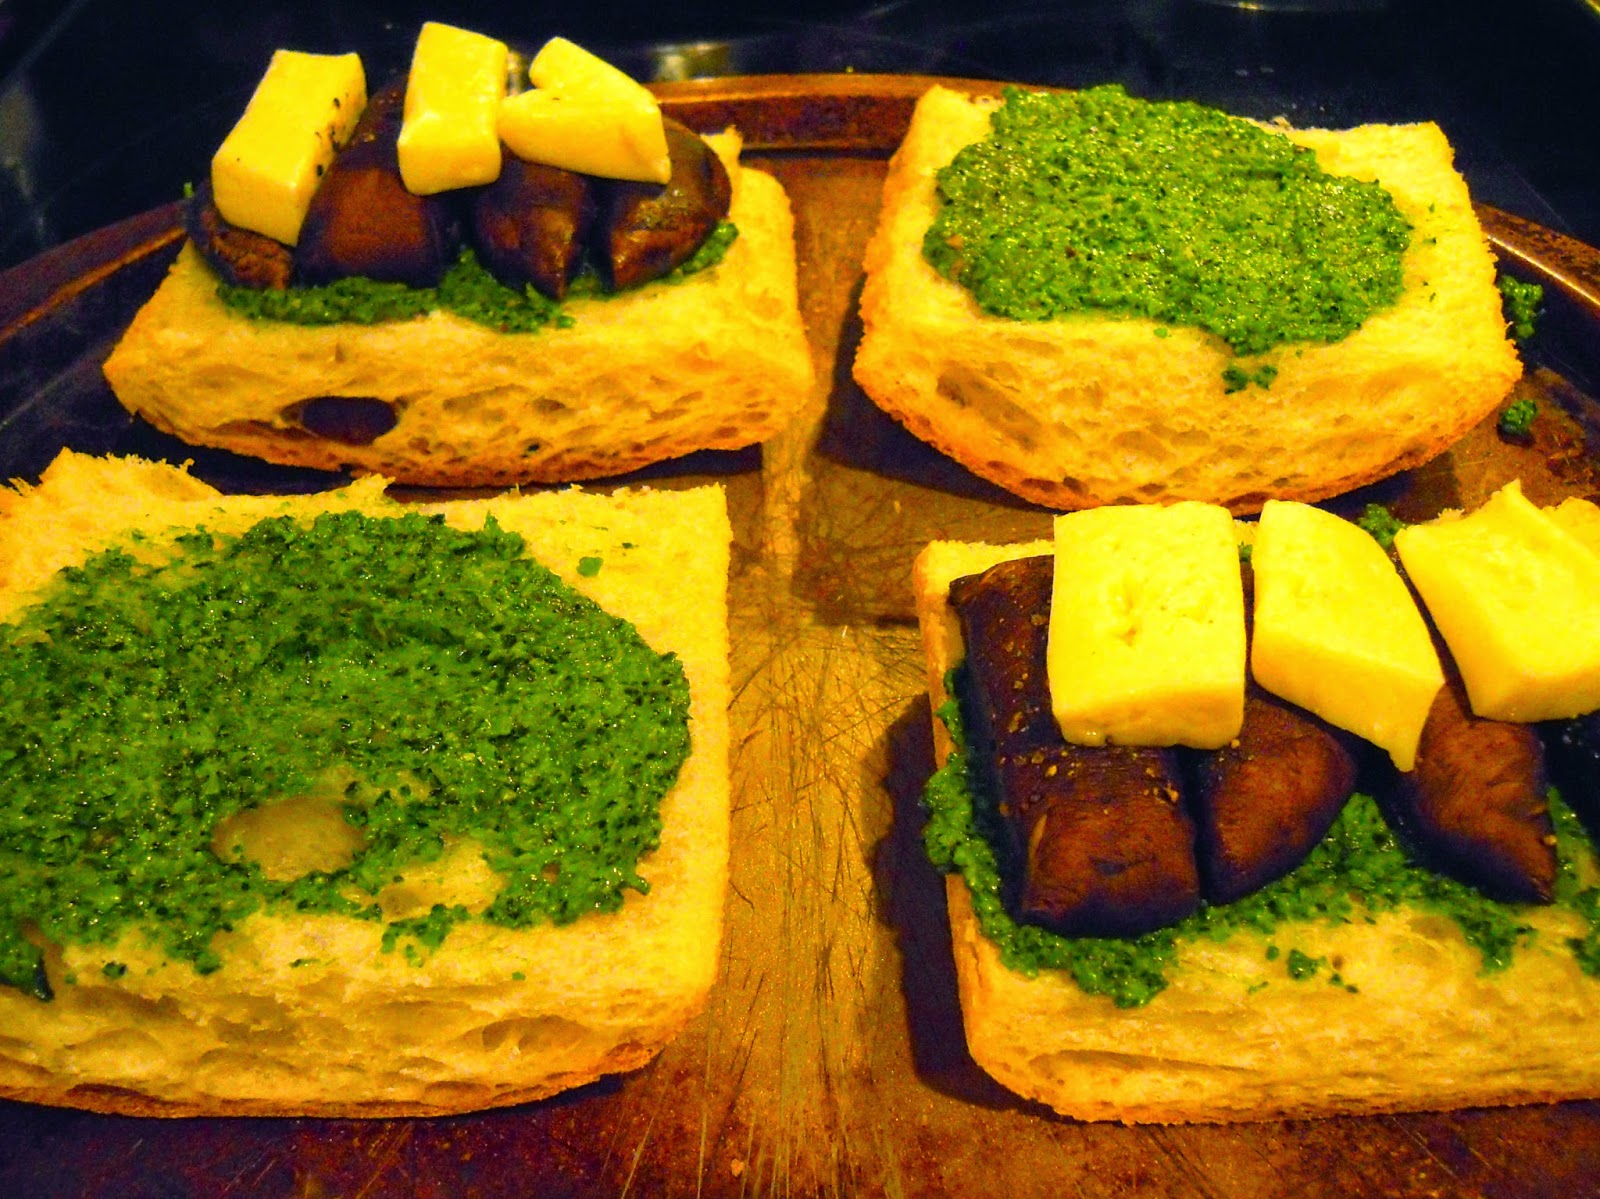
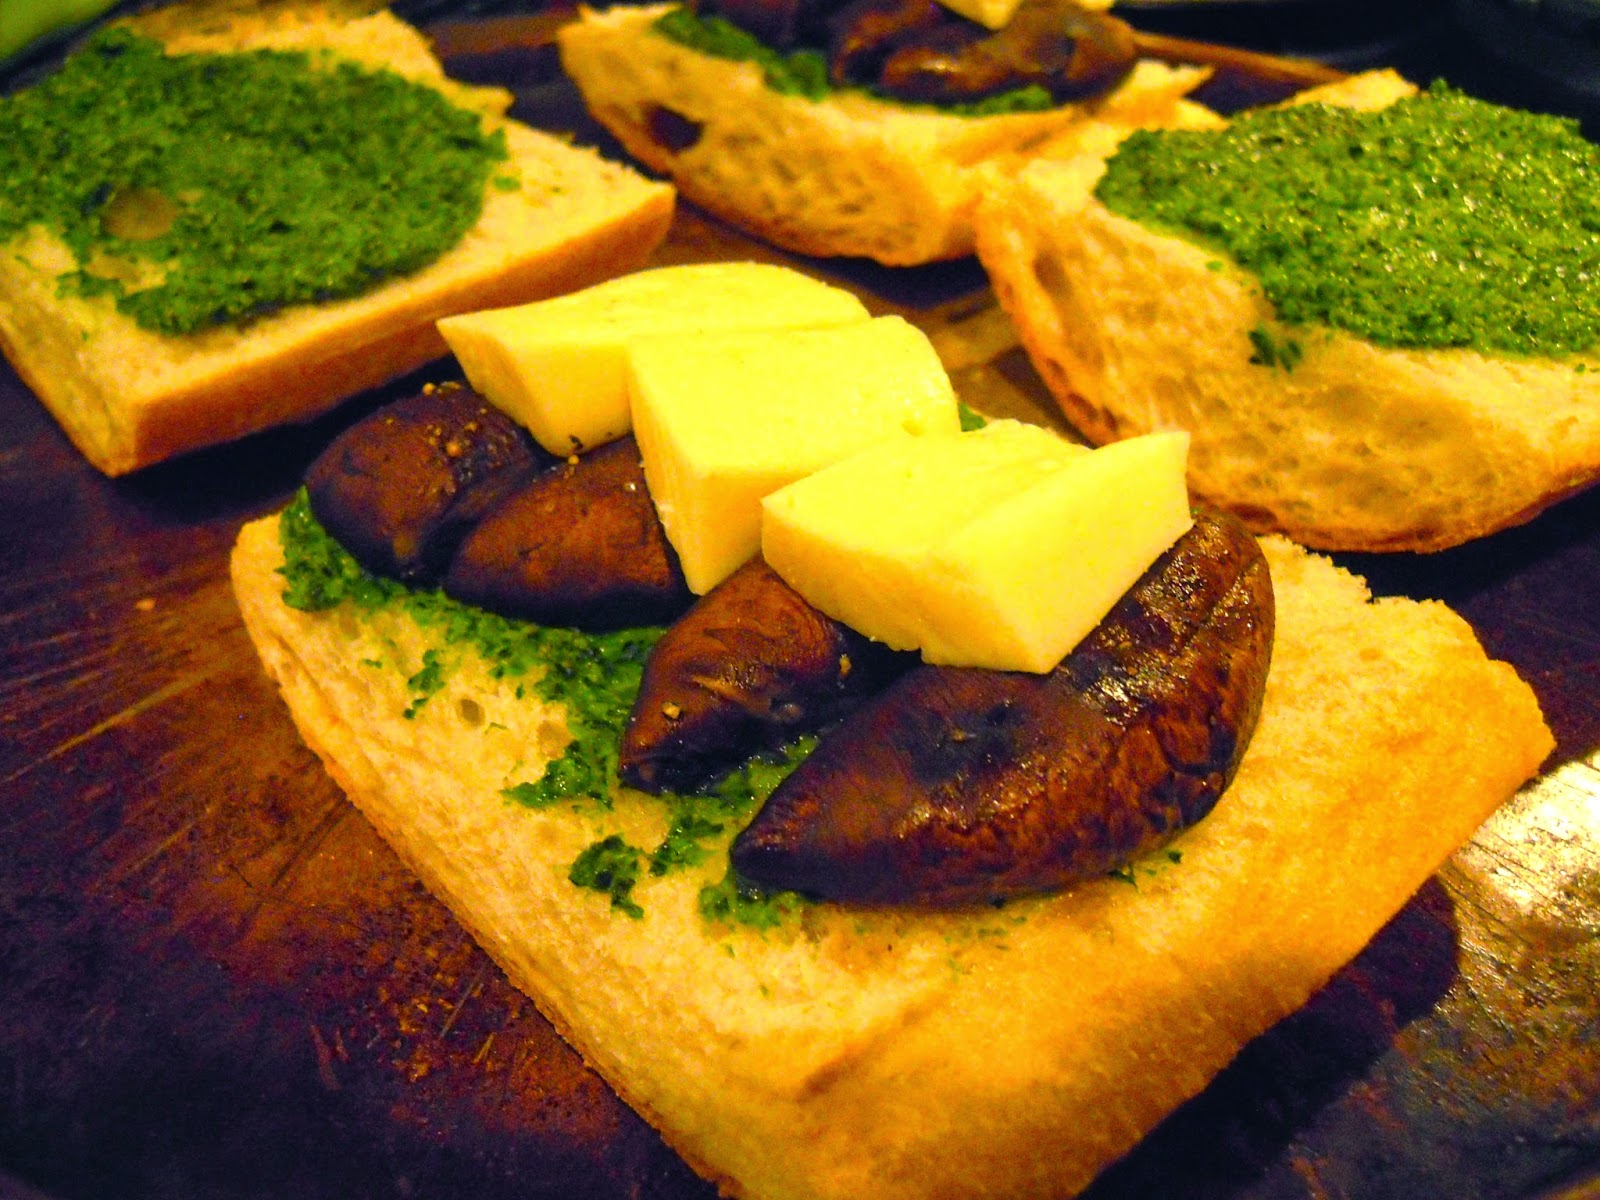
I definitely have an obsession with pesto. And it’s even better when you make it fresh at home. To change things up, I thought I would use kale instead of the traditional basil for this pesto. All I can say is wow! The kale gives you the same color and similar taste as the basil pesto, but the texture is a little thicker, which is perfect for sandwiches {and even pasta!}. That’s the other great thing about this kale pesto recipe, it makes a lot. You will definitely be able to use this for another weeknight dinner 🙂 So not only was the kale pesto delicious, the way the Portobello and brie melted together was so savory!! This was a pretty quick weeknight meal and the best part is you have some fresh kale pesto that you can toss with pasta later in the week for a super-fast weeknight meal! Enjoy and thanks for reading!  
portobello-brie-sandwiches-with-kale-pesto

Portobello + Brie Sandwiches with Kale Pesto

4 Portobello mushroom caps

6 ounces brie cheese, thinly sliced
1 loaf ciabatta bread
Olive oil
Salt and pepper to taste

For the kale pesto:

3 cups kale {I used Tuscan kale}

2 garlic cloves
1/3 cup pine nuts, toasted
Juice of 1 lemon
1/2 cup olive oil
1/2 Parmesan cheese
Salt and pepper to taste

portobello-brie-sandwiches-with-kale-pesto

portobello-brie-sandwiches-with-kale-pesto

Preheat the oven to 400 degrees. After cleaning the portobello mushrooms, place on a baking sheet that has been sprayed with cooking spray. Brush each mushroom cap with olive oil and add a little salt and pepper to taste. Cook for about 10 minutes. Meanwhile, prepare the pesto: begin by toasting the nuts in a dry saucepan over medium-low heat for about 5 minutes or until fragrant. Add pine nuts and garlic cloves to food processor and pulse for a few seconds to chop. Add the kale, in batches, pulsing each time to break chop the kale. Add salt and pepper and the juice of 1 lemon; pulse again to combine. While food processor is on and running, slowly add the olive oil. Once combined, add the Parmesan cheese and blend until fully incorporated. Once the mushrooms are finished roasting, remove from the oven and slice into 1/2 – 1 inch slices. Increase oven temperature to broil. To assemble sandwiches, place about a tablespoon {or just enough pesto to cover the slice} on each side of the ciabatta bread. Place the mushroom slices followed by the brie cheese on the bottom slice of bread. Place under the broiler for about 5 minutes, or until the cheese begins to melt. Place the top slice of ciabatta on top and serve!

P.S. Check out my Essie Fall 2014 Collection nail polish giveaway here! All you have to do is “like” A Blonde’s Moment on Facebook, post the link to the giveaway on your Facebook or blog and leave me a comment here to let me know you did both! Giveaway close this Saturday {8/16} at midnight EST! The winner will be randomly picked and announced Sunday morning! You don’t want to miss out on the new fall Essie colors! Good luck!!

almond butter

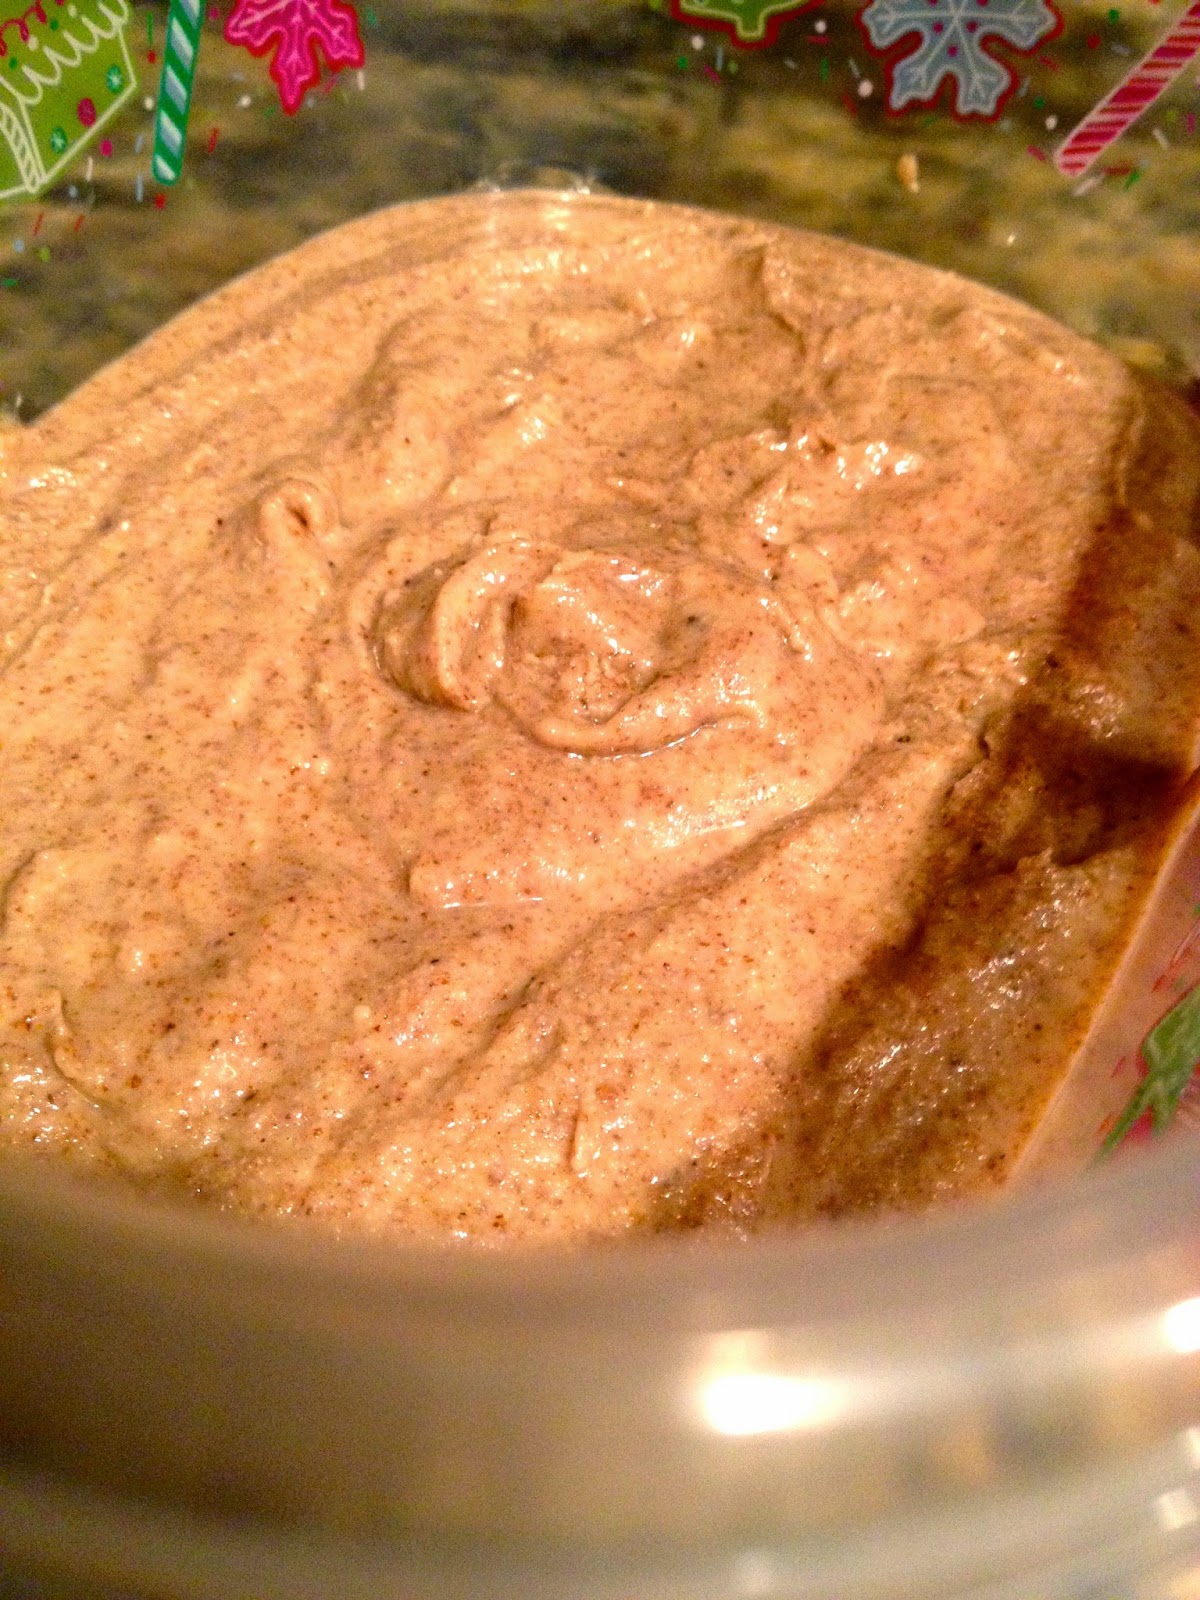
Have you jumped on the almond butter craze yet? I’ve been reading so much about almond butter lately, I thought I would look for it at the grocery store. {As a side note, I love peanut butter so this just seemed great!} Like peanut butter, the almond butter you buy in the store isn’t just the almonds or the peanuts…there is also a lot of sugar. So after deciding that I just couldn’t possibly afford that amount of sugar for a “snack”, I continued with my shopping list. While walking by the aisle with all the bulk items, like sunflower seeds and nuts, I saw the bag of almonds. I thought to myself, can I just make my own almond butter? Well the answer to that is a YES! The natural oils in the almonds break down to create a butter without adding any sugar or additional oil. And let me tell you, it’s addicting. I made it on Sunday and I have been craving it since! I have been spreading it on an English muffin for breakfast and dipping celery in it for a snack. It is a similar consistency to peanut butter, but in my opinion, the almond butter has such a great flavor. And the recipe {if you even want to call it that!} is so easy, you won’t believe it!! 

almond-butter

Homemade Almond Butter

2 10.25-ounce bags raw almonds
1 food processor

Place the almonds in a food processor {warning: it’s going to be pretty loud until all the almonds get chopped!} Continue running the food processor, scraping down the sides as you go, for about 10 minutes or until a creamy consistency forms! Place in a Tupperware container and refrigerate.

Such a fun and delicious “recipe” that is so perfect for breakfast and snacks! Enjoy!! 

back to school blues

navy-check-blouse

J.Crew-navy-cardigan

silver-Burberry-watch

J.Crew-pearl-statement-necklace

silver-J.Crew-flats
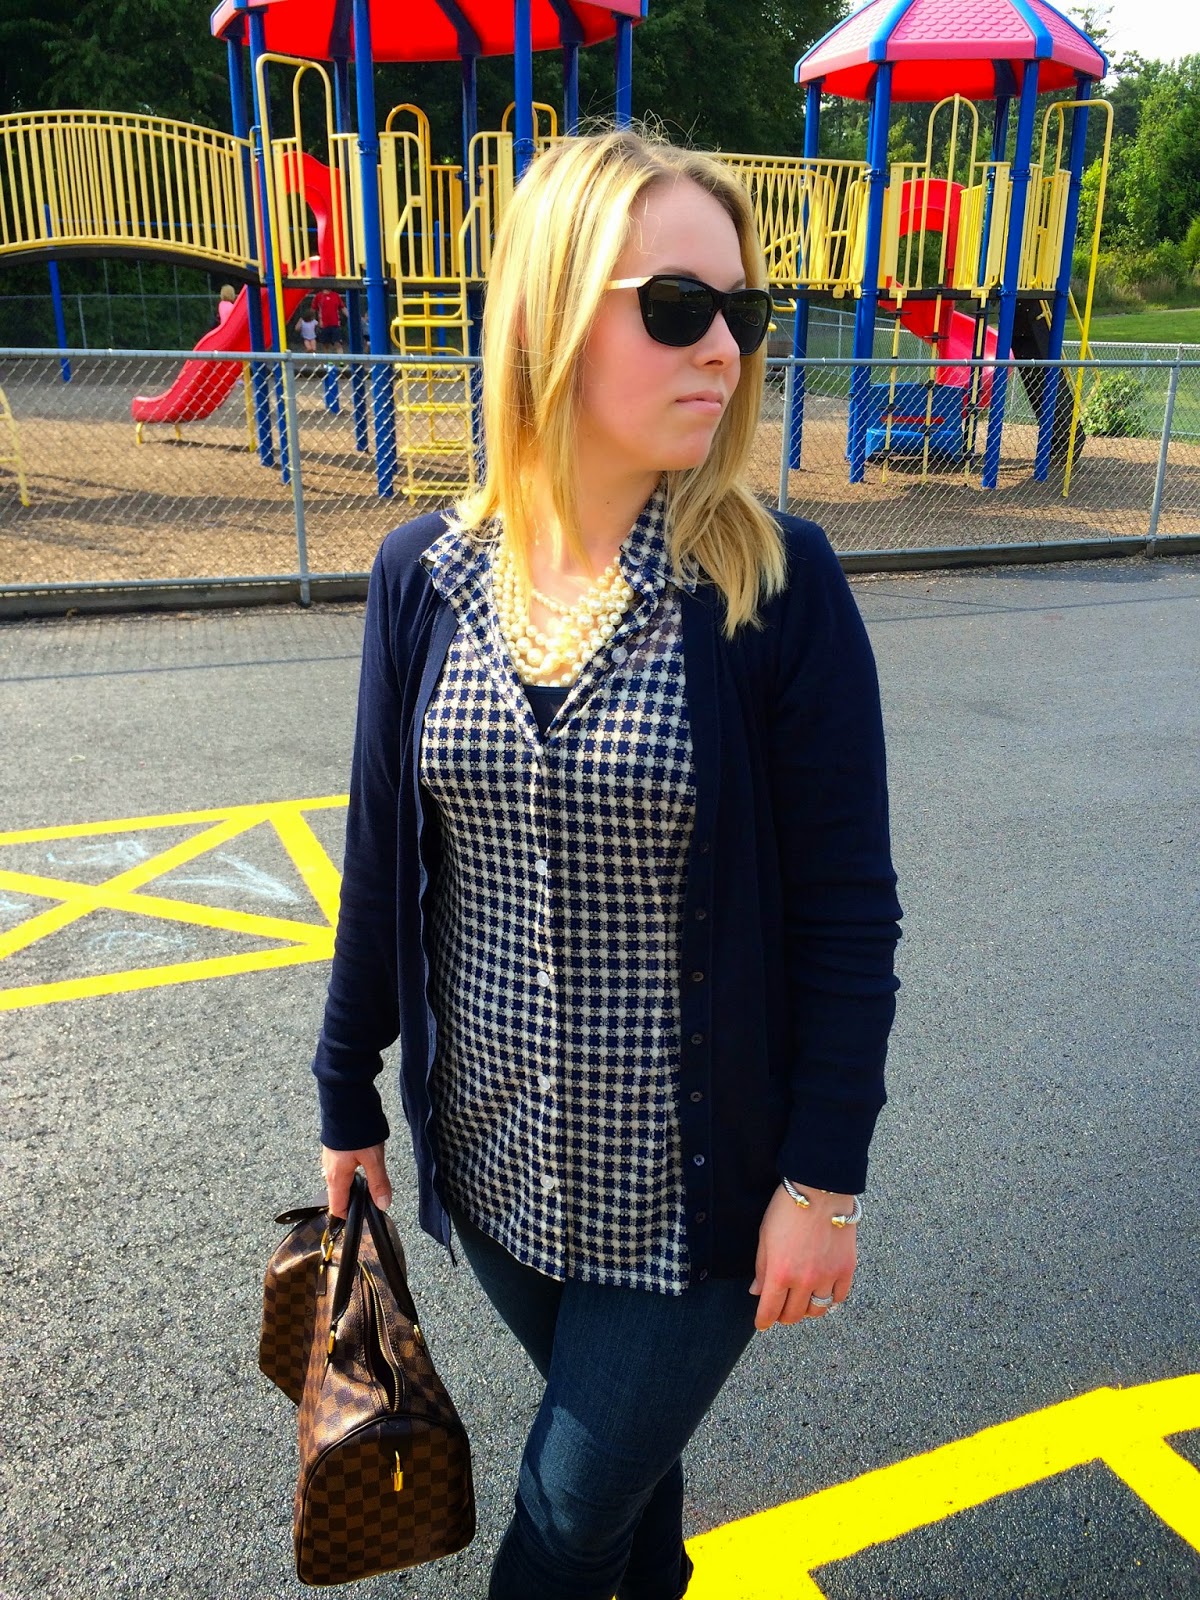
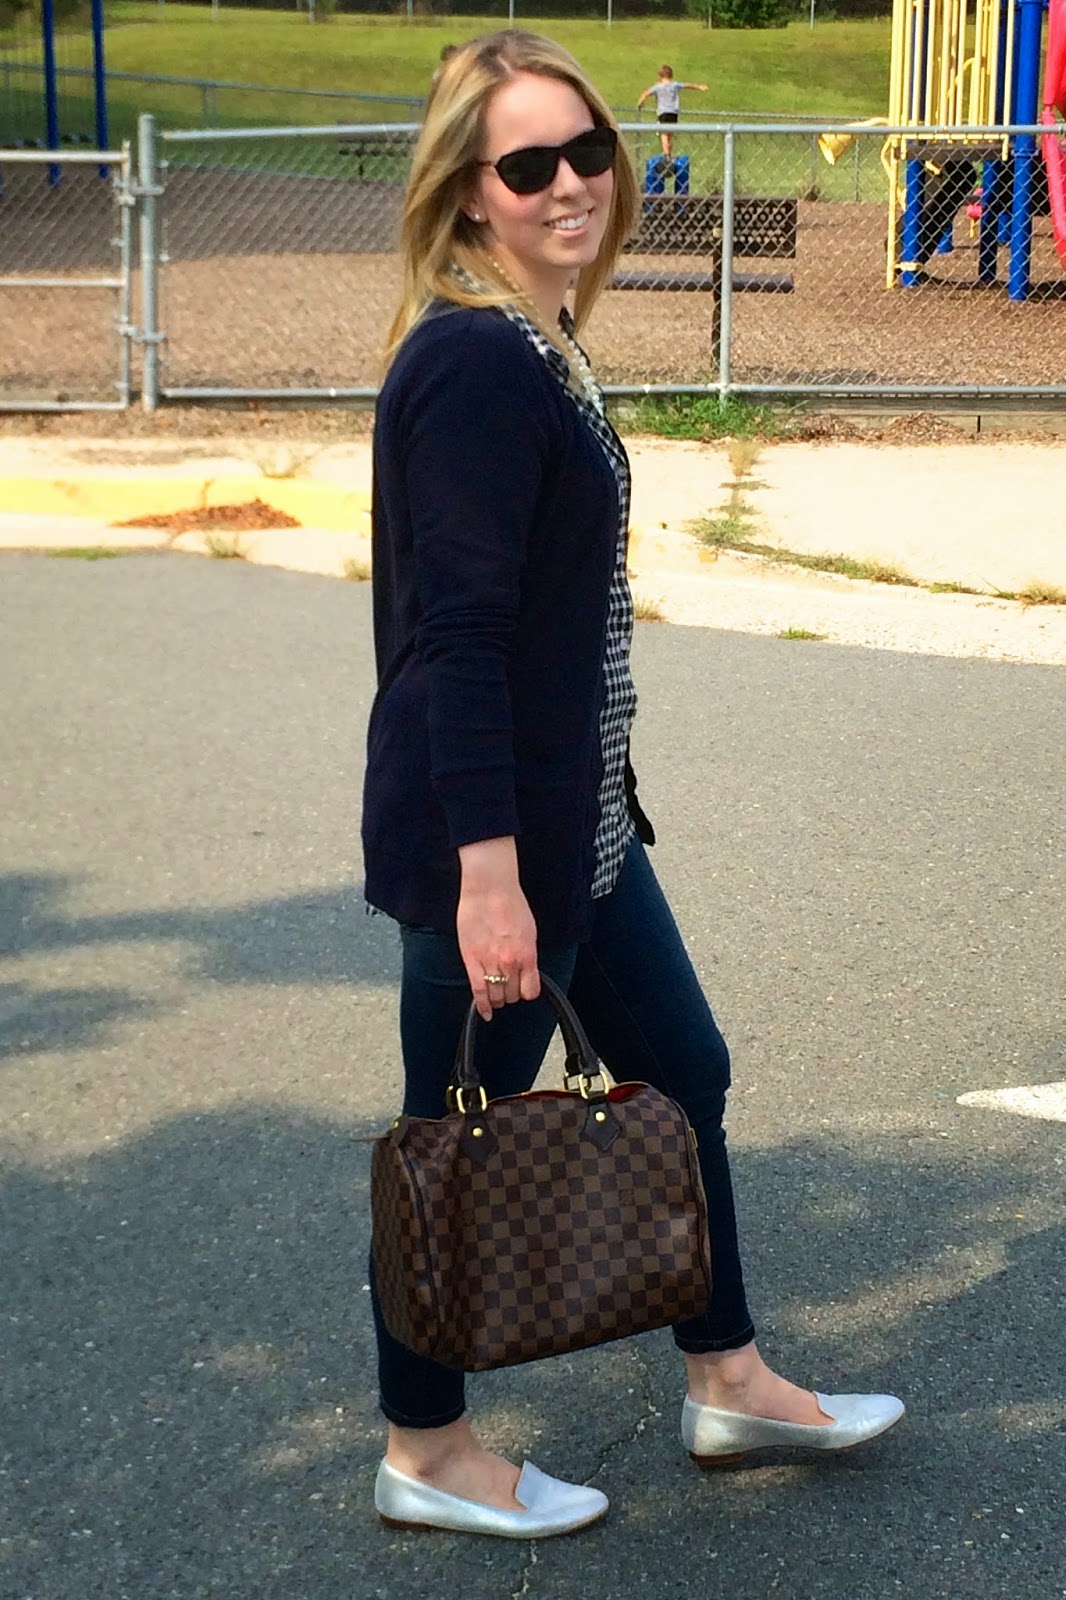
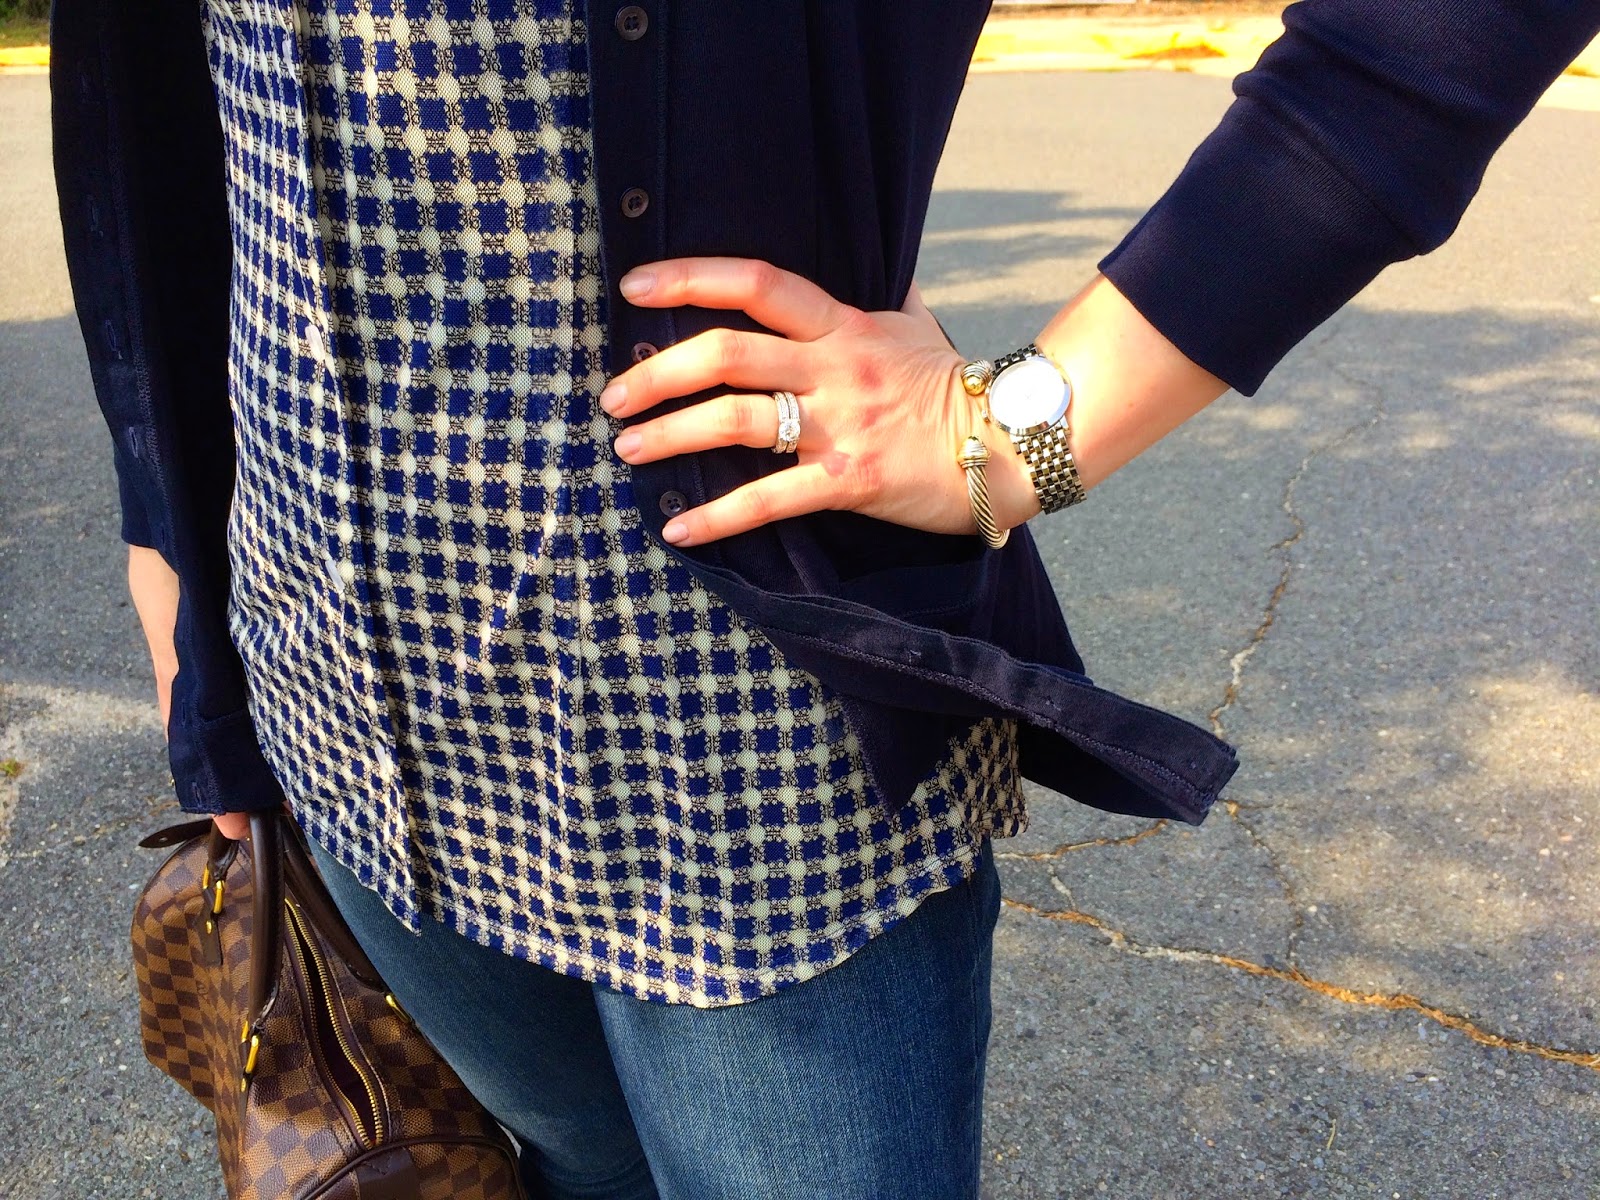
Shirt: CAbi, no longer available {similar here} | Cardigan: J.Crew {on sale!} | Jeans: Current/Elliott | Shoes: J.Crew {last seen here} | Necklace: J.Crew | Watch: Burberry | Bracelet: David Yurman | Earrings: Mikimoto {similar here} | Ring: Links of London {on sale!} | Sunglasses: Tory Burch {similar here} | Lipgloss: NARS

I’ve always been a fan of fall. I love the change of seasons and the cool and crisp air that comes with it. And with fall comes back to school. I remember always being nervous and excited for the start of the school year, not knowing what to expect but excited for the challenges ahead.

In my opinion, this outfit has “back to school” written all over it. The checked shirt and long cardigan just seem like the perfect first day of school outfit! It may still be August, but fall and the first day of school are right around the corner so it’s time to start planning!!

P.S. Don’t forget to enter for the Essie Fall 2014 Collection giveaway! See all the details here. Giveaway closes this Saturday {8/16} at midnight EST!

farmers market vegetable lasagna

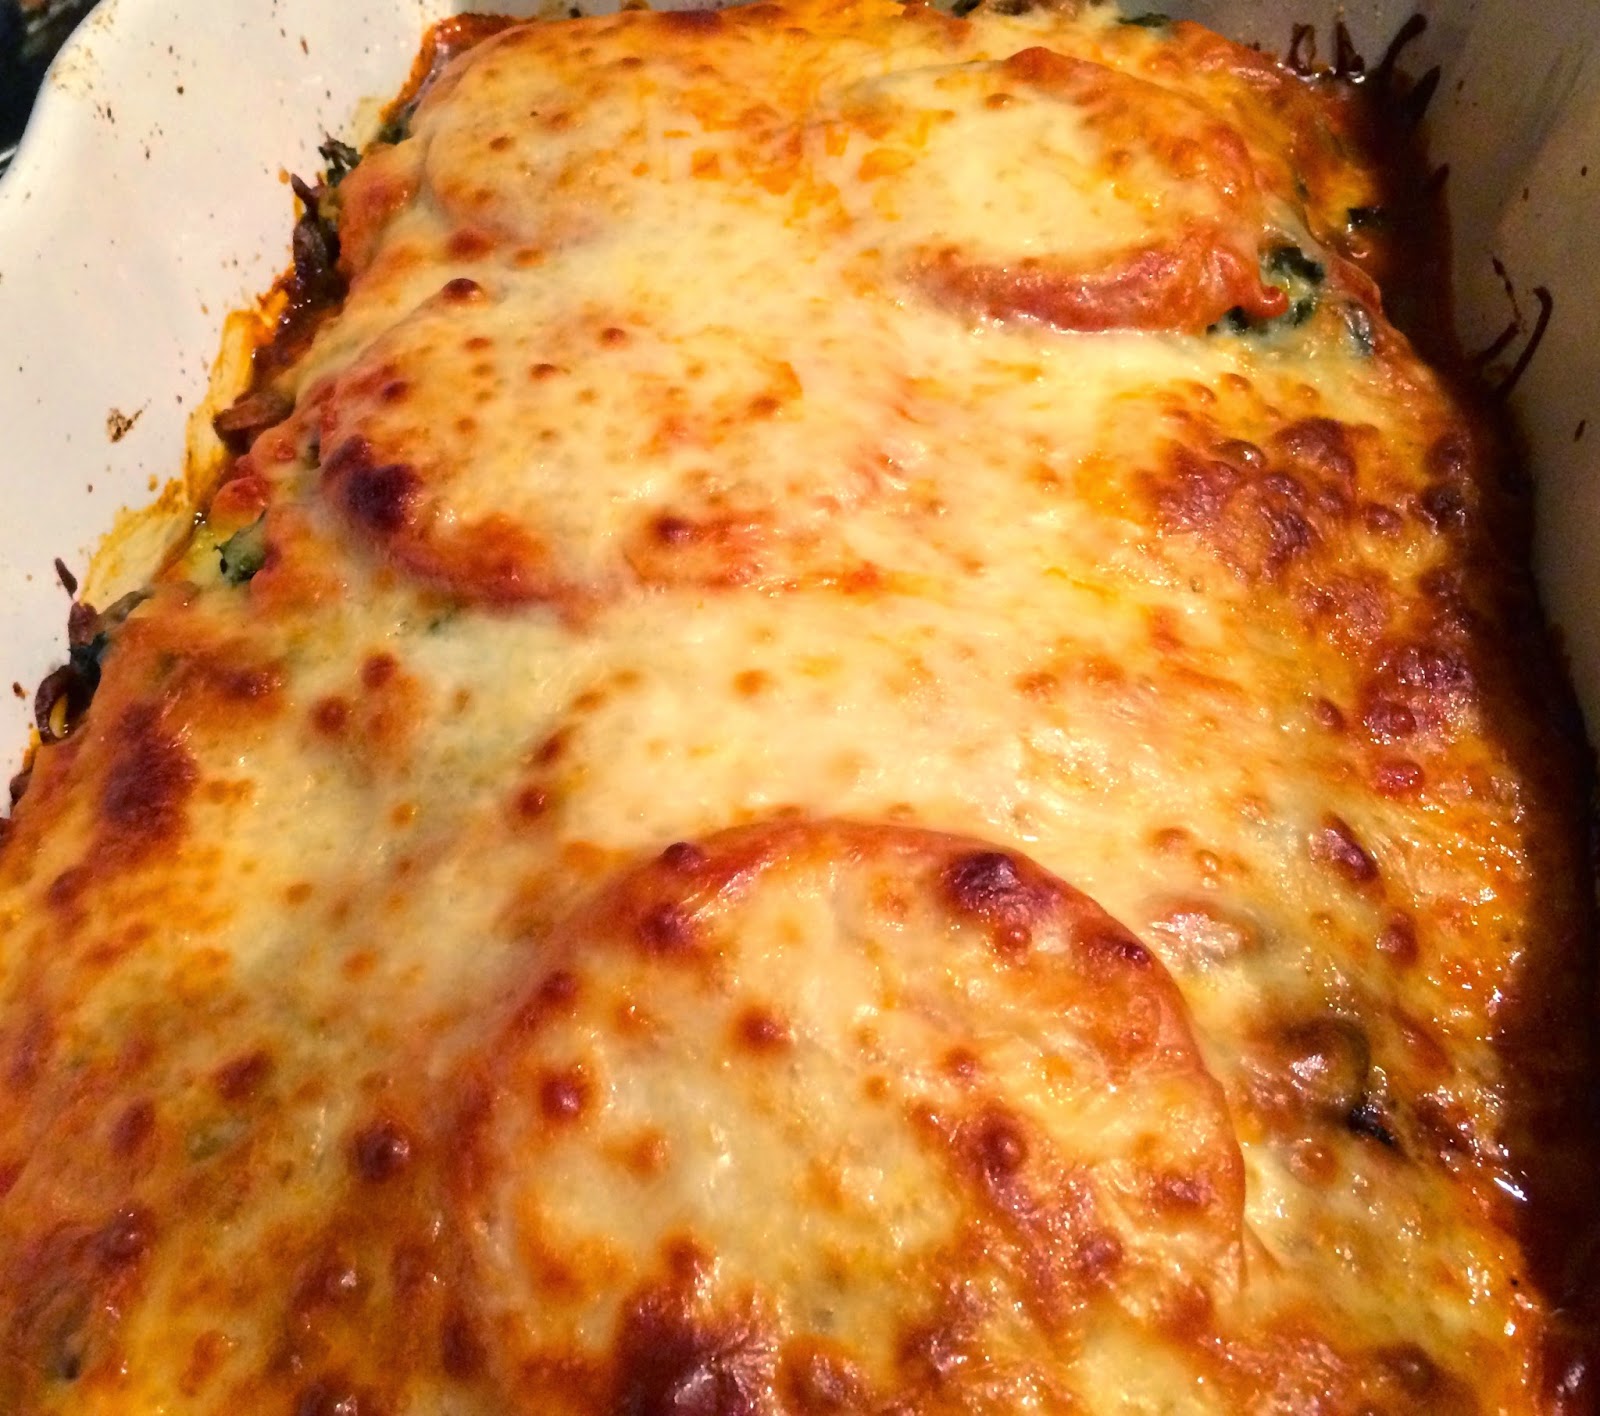
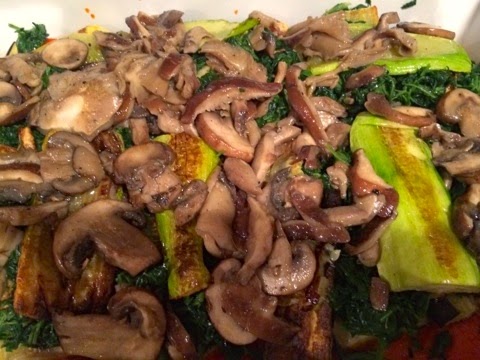
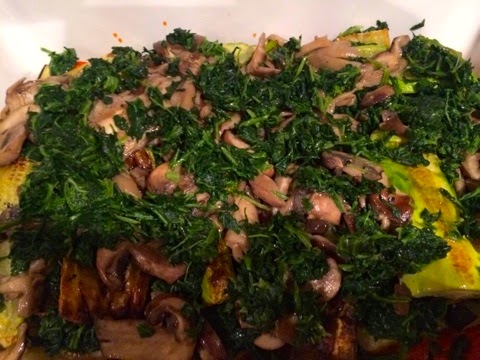
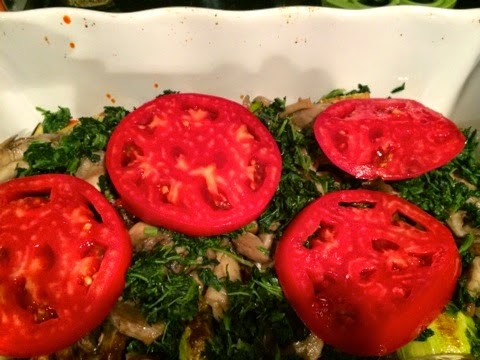
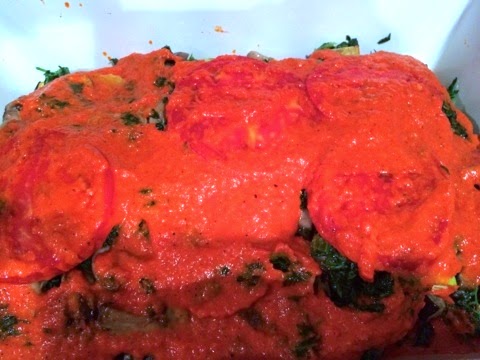
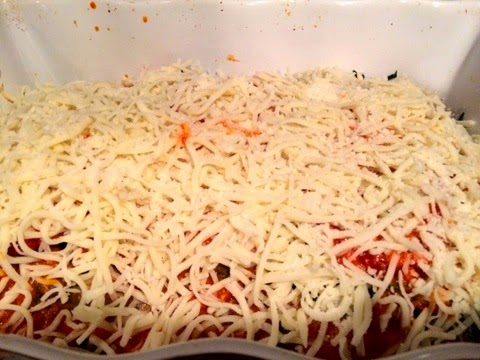
I couldn’t get over all the local vegetables I found at Wegmans this past weekend. I just had to make something with all these vegetables and what better way than to feature them in an all vegetable lasagna! Not only is this lasagna fresh, but also good for the waistline! By replacing the traditional pasta with all vegetables, you have a healthy meal on your hands. Even the “red sauce” is a red pepper-based sauce {last seen here}. Take advantage of this recipe now while the vegetables are fresh! Thanks for reading and happy farmers market shopping!
farmers-market-vegetable-lasagna

Farmers Market Vegetable Lasagna 

1 eggplant, thinly sliced

1 zucchini, thinly sliced
1 yellow squash, thinly sliced
8 ounces mushrooms (I used a blend of baby bella, shitake & oyster)
2 10-ounce boxes frozen chopped spinach, thawed
1 large tomato, thinly sliced
1 12-ounce jar piquillo peppers, drained (or other red pepper), roughly chopped
1 yellow onion, chopped
1 garlic clove, minced
4 tablespoons olive oil
2 cups shredded mozzarella cheese {I used part skim}
2 tablespoons Parmesan cheese
Salt and pepper, to taste

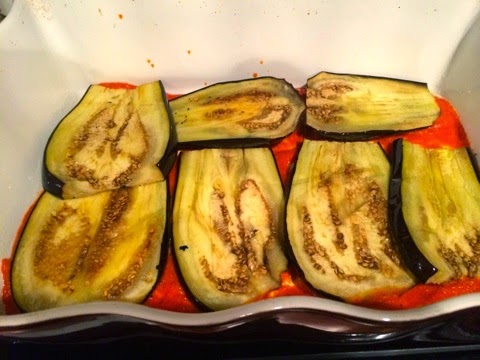
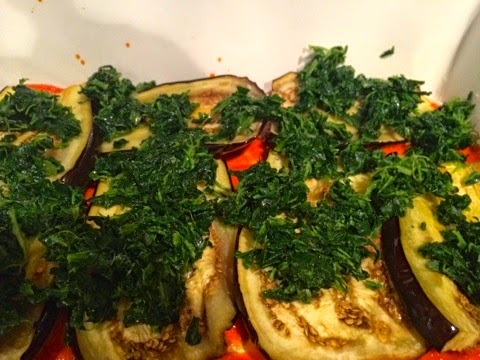
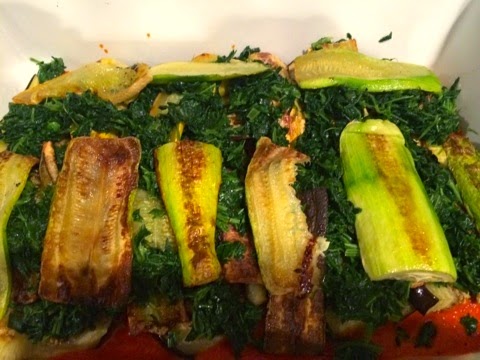
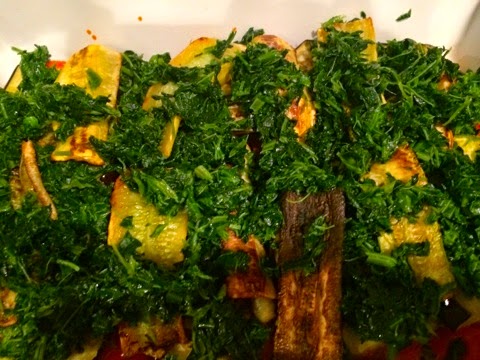
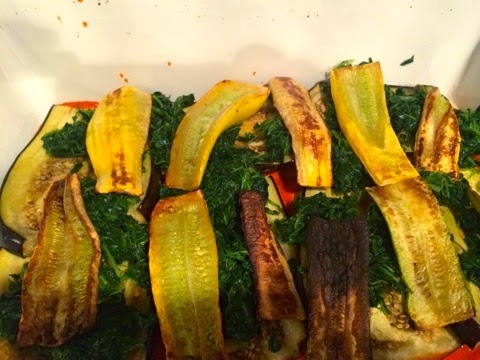
Preheat oven to 400 degrees. Spray baking sheet with cooking spray and place thinly sliced eggplant, zucchini and yellow squash on baking sheet. Brush vegetables with olive oil or give them a quick spray of cooking spray; cook for 20 minutes, flipping the vegetables halfway through {season with salt and pepper, if desired}. Meanwhile, heat 2 tablespoons olive oil in skillet and sauté the mushrooms until the liquid has evaporated, about 5 minutes. Transfer mushrooms to a small bowl. In the same skillet, add another 2 tablespoons olive oil and sauté the onion and garlic for 2-3 minutes; season with salt and pepper. Add the piquillo or other red pepper and cook for another 2 minutes. Place pepper, onion and garlic mixture in a food processor or blender and blend until smooth. Once vegetables are roasted, reduce oven temperature to 375 degrees. Begin to assemble the lasagna: spray a casserole dish with cooking spray. Spread about 2 tablespoons of the red pepper sauce on the bottom of the dish, just to cover the bottom. Assemble in the following layers: eggplant, 1/3 of the spinach, yellow squash, 1/3 of the spinach, zucchini, mushrooms, the last 1/3 of spinach, tomato slices and top with the rest of the red pepper sauce. Top with shredded mozzarella cheese and sprinkle with Parmesan cheese. Place foil over the lasagna and cook for 30 minutes. After 30 minutes, remove the foil and increase the temperature to 400 degrees and cook for 5-10 minutes until the cheese begins to brown. Let sit for at least 5 minutes and serve.

Here are the step-by-step pictures:
eggplant-vegetable-lasagna

spinach-vegetable-lasagna

zucchini-vegetable-lasagna

spinach-vegetable-lasagna

yellow-squash-vegetable-lasagna

mushroom-vegetable-lasagna

spinach-vegetable-lasagna

tomato-vegetable-lasagna

red-pepper-sauce-vegetable-lasagna

vegetable-lasagna-mozzarella-cheese

P.S. Don’t forget to check out the Essie Fall 2014 giveaway here. Giveaway closes Saturday {August 16th} at midnight EST. The winner will be randomly pick and announced Sunday morning! Good luck!
essie fall giveaway!! {closed}

As I mentioned in Friday’s post, something exciting was coming to A Blonde’s Moment. I am SO excited to announce the first giveaway!!

essie-giveaway
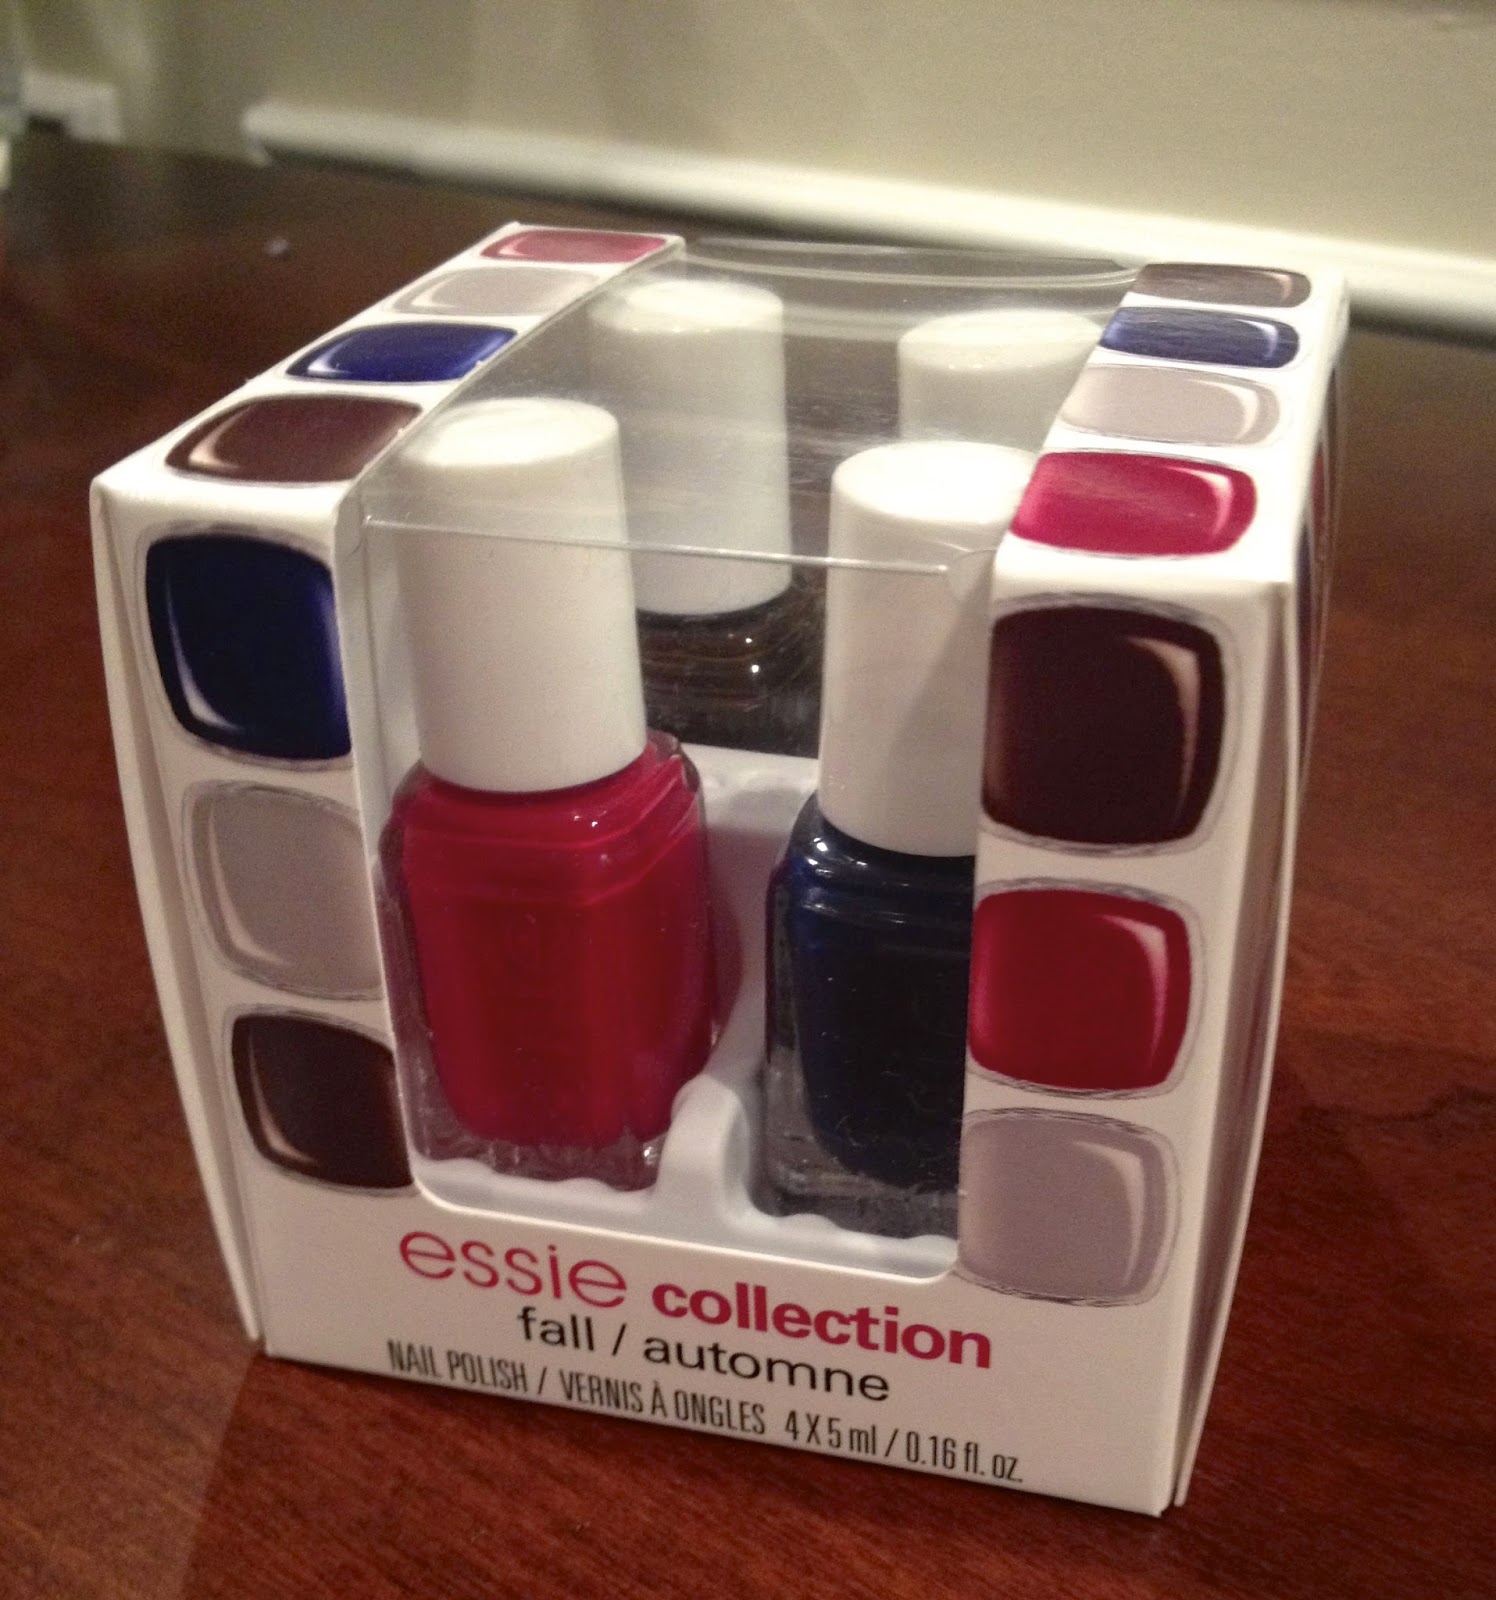
“Dress to Kilt” | “Style Cartel” | “Partner in Crime” | “Take it Outside”

The Essie Fall 2014 collection is here and I have the mini four-pack to giveaway to one lucky reader! It’s no secret I love nail polish, and these fall colors are too perfect! With a deep red, cobalt blue, creamy chocolate and taupe, these colors are perfect to get you in the mood for fall. This is a giveaway you don’t want to miss with fall just around the corner!

Entry Rules…

*Like A Blonde’s Moment on Facebook {click here};

*Post the link to this giveaway on your Facebook or blog; and

*Leave me a message in the comments section {click on the balloon callout below!} of this post and let me know that you did both!

The giveaway will close Saturday {August 16th} at midnight EST. The winner will be randomly selected and announced Sunday morning!

Good luck!!

red pepper pasta

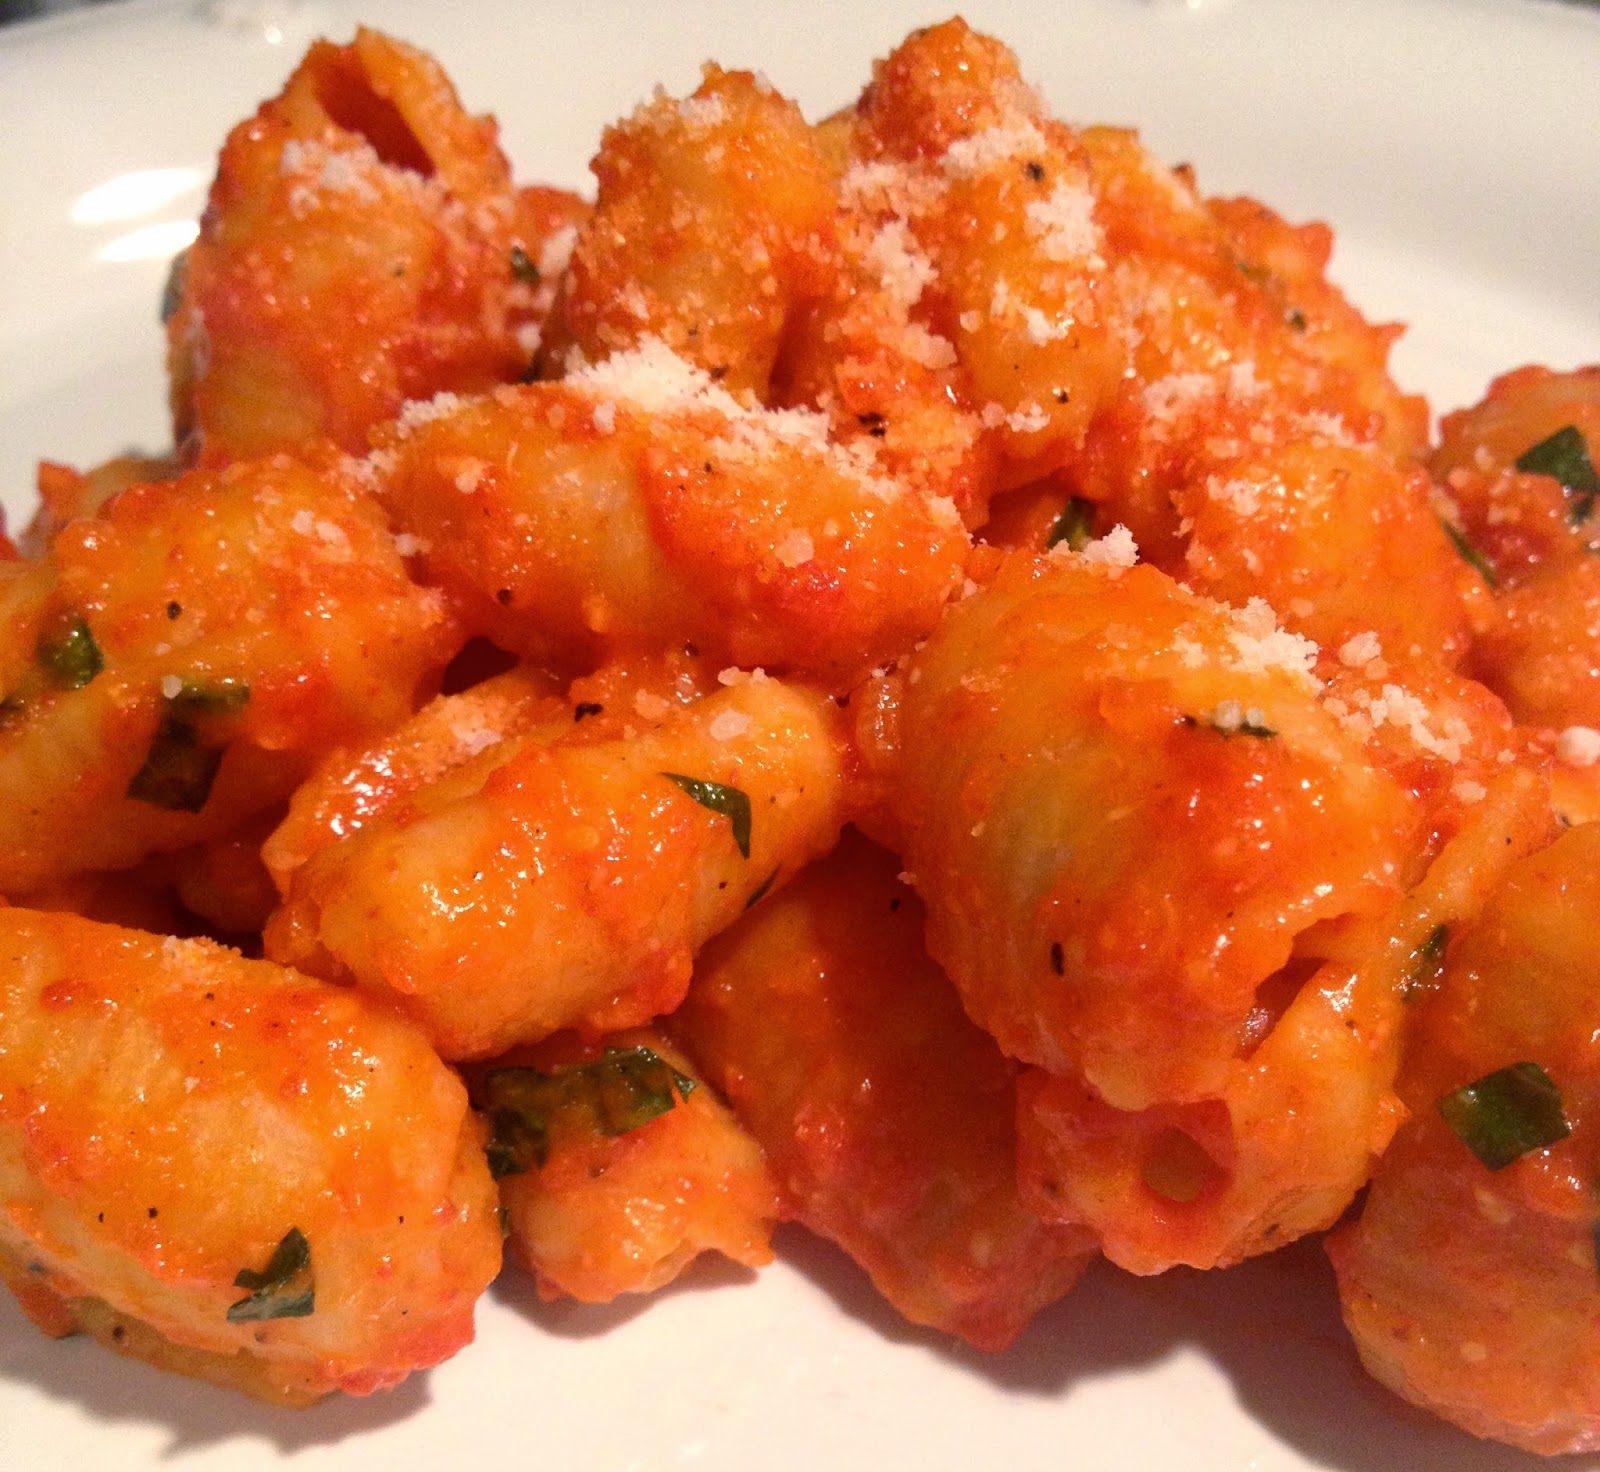
 I am so obsessed with this pasta. Not only is it a quick dinner, but it’s surprisingly healthy {doesn’t it look like a high-calorie pink sauce?!} I love the idea of taking different vegetables and blending them to make a sauce. But most of the time, jarred peppers are packed in oil, which means more calories. I recently discovered these grilled piquillo peppers at the store that are packed in water! What a concept!! This is so much healthier than the roasted red peppers that are packed in a ton of oil. If you can’t find the peppers packed in water, I would suggest draining and rinsing the peppers before adding them to the onion and garlic 🙂 As for the type of pepper to look for, anything will work! The piquillo pepper has a sweet flavor with no heat, but experiment with different peppers if you are looking for more spice! 

 Happy Friday everyone and enjoy the weekend!

Stay tuned, a big surprise is coming to A Blonde’s Moment in a few days!! Thanks for reading!

red-pepper-pasta

Red Pepper Pasta

1 12 ounce jar red peppers, roughly chopped (I used piquillo peppers packed in water)
1 yellow onion, chopped
2 garlic cloves, minced
2 tablespoons olive oil
1 pound pasta (I used Barilotti, but any short pasta will work)
7-8 basil leaves, chopped
2 tablespoons Parmesan cheese (more for garnish)
Salt and pepper to taste

Begin by cooking pasta according to package instructions; drain pasta well. In a large skillet, heat the olive oil over medium heat and add the onion and garlic; season with salt and pepper. Sauté for about 3-4 minutes until soft. Add the piquillo peppers and cook for another 2-3 minutes. Place the onion, garlic and pepper mixture plus 1 tablespoons Parmesan cheese in a food processor; blend until smooth. Place the red pepper sauce back in the same large skillet and turn off the heat. Transfer cooked pasta to the large skillet and toss with red pepper sauce to evenly coat. Stir in the basil and 1 tablespoon Parmesan cheese. Garnish with additional Parmesan cheese, if desired.