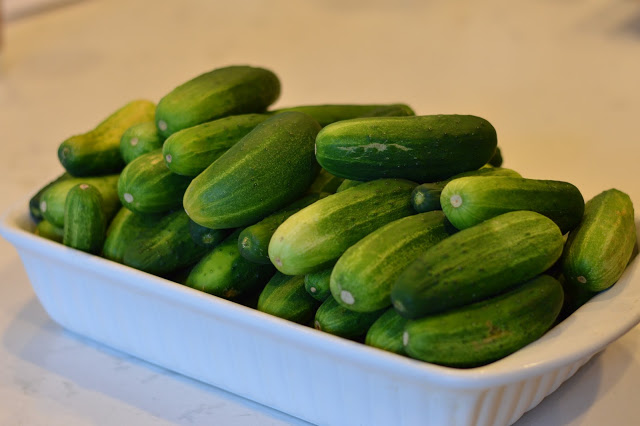
- 4 pounds pickling cucumbers
- 14 garlic cloves, peeled & halved
- 1/4 cup pickling salt
- 3 cups water
- 2 3/4 vinegar, 5% acidity
- 14 sprigs fresh dillweed
- 14 peppercorns
Category: Food
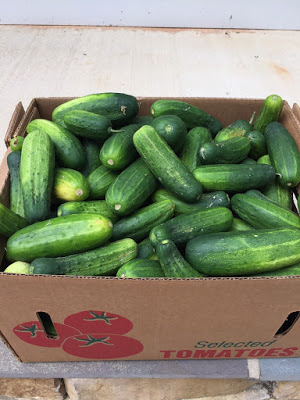
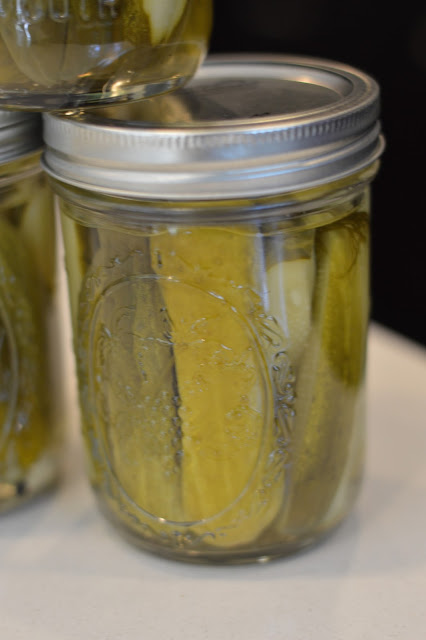
Each summer growing up, I can remember my mom heading to the farmer’s market to pick up TONS of cucumbers to make dill and bread and butter pickles. And since summer is coming to an end and this is your last opportunity to pick up fresh cucumbers before the weather turns, I wanted to share this recipe from Southern Living for canned pickles that my mom has been using for years.
I was down visiting my parents during pickle canning weekend, and we made both dill and bread and butter pickles. I’m a much bigger fan of the dill pickles, but if you would like to see the recipe we used for the bread and butter pickles, please let me know and I will post it!
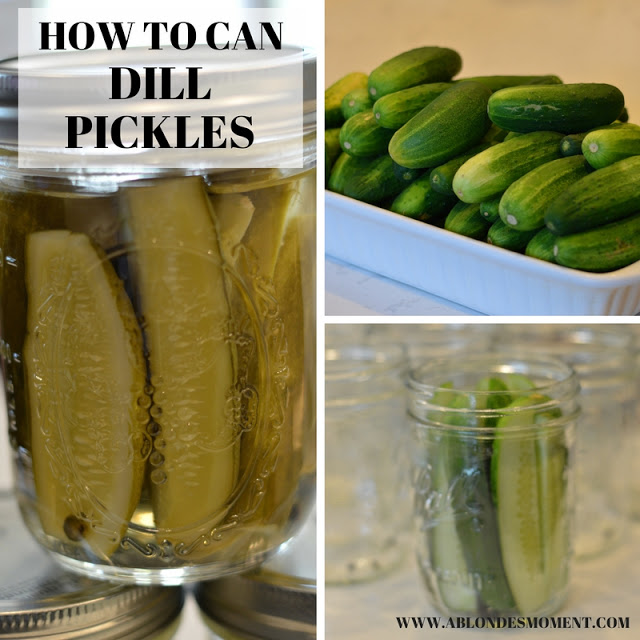
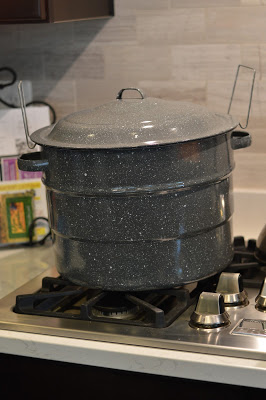
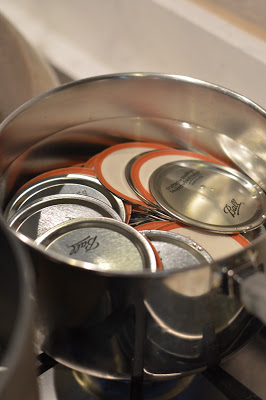
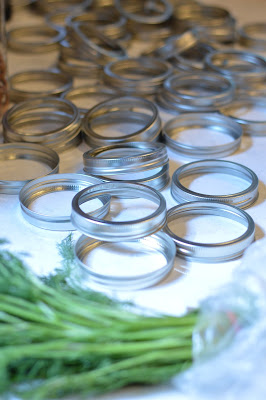
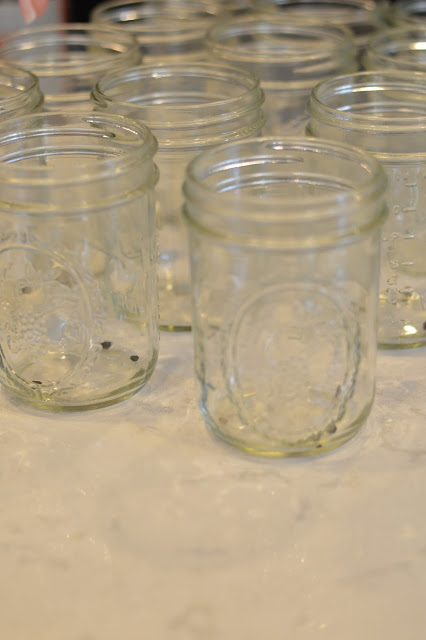
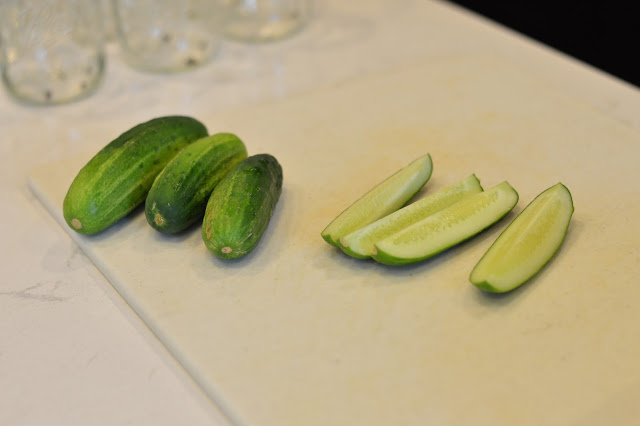
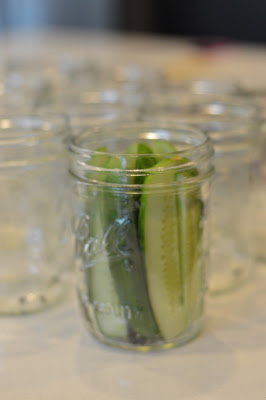
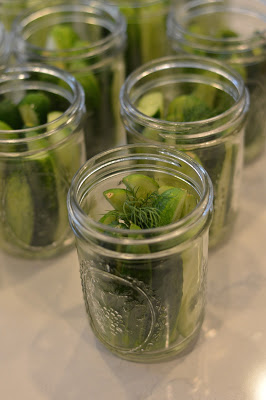
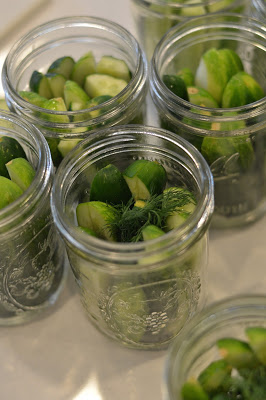
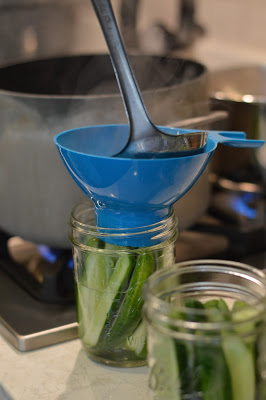
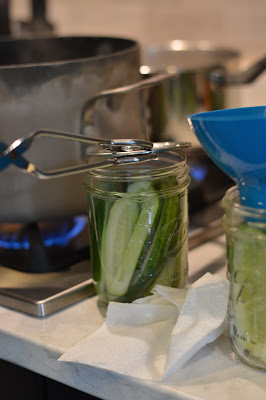
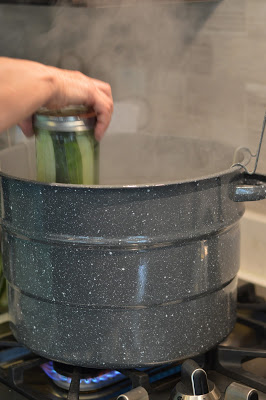
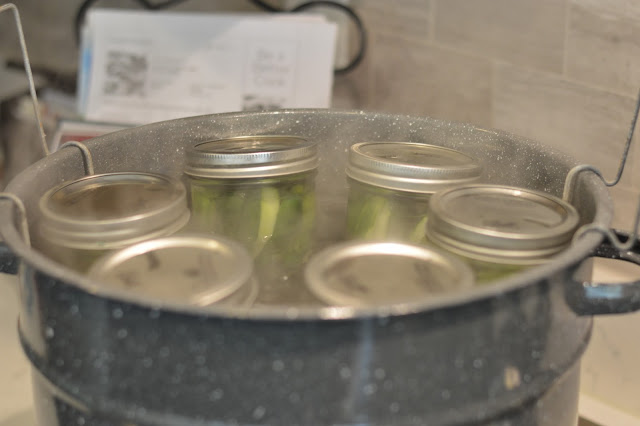
Here are a few pictures of the process. I will say, there are a lot of steps, but overall, the process of canning is pretty easy. As I mention in the recipe below, these pickles will be good on the shelf for a year and for a few weeks in the refrigerator. You can eat them as soon as they are ready, but it’s good to wait at least a week for the flavors to develop. I’m making Cheeseburger Pizza tonight for dinner and I’m going to use our first jar! I’ll keep you posted on how they taste 😉
Homemade Dill Pickles
End of the summer canning with dill pickles.
Ingredients
Instructions
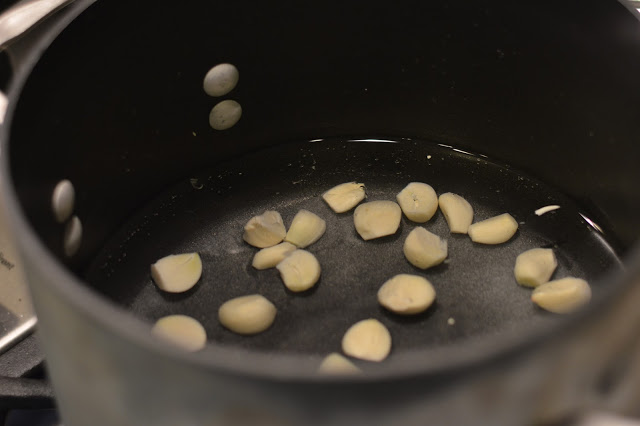
Wash the cucumbers and cut in half lengthwise. Combine the garlic, salt, water and vinegar and bring to a boil. Remove the garlic and place 4 halves into each hot sterilized jar. Pack the cucumbers into the jars, adding 2 sprigs dillweed and 4 peppercorns to each jar. Pour boiling vinegar mixture over cucumbers, leaving about 1/2 inch at the top. Wipe the jar rims. Cover jars with metal lids and screw on metal bands. Process the jars in boiling-waterbath for 10 minutes. Pickles will keep for about a year on the shelf and for a few weeks in the refrigerator.
Yield: 6-7 pints
….
This post is linked up with: Tasty Tuesdays | Tickle My Tastebuds Tuesday | Two Cup Tuesday | Weekend Potluck
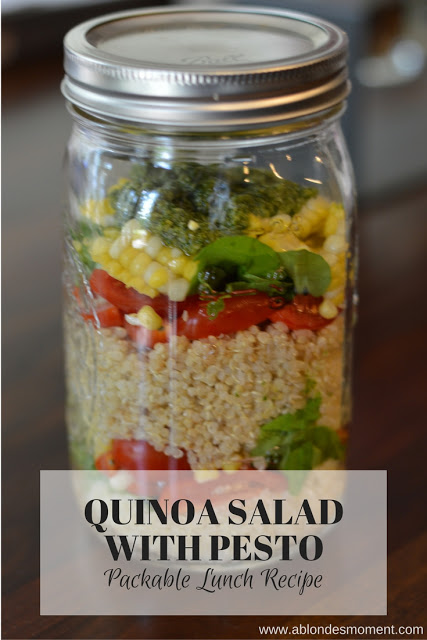
Quinoa Salad with Pesto: Packable Lunch Idea
It’s that time of the year again! As kids are heading back to school, it’s time to think about back to school clothing and fall staples {more on that tomorrow} and packing lunches. I always had a packed lunch throughout elementary, middle and high school {I wasn’t a huge fan of cafeteria food!} and I still pack my lunch most days for work. But, coming up with packable lunch recipes can be difficult. Even if you aren’t heading back to school, this is a great time of the year to hit the “reset button” on packing your lunch for work!
I’ve always been fascinated by the “salad in a Mason jar” idea. You can customize each jar with the toppings of your choice, make a weeks worth by dividing the ingredients into separate jars and grab one out of the refrigerator and head to work. When it comes to packing lunches, I’m all about convenience, ease and bonus points if it’s filling and healthy!
As for the inspiration behind these ingredients, one of my favorite places to pick up a salad is sweetgreen. Not only are the ingredients fresh, but the combinations are delicious and super healthy. Unfortunately, the salads are a little on the expensive side. A few months ago, sweetgreen opened a location near my office and I knew that had the potential to be bad. One of the main reasons I love packing my lunch is because I hate the price of eating out. Thankfully, I haven’t been too tempted by sweetgreen since they opened, and now that I was able to recreate one of my favorite salads they offer, I think I will stick to this homemade and cheaper version!
Check out the recipe below. If you don’t like some of these ingredients, you can easily replace them with your favorites. I couldn’t pass up the chance to include fresh corn on the cob since summer is fading quickly. And no matter what ingredients I select, I always like to incorporate a grain, such as quinoa, to make it a little more filling.
**See THIS post on how I make my pesto**
Quinoa Salad with Pesto
A healthy and packable lunch idea for work or back to school.
Ingredients
- 1 cup quinoa, cooked
- 1 cup arugula
- 3/4 cup pesto
- 1 pint grape tomatoes, quartered
- 1 ear corn on the cob
- 3 quart-sized Mason jars
Instructions
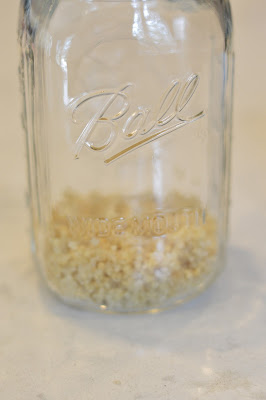
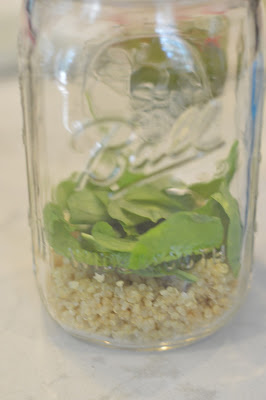
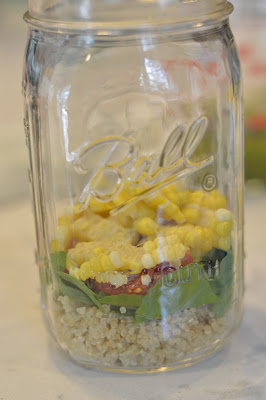
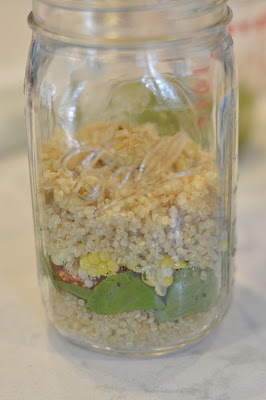
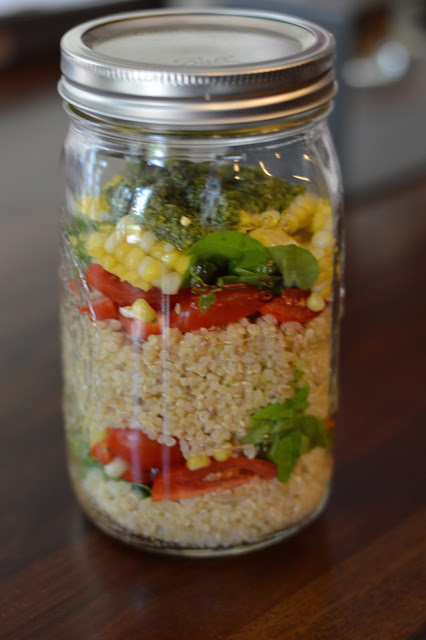
Cook the quinoa according to the package directions. Once the quinoa has cooled, in a clean Mason jar, begin by layering the ingredients in the following order: quinoa, arugula, tomatoes, corn and about 1 tablespoon of pesto. Repeat the layers ending with the pesto. Secure the lid tightly and refrigerate until ready to eat.
Yield: 3 servings
What are your go-to lunch recipes that are easy to take to school or work? If you are looking for more packable lunch ideas, check out THIS cauliflower rice and THIS quinoa caprese salad.
Have a great Tuesday, friends!
This post is linked up with: Tasty Tuesdays | Tickle My Tastebuds Tuesday | Two Cup Tuesday | Weekend Potluck
The Best Fall Recipes
When it comes to choosing a favorite season, Fall always wins in my book. There is something about the cool, crisp air and the warm and delicious flavors of the season that has me dreaming of the leaves turning during the heat of summer…like right about now! And although it may not seem like it with these temperatures, Fall is right around the corner. Today, I wanted to share some of my favorite Fall recipes that will even have the lovers of summer dreaming of these pumpkin, butternut squash and maple flavors!
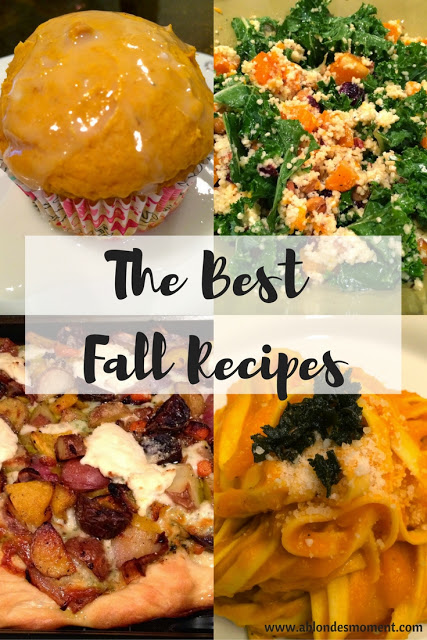
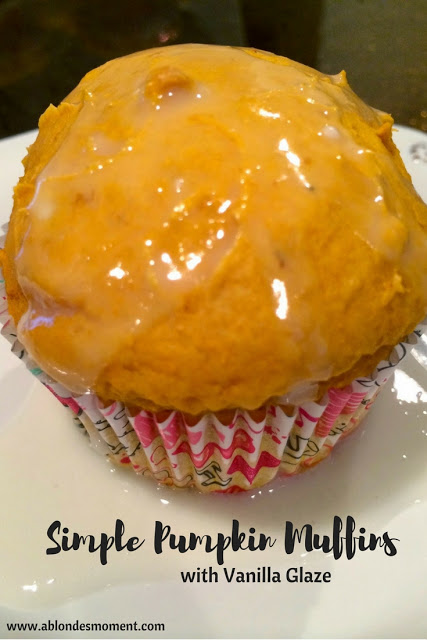
Simple Pumpkin Muffins with Vanilla Glaze
{recipe HERE}
I’ve been making these three ingredient muffins for a few years now and I just can’t get enough of them. I was actually craving these pumpkin muffins back in June and considered making them. Unfortunately, I didn’t have any of the canned pumpkin or I probably would have made them in a heartbeat! The vanilla glaze is optional {and it will add a few more ingredients to your ingredient count} but it gives the muffin the most delicious sweetness. Truthfully, I would eat the glaze without the muffin. It’s that good 😉
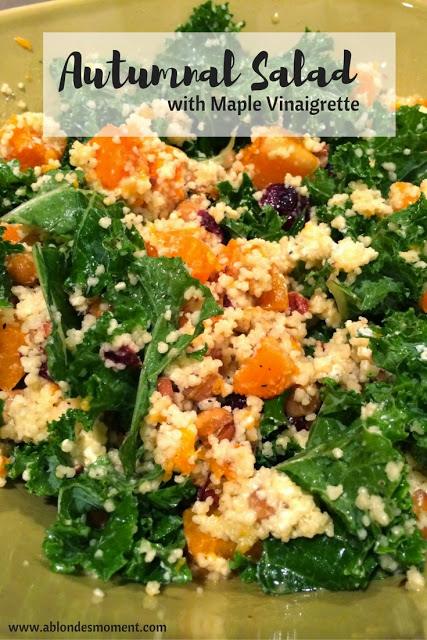
Autumnal Salad with Maple Vinaigrette
{recipe HERE}
This salad truly captures just about every flavor of Fall in one dish! And it’s pretty healthy, too. With the roasted butternut squash, cranberries, pecans and maple vinaigrette, it may seem like a pretty sweet salad. But, the kale and goat cheese really cut the sweetness and leave you with a healthy salad that tastes like Fall in just one bite.
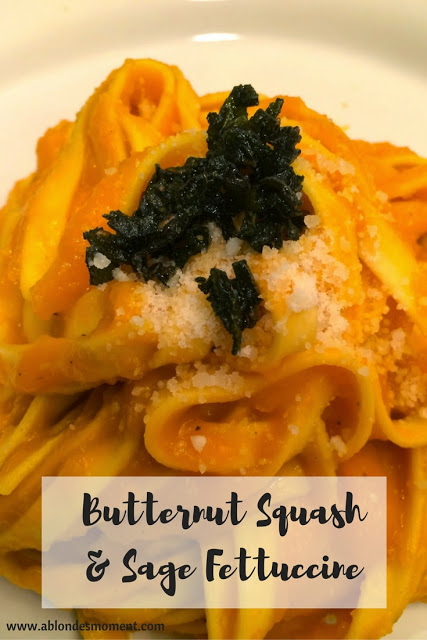
Butternut Squash & Sage Fettuccine
{recipe HERE}
I’m a sucker for anything pumpkin or butternut squash during the Fall. I have come up with countless ways of incorporating these two ingredients into main courses, but this is probably one of my favorites. Although it sounds and looks relatively complicated, the sauce is a quick butternut squash puree that is finished with the crispy sage. A quick and super impressive weeknight meal!
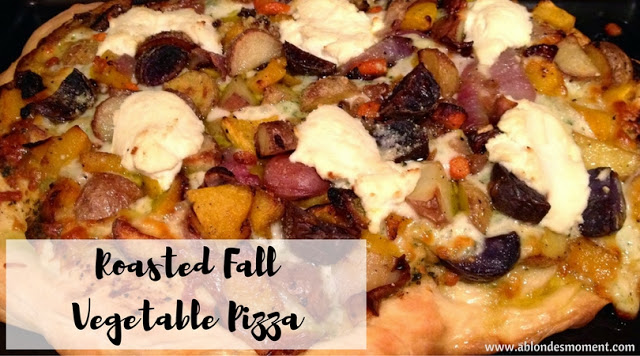
Roasted Fall Vegetable Pizza
{recipe HERE}
Last, but certainly not least, is one of my favorite Fall pizzas. Some of you may remember that Friday night is pizza night in our house and I love coming up with new ideas each week. I first made this a few years ago and it’s usually one of the first pizzas I make when the temperatures start to drop. With a pesto sauce and roasted medley potatoes, butternut squash, red onions and carrots, it’s one delicious and hearty pizza for those cool Fall days. Like so many of these Fall favorites, you can truly taste the season in each bite!
….
What are some of your favorite fall recipes? Please excuse some of the food photos — these were taken when A Blonde’s Moment was just starting out and I frankly had no idea what I was doing with a camera! They are some of my favorite recipes though and I didn’t want you to miss them 🙂
Thanks so much for stopping by and happy Fall cooking!
This post is linked up with: Tasty Tuesdays | Tickle My Tastebuds Tuesday | Two Cup Tuesday | Weekend Potluck
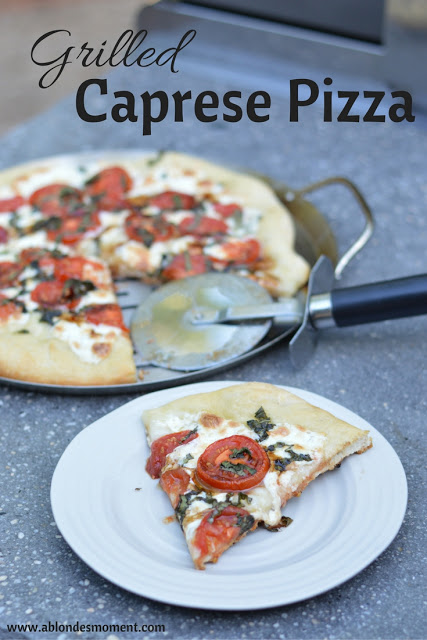
Grilled Caprese Pizza
If you have been following along for awhile now, you may know about my obsession with pizza. Every Friday is pizza night in our house and I love coming up with different combinations to try. Caprese pizza is probably one of my favorites, especially this time of the year with the fresh tomatoes and basil. But instead of using the oven for this weeknight dinner, I decided to use the grill!
I’ve been wanting to try grilled pizza for quite some time. And although I have been super intrigued by the concept, I have also been a little nervous. On Food Network, I have seen the chefs just put the pizza dough right on the grill and it seems to work perfect for them. I’m a little to cautious for that and decided that for the first time grilling pizza, there should probably be a pan involved. I used THIS pizza pan from Pampered Chef and it worked perfectly. It’s even dishwasher safe 😉
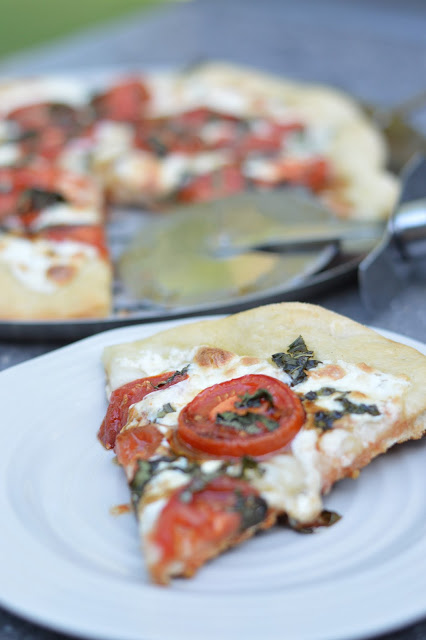
When it comes to pizza, I usually don’t discriminate: I’ll take it anyway I can get it! But I have to say this is my new favorite way to make pizza. The crust was so crunchy {complete with grill marks on the bottom!} and the cheese melted perfectly. I have a feeling I’m going to have a hard time going back to pizza in the oven once the temperatures get cold and grilling isn’t an option!
Grilled Caprese Pizza
A classic pizza cooked on the grill!
Ingredients
- 1 pound store bought pizza dough
- 3-4 Roma tomatoes, sliced
- 8 ounces fresh mozzarella, sliced
- 1/3 cup fresh basil, chopped
- 2 tablespoons olive oil
- Cornmeal, for dusting
- Cooking spray
- Balsamic glaze, if desired
Instructions
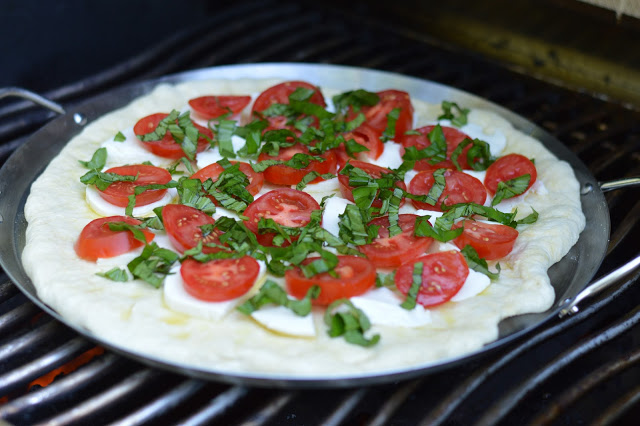
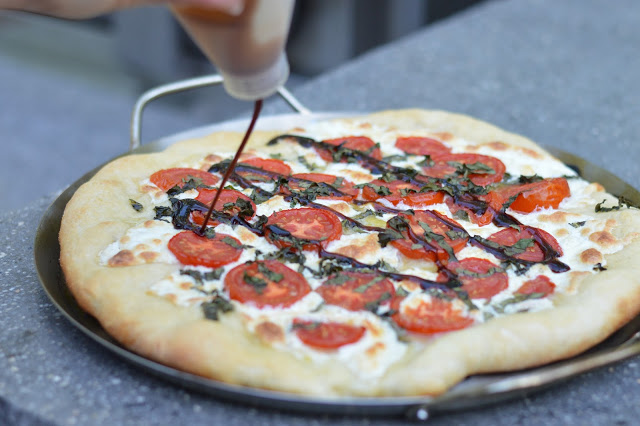
Preheat the grill for indirect heating to medium-high heat (mine was registering about 400 degrees while the pizza was cooking). Sprinkle your work surface with cornmeal and place the dough in the center of the surface. Roll the dough into a 12 inch circle and place on a pizza pan that has been sprayed with cooking spray. To assemble pizza: brush the olive oil onto the pizza, followed by the sliced mozzarella and tomatoes; top with the basil. Place the pizza pan on the grill and cook, covered, for 18-20 minutes, or until the crust is golden brown. Using an oven mit, carefully rotate the pizza pan every 5 minutes so the pizza cooks evenly. Once cooked, remove the pizza pan from the grill and top with the balsamic glaze, if desired. Serve and enjoy!
Details
Prep time: Cook time: Total time: Yield: 1 12″ pizza
….
This post is linked up with: Tasty Tuesdays | Tickle My Tastebuds Tuesday | Two Cup Tuesday | Weekend Potluck |
Zoodle Mac & Cheese
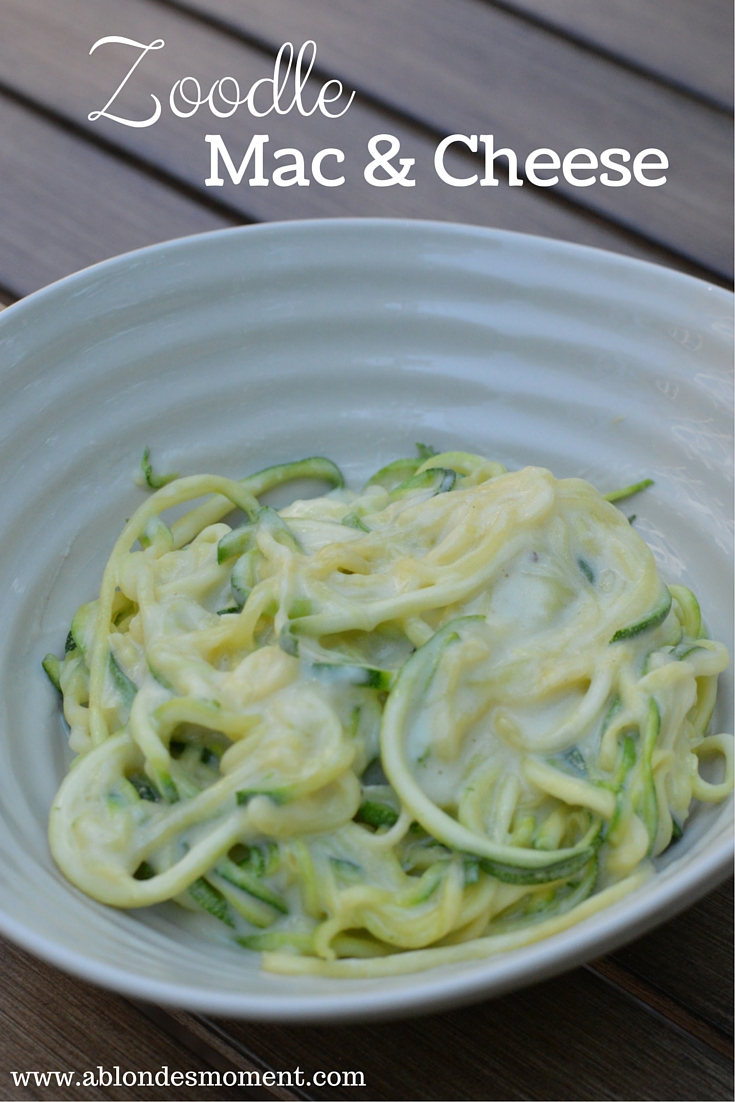
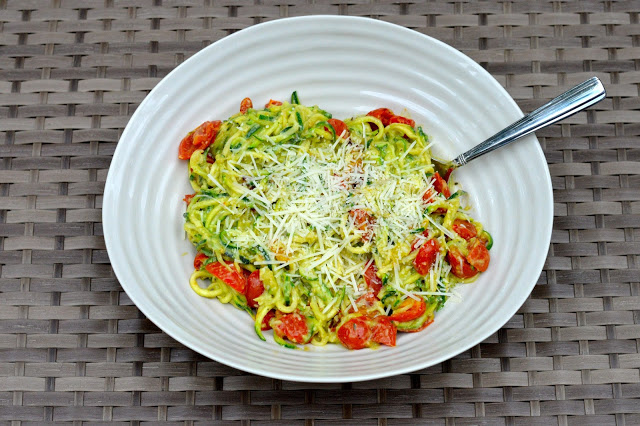
Another Tuesday, another zoodle recipe! You may remember this recipe from a few weeks ago, and since then, I just can’t get zoodles off my mind! Not only are zoodles healthier than pasta, they are so much fun to make. {I used this spiralizer & it’s currently on sale!} I am always on a quest to find healthier versions of some of my favorite comfort foods, and this might be my favorite yet! It’s still the same basic cheese sauce recipe, but by swapping out the pasta for zucchini, it’s much more carb friendly. Check out the recipe below!
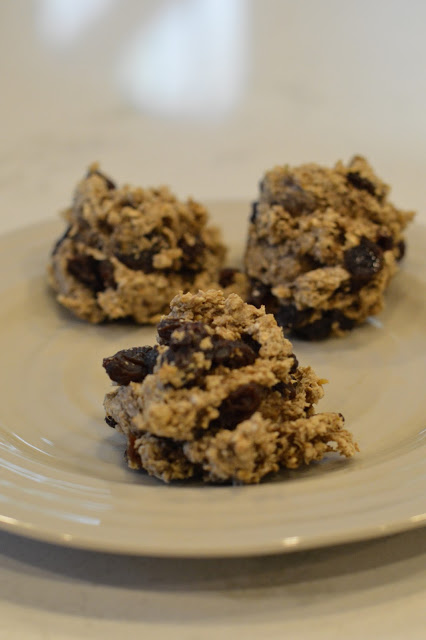
Healthy Oatmeal Cookies
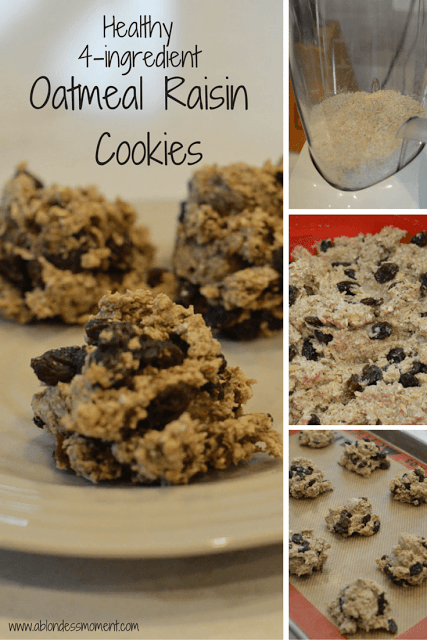
When it comes to desserts, I can’t say that I really have much of a sweet tooth. Although, there is one exception: Starbucks Oatmeal Raisin Cookies. This is one sweet that I crave and just typically can’t resist. I like to think my willpower is pretty strong, but when the Barista asks if she can warm the oatmeal cookie. STOP. All bets are obviously off! But, for as much as I love those Starbucks cookies, I don’t love the calories associated with them. So, I decided it was time to recreate this coffee house favorite in a healthier, yet just as delicious, version.
With only four ingredients, all of which are healthy, these aren’t a clone for the Starbucks cookies, but an excellent and healthier replacement. If you are more of a chocolate-lover, you could easily replace the raisins for chocolate chips or even add different fillings like coconut, walnuts, or butterscotch chips! Check out the easy recipe below!
Healthy Oatmeal Cookies
This healthy spin on the Starbucks Oatmeal Cookie has only four ingredients and can be customized with your favorite fillings!
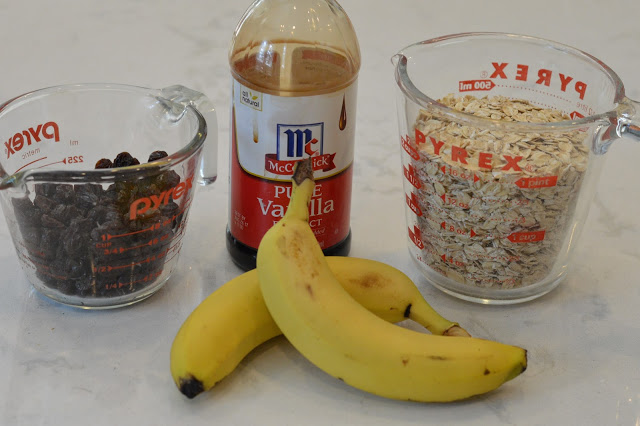
Ingredients
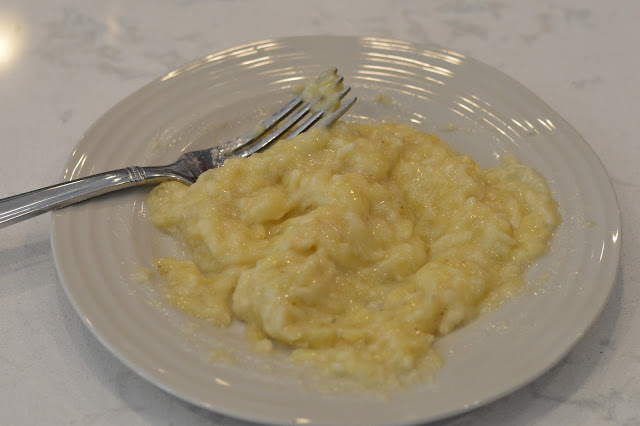
- 2 bananas, smashed
- 2 cups old fashioned oats
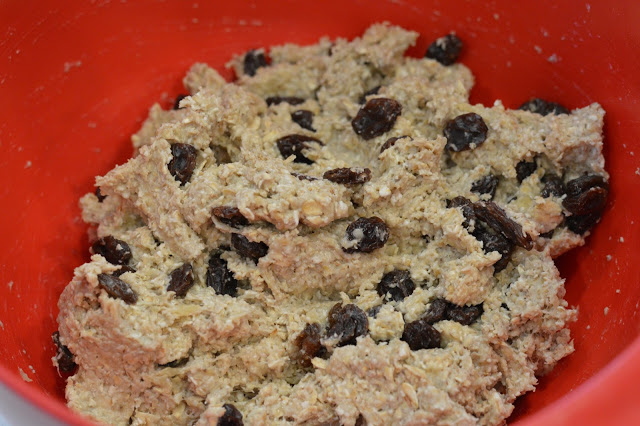
- 1/2 cup raisins, or other filling of choice
- 1 teaspoon vanilla extract
Instructions
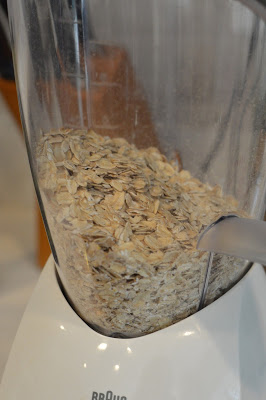
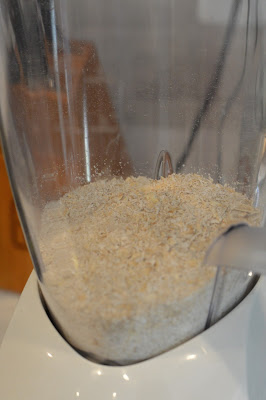
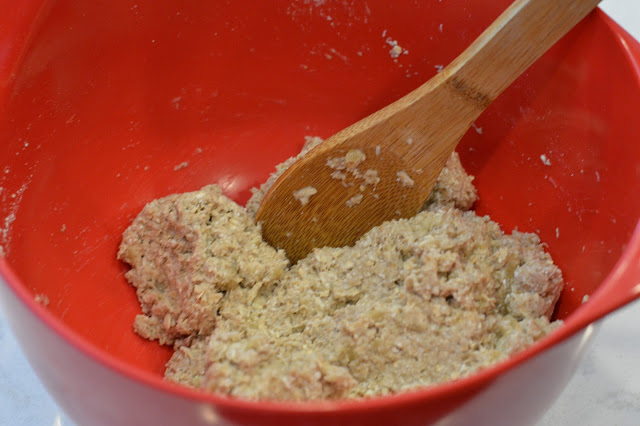
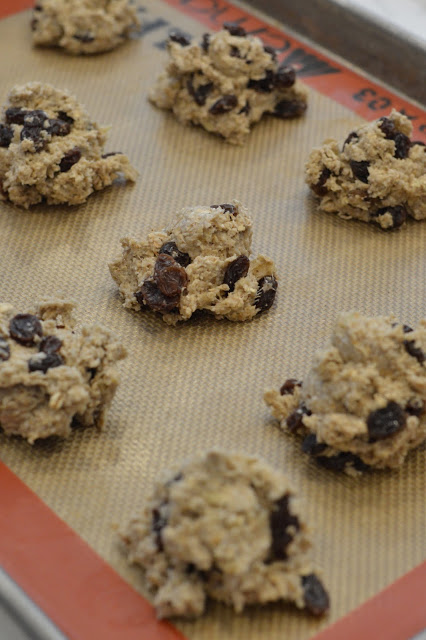
Preheat oven to 350 degrees. Place oats in a food processor and blend until the consistency of flour is reached; transfer to a medium-sized bowl. Add the smashed bananas and vanilla extract to the oats and stir to combine completely. Add the raisins (or other filling of your choice) and mix to combine. Place dollops of the mixture onto a cookie sheet and bake for about 10-11 minutes until just set. Serve and enjoy!
Details
Prep time: Cook time: Total time: Yield: 12 cookies
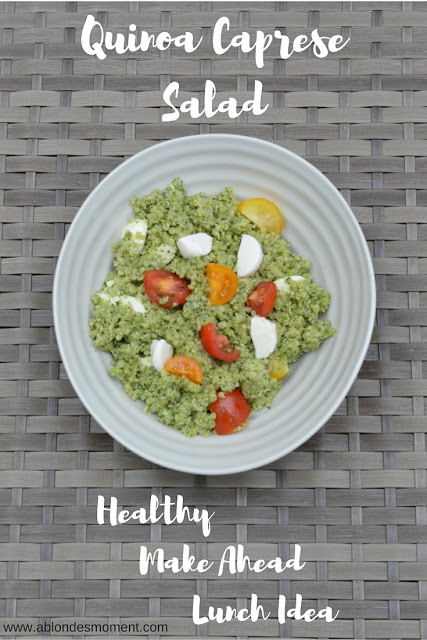
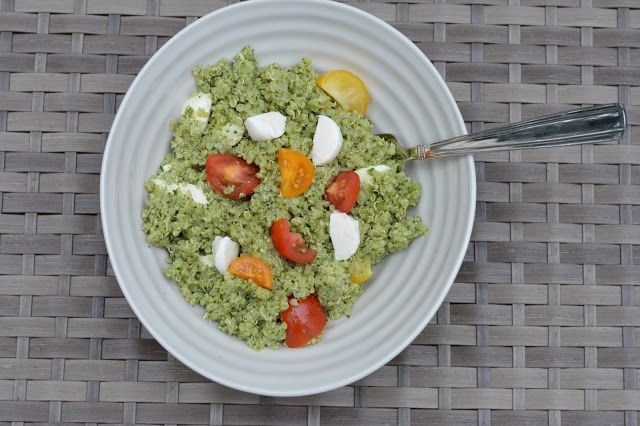
Quinoa Caprese Salad
Happy Tuesday! I know I’ve mentioned this before, but one of the things I dread most about the weekends is figuring out what I will make for the next week’s lunch. I know, it sounds kind of silly, but it’s always a big to-do in our house. Usually, I make my lunch for the work week during the weekend so that it is ready to go and there is little to no thinking when it comes to grabbing lunch each weekday morning. But, after eating the same thing for 5 consecutive days, I sometimes get bored, so I’m always trying to think of new lunch ideas that are not only filling, but also healthy.
**I actually ate this lunch for three work weeks straight because I loved it so much! I did eventually OD on pesto {haha!} but I will probably be back to it next week. It’s SO delicious!**
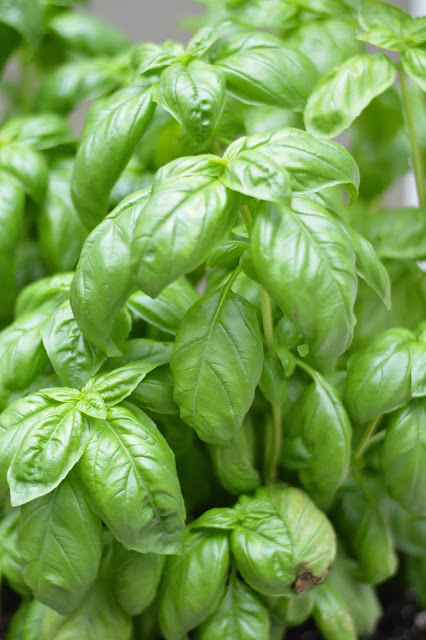
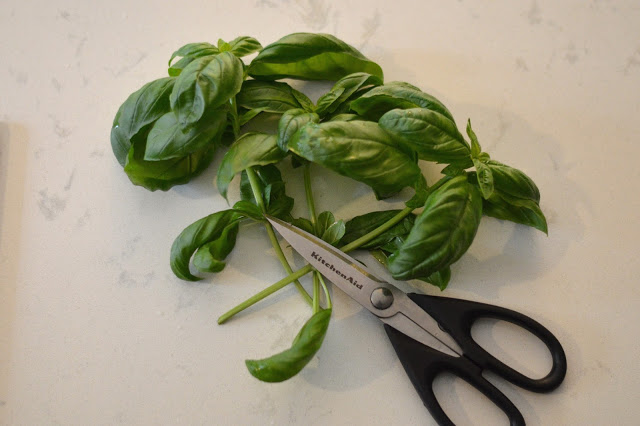
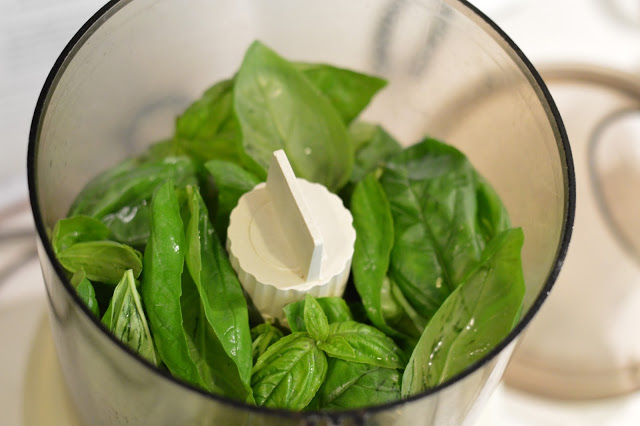
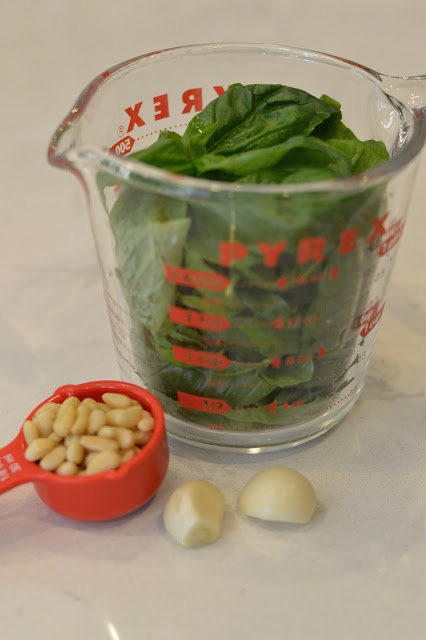
You could easily buy store-bought pesto if you are looking for an even quicker, make ahead lunch, but since I was down at my parent’s house and my mom has an abundance of basil growing in her garden, I decided to use some of it! Making your own pesto is SO much healthier than store-bought and it’s not too difficult and only requires a few ingredients.
Quinoa is a great lunchtime staple because it keeps you full all afternoon! This exact recipe yielded five days of lunch for me, so it’s a perfect recipe to make over the weekend and have ready to go come Monday. Just one suggestion: if you are making this to last over the course of a few days, I would recommend cleaning the tomatoes and placing them in a separate bag and adding the tomatoes and mozzarella each morning before heading to work. The tomatoes and cheese could get a little soggy if you mix it all together and let it sit for a few days.
Quinoa Caprese Salad
A healthy and filling lunch idea that’s packable!
Ingredients
- 1 pint tomatoes, halved
- 8 ounces mozzarella pearls
- 1 cup dried quinoa
- 2 cups fresh basil
- 1/4 cup pine nuts
- 1 clove garlic
- 1/4 cup Parmesan cheese, grated
- 1/4 teaspoon pepper
- 1/2 teaspoon salt
- 1/3 cup olive oil (or just until paste forms)
Instructions
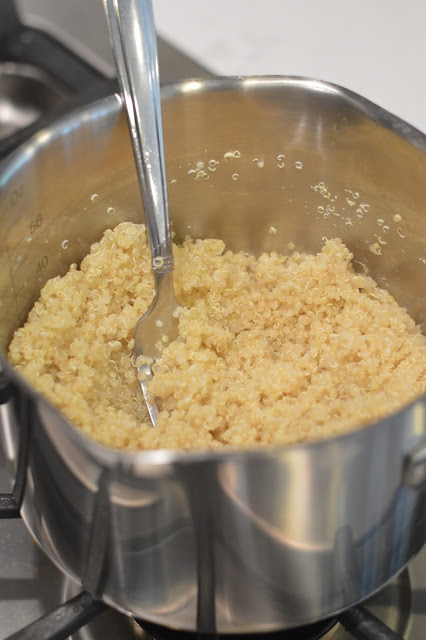
Cook the quinoa according to the package directions. To make the pesto: in a food processor, add the basil, pine nuts, garlic clove, salt and pepper; blend until incorporated. With the food processor running, begin to add the olive oil, just until a paste forms. Transfer the pesto to a clean bowl and stir in the grated Parmesan cheese. Once the quinoa has cooled, transfer to a large bowl and add the tomatoes and mozzarella pearls. Add the pesto and stir until completely combined. Serve and enjoy.
….
Thanks for dropping by and happy lunch prepping!
Overnight Oats: 3 Ways
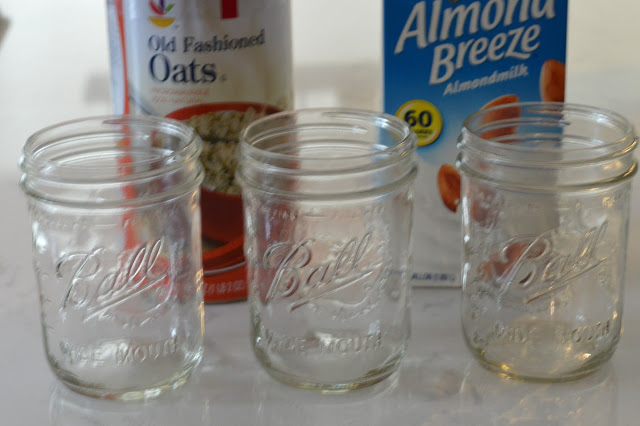 During the week, my breakfast situation is pretty predictable: double protein English muffins {literally, the best thing ever} or instant oatmeal. Both are quick and keep me relatively full until lunchtime. Although I do love my instant oatmeal, and it’s quick cook time, it’s not the same as real oatmeal.
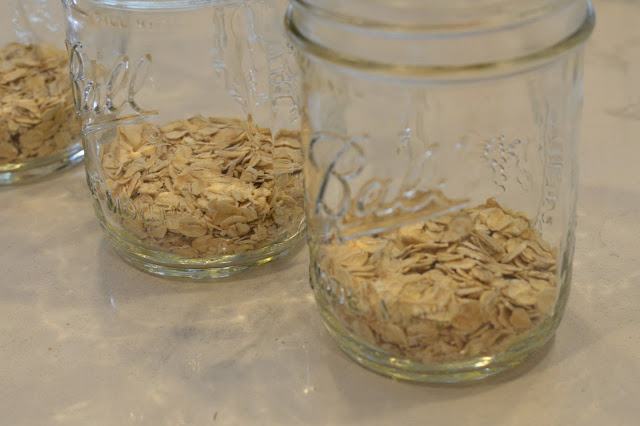
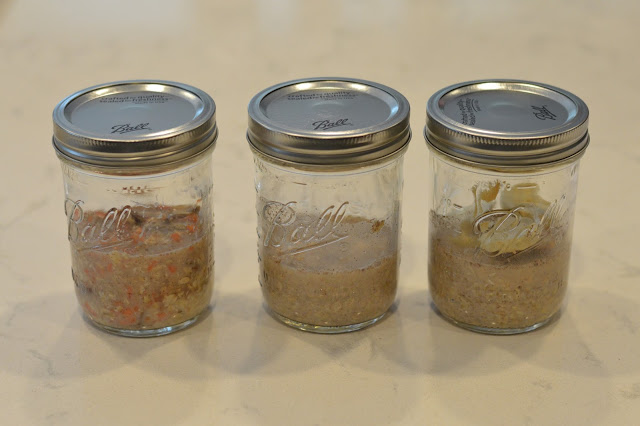
Overnight oats are taking the breakfast world by storm, and I was so curious as to how they would turn out, I decided to experiment with some flavors and give it a try for myself! For these three versions, I started with the same two ingredients and customized each mason jar from there. The only one I decided to complete in the morning was the one that contained fresh berries — I wasn’t sure how soggy berries would be in the morning 😉
Overnight Oats: 3 Ways
{what you will need for each of the 3 recipes}
1/3 cup old fashioned oats
1/2 cup almond milk
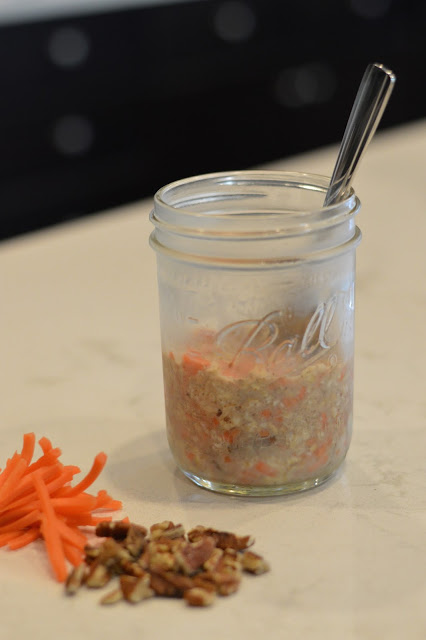
{Carrot Cake Oatmeal}
1/4 teaspoon cinnamon
2 tablespoons pecans
1 tablespoon maple syrup
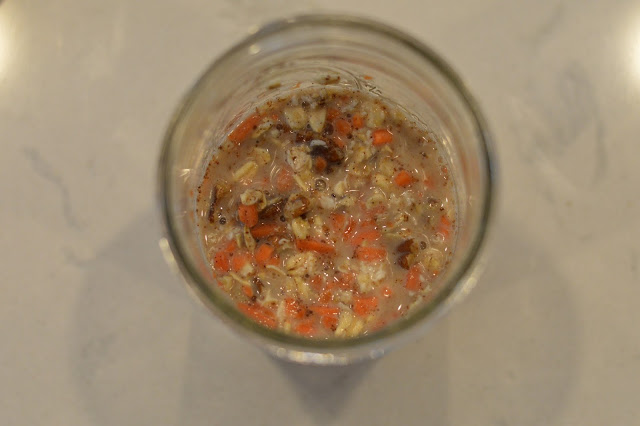
In a mason jar or other bowl, mix the old fashioned oats with the almond milk. Add the cinnamon, pecans and shredded carrots, mix to combine. Place the lid on the jar securely and refrigerate for 2-3 hours or overnight. When ready to eat, top with the maple syrup. Can be refrigerated for up to 2 days.
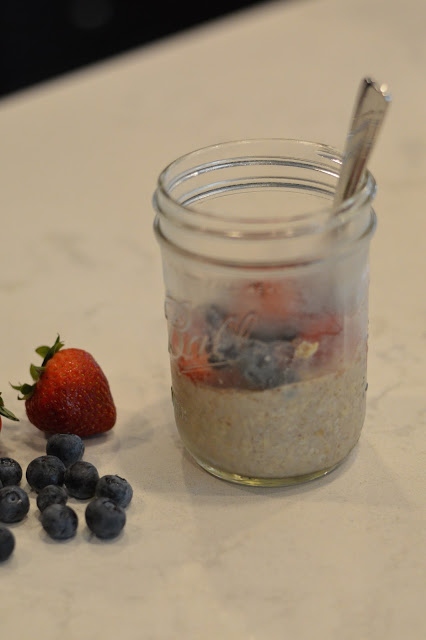
1/4 cup strawberries, sliced
1/4 cup blueberries
1/4 teaspoon vanilla extract
1/4 teaspoon cinnamon
In a mason jar or other bowl, mix the old fashioned oats with the almond milk. Add the vanilla and cinnamon. Place the lid on the jar securely and refrigerate 2-3 hours or overnight. When ready to eat, top with strawberries and blueberries. Can be refrigerated for up to 2 days.
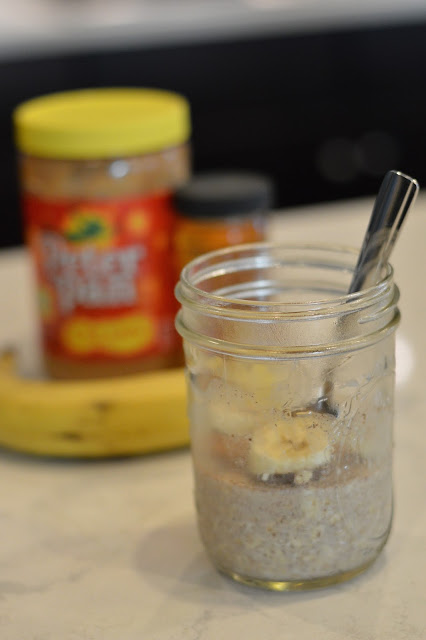
{Peanut Butter Banana Oatmeal}
2-3 tablespoons peanut butter, divided
1/4 teaspoon vanilla extract
1/4 teaspoon cinnamon
1 teaspoon honey
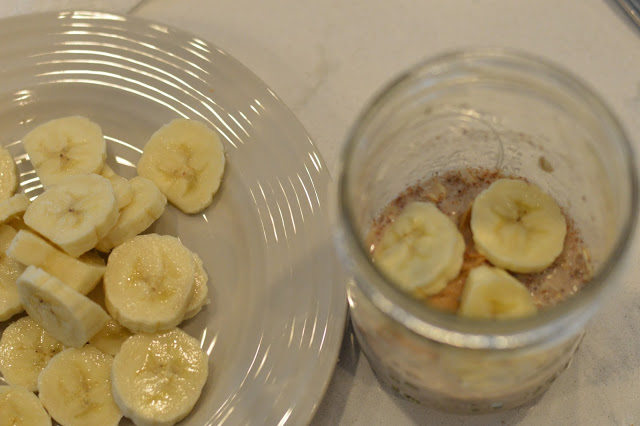
In a mason jar or other bowl, mix the old fashioned oats with the almond milk. Add the cinnamon and vanilla extract; mix to combine. Alternate between layers of peanut butter and the sliced bananas {I did two layers of each}. Place the lid on the jar securely and refrigerate 2-3 hours or overnight. When ready to eat, drizzle with honey. Can be refrigerated for up to 2 days.
….
While all three were good, I of course loved the peanut butter banana version {I never say no to peanut butter!}. This is definitely a great breakfast idea if you are looking for a make ahead recipe and/or if you are always on the go. There are so many different combinations you can try too, so it’s easy to customize these for your entire family. A couple ideas: if you are a chocolate person, add chocolate chips to the peanut butter banana combination for a “chunky monkey” style oatmeal. Or for something more traditional, try raisins, dates and pecans!
Have you tried overnight oats? What are your favorite oatmeal combinations? I would love to hear in the comments section below.
Also, if you are looking for other make ahead breakfast ideas, be sure to check out these make ahead breakfast burritos and freezable egg white breakfast sandwiches.
Thanks for stopping by!
Thanks for stopping by!
Healthy Dinner Idea: How to Make Zoodles
Happy Tuesday! I hope you all had a wonderful holiday weekend! After some not so healthy eating over the holiday, I know I’m ready to get back into my healthy food routine. And what better way to start than with this healthy twist on a weeknight pasta dish.
Patriotic Mini Berry Pies
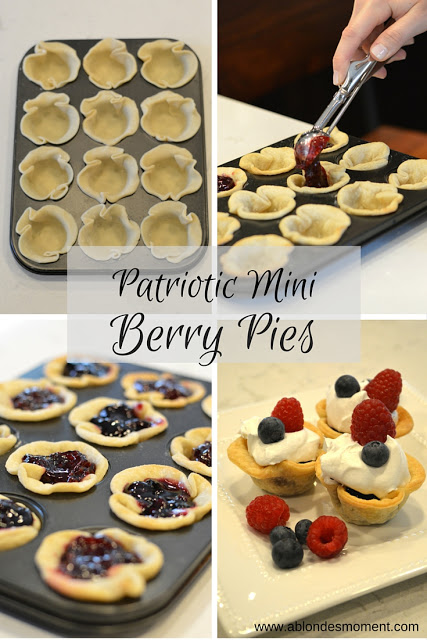
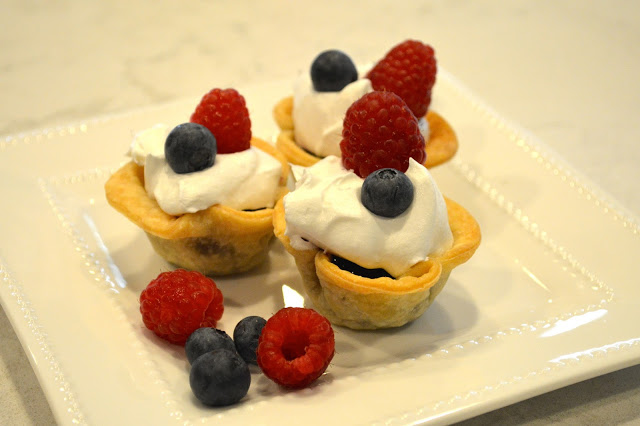
Happy Tuesday! As I mentioned in yesterday’s post, I’m coming to you today with a fun spin on a classic summer dessert that is quick and easy and just in time for the Fourth of July. If you have been following along for awhile now, you may remember THIS berry pie I made last year for the Fourth. There is something about desserts with berries that are so perfect for the Fourth of July — red, white and blue perfection! And as delicious as the pie was last year, I wanted to share something that was a little less complicated, quick and ideal for a crowd this year.
When serving a crowd, I always love the idea of bite-sized or mini dishes. It allows your guests to try a little of everything and also makes for a cute presentation, especially when it comes to desserts. With the idea of serving a crowd in mind, I went with the most basic pie ingredients: refrigerated pie crust and canned pie filling. Although you could easily make your own pie crust and filling — I just went the “semi-homemade” route for this recipe 😉
In the patriotic spirit, I used blueberry and raspberry filling, but you could also use any other filling of your choice. To complete this bite-sized Americana pie, I added a dollop of whipped cream and fresh berries. If you are looking for an even shorter cut, you could also top the pies with Cool Whip!
Check out the recipe below, it’s sure to be a crowd-pleaser! And so much easier than baking several pies if you are expecting company this weekend for all your Fourth of July festivities!
Thanks for dropping by and have a great Tuesday!
Patriotic Mini Berry Bites
A bite-sized version of the classic berry pie
Ingredients
- 1 refrigerated pie crust
- 20 ounces canned pie filling {I used a mix of blueberry & raspberry)
- Whipped Cream or Cool Whip, if desired
- Fresh berries, for garnish
Instructions
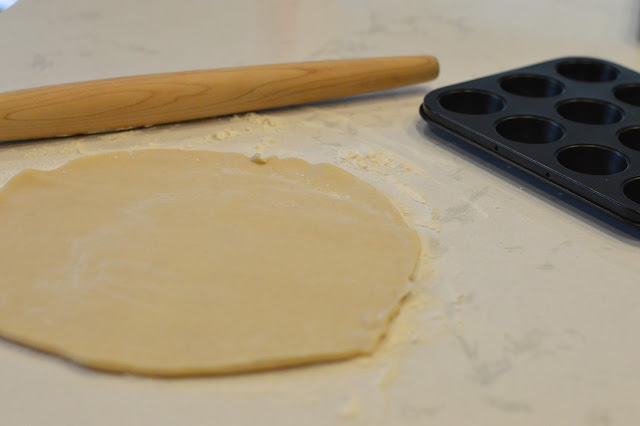
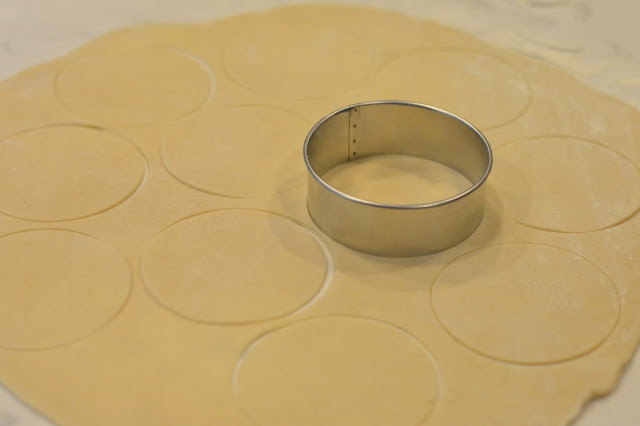
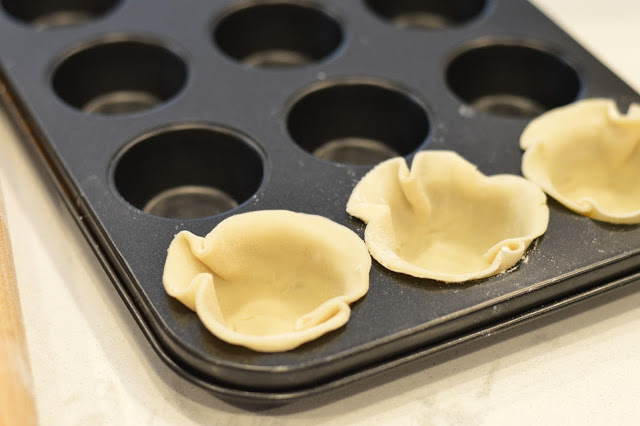
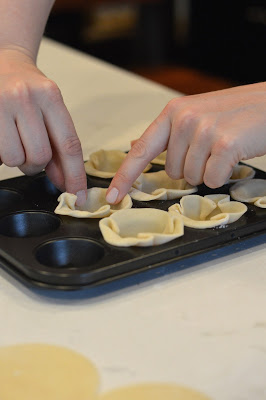
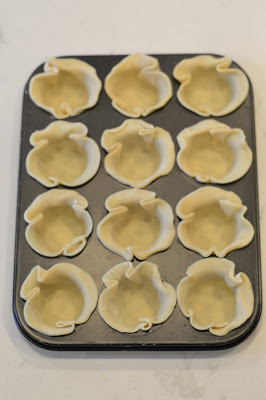
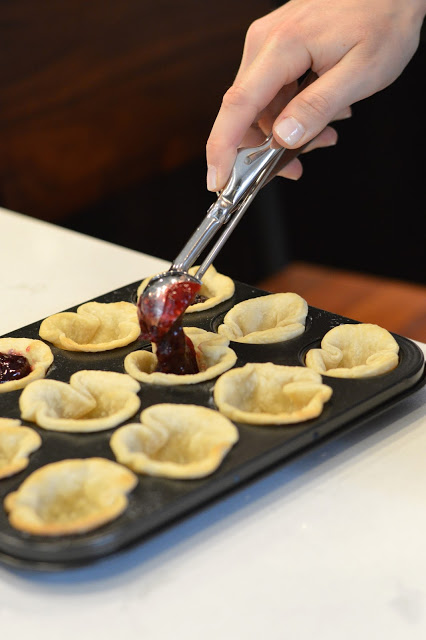
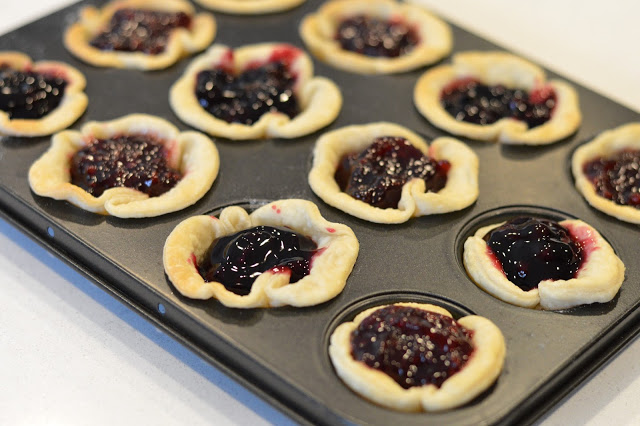
Preheat the oven to 450 degrees. Place pie crust on floured surface and roll the crust until about 1/4 inch thick. Using a round cookie cutter (the one I used was a 3 1/2 inch circle) cut out the circles and place them in a mini muffin pan, making sure the crust fits tightly around the pan. Poke the crust with a fork as if it was a regular pie crust. Cook the crust for 4 minutes. Remove the crust from the oven and decrease the oven temperature to 350 degrees. Fill the mini pies with the pie filling and return to the oven for 10 minutes. Cool completely before topping the mini pies with the whipped cream or Cool Whip and fresh berries. Serve and enjoy!
Yield: 16 mini pies
