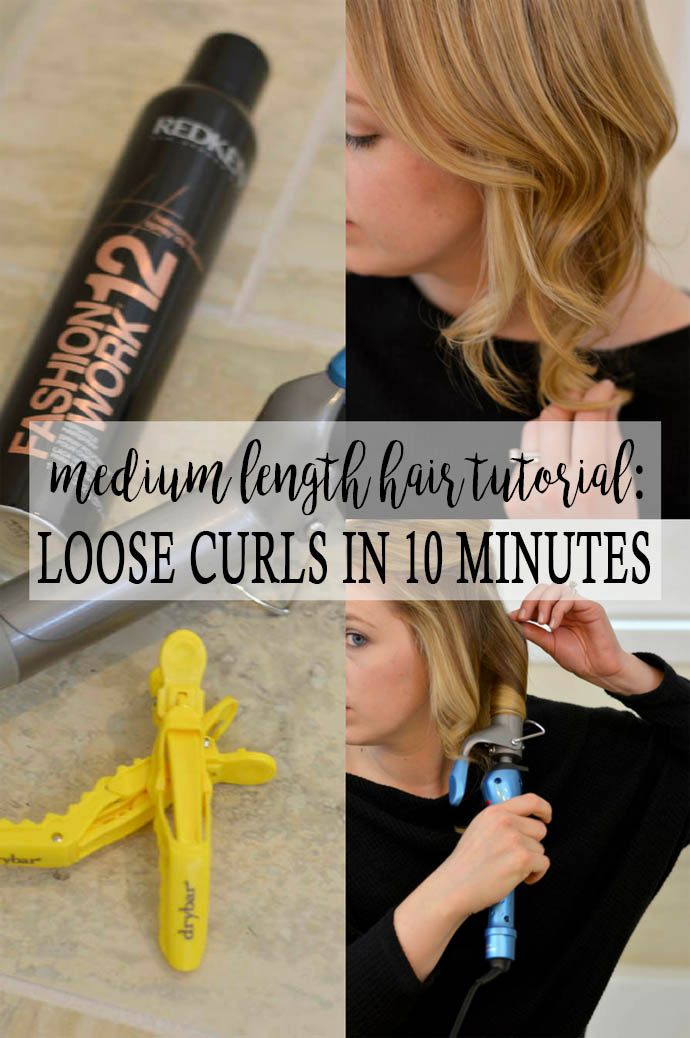
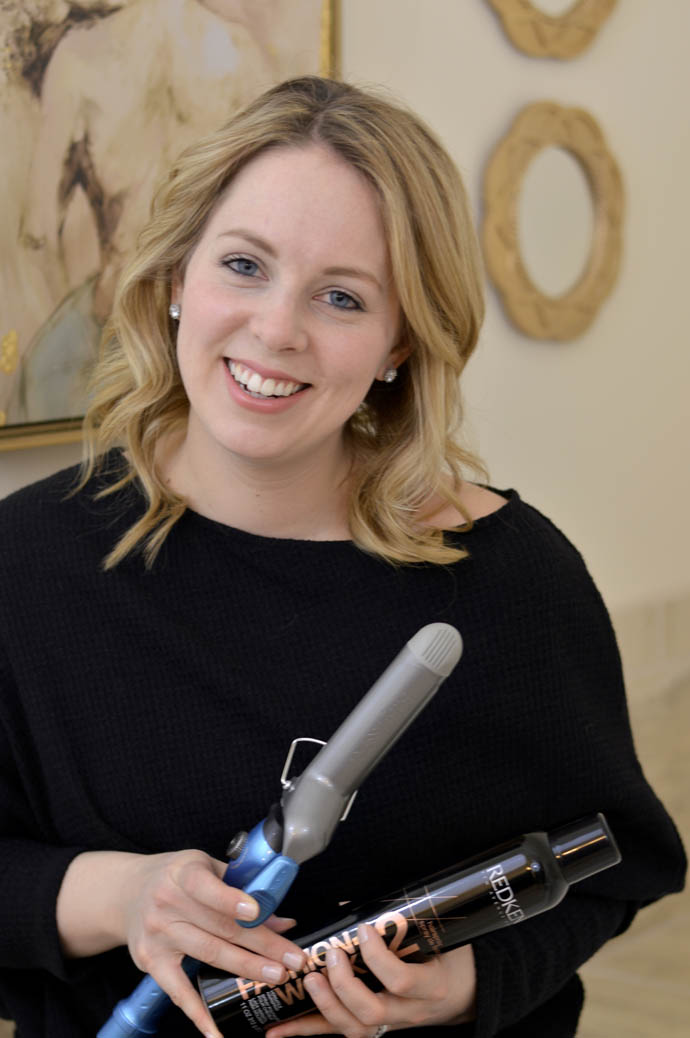
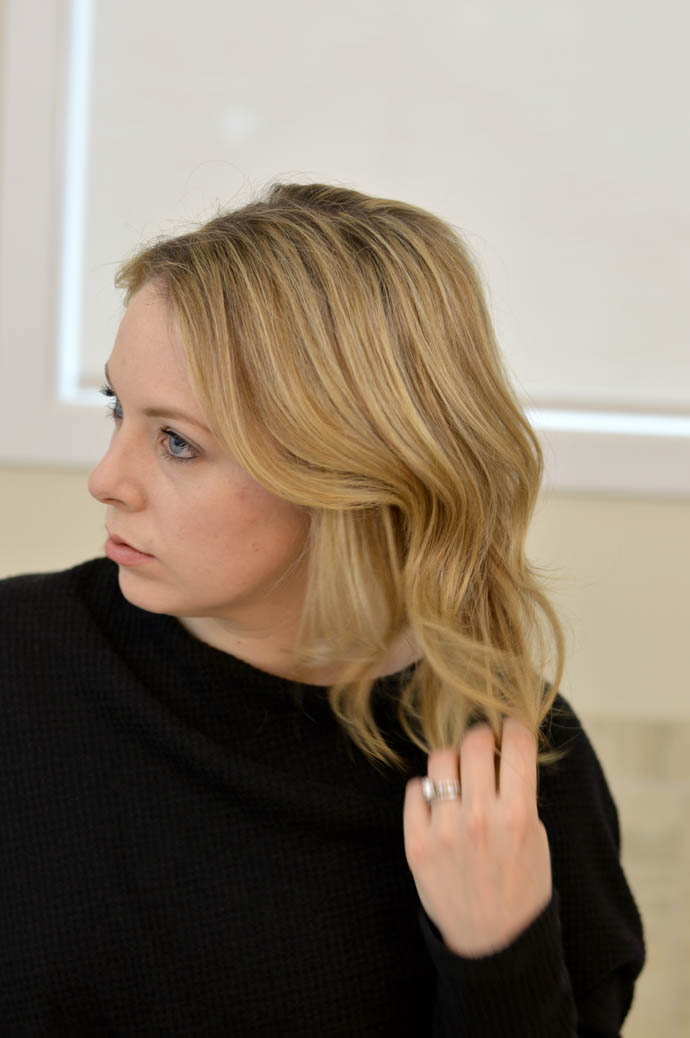
Happy almost Friday, friends! After many requests, I am finally sharing a hair tutorial on achieving loose curls in 10 minutes. I have received so many questions about my hair routine, so I figured it was finally time to share how I curl my hair.
CURLING MEDIUM LENGTH HAIR
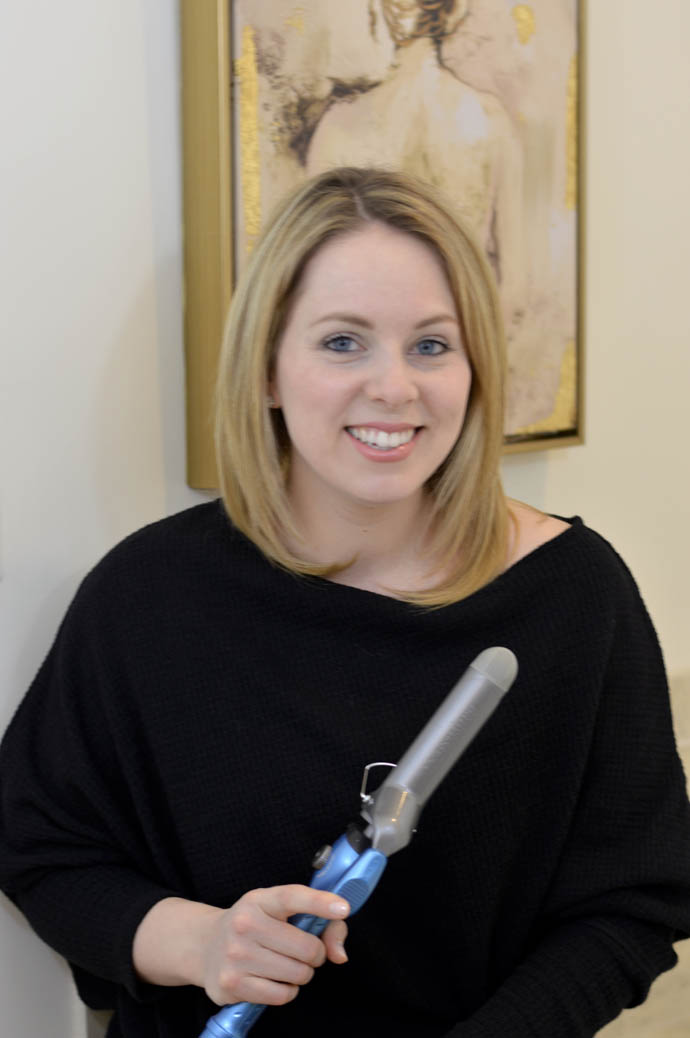
I am by no means an expert when it comes to hair, but as my mom has always said, I am a hair nut. She gave up doing my hair when I was in second grade because no matter what she did, I was very opinionated about my hair. Most memorably, the “bumps” on top of my head when pulling it back drove me absolutely insane! Needless to say, I have been doing my hair for years and I’m super particular when anyone colors or styles it. Most of the time, I would just prefer to do it myself! I have watched countless YouTube videos on hair curling, but have you noticed that the majority of the girls in these videos have SUPER long hair? Don’t get me wrong, that’s great for them and I’m envious that they are able to grow their hair that long. But not everyone has long thick hair! Since finding hair tutorials for shorter hair can be difficult, I wanted to share my routine to create loose curls in 10 minutes for medium length hair.
PRODUCTS USED: Shampoo & Conditioner
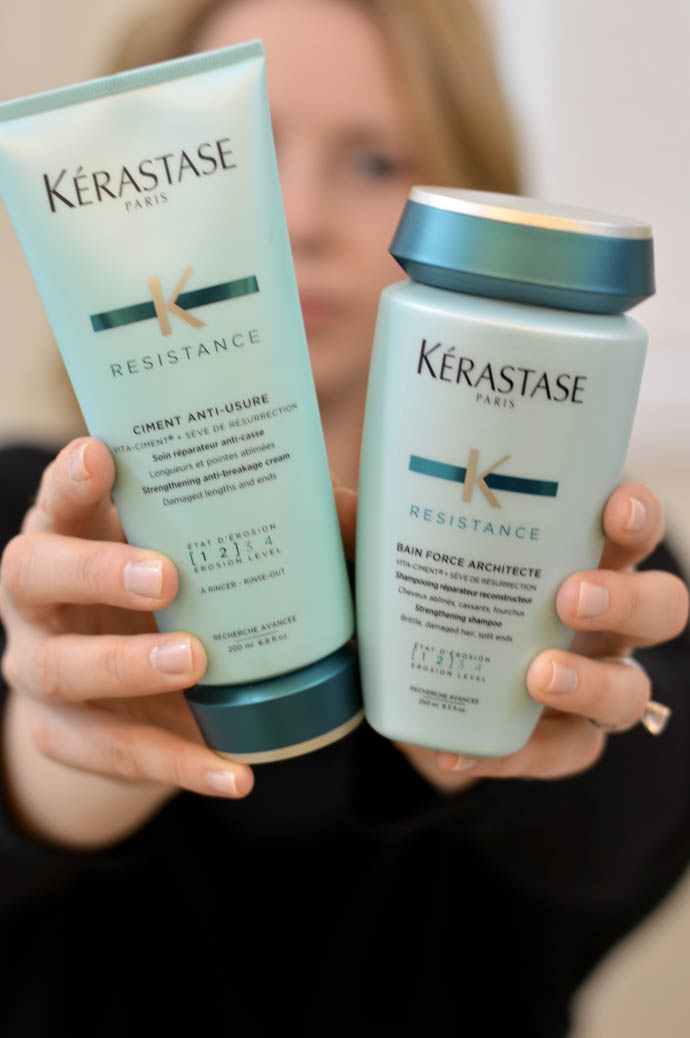
As for the products I use in my hair, I’m not one to change up hair products too frequently. I have been curling my hair most days for about a year now and even use this dry shampoo on my non-wash days to help give volume to my curls. I switch between two shampoos, both of which are from Kérastase. It’s on the pricier side for shampoos and conditioners, but both formulas have done wonders on my hair. I don’t wash my hair everyday, so a bottle of shampoo typically lasts me at about 3 months and the conditioner lasts about 4-5 months. Currently, I am using Kérastase’s Resistance Shampoo and Conditioner. It’s great for strengthening color treated hair and helps with damaged and split ends. My hair, and especially ends, are SO soft since I started using this formula. I will also rotate Kérastase’s Nutritive Bain Satin 2 Shampoo and Conditioner which is great for adding moisture to your hair. I have been using this shampoo and conditioner combination for years, while the Resistance line is newer to me.
PRODUCTS USED: Heat Protectant
As I mentioned in this post, drybar’s Hot Toddy is my go-to when it comes to a heat protectant. Hot Toddy will protect your hair up to 450 degrees and I love that you apply the product onto wet hair. This way, your hair is protected from not only the curling iron or straighten but also the heat from the hair dryer. However, I received a free sample of Kérastase’s Resistance Ciment Thermique, a leave-in treatment, that I have been working into my routine as well. I apply this to my towel dried hair and comb the product through before drying and styling. The product is great for smoothing away split ends and adding shine. If you are interested in trying the Resistance line, you can find a package deal of the shampoo, conditioner and heat protectant here.
PRODUCTS USED: Babyliss Pro Nano Titanium Spring Curling Iron
I had been searching for a new curling iron for about a year before I landed on this one. The T3 curling irons have always tempted me, mainly because of their pretty packaging. I have seen so many bloggers rave about T3 products on Instagram and in blog posts, I was convinced I needed one. After talking to my hair stylist, he completely discouraged me from the brand. Since my hair is very fine, the T3 products would more than likely fry my hair. It was his understanding that T3 products were great for women with thick and textured hair — very much not my hair. Whether or not it’s true, I can’t say for certain. But, it was enough to make me look at different brands.
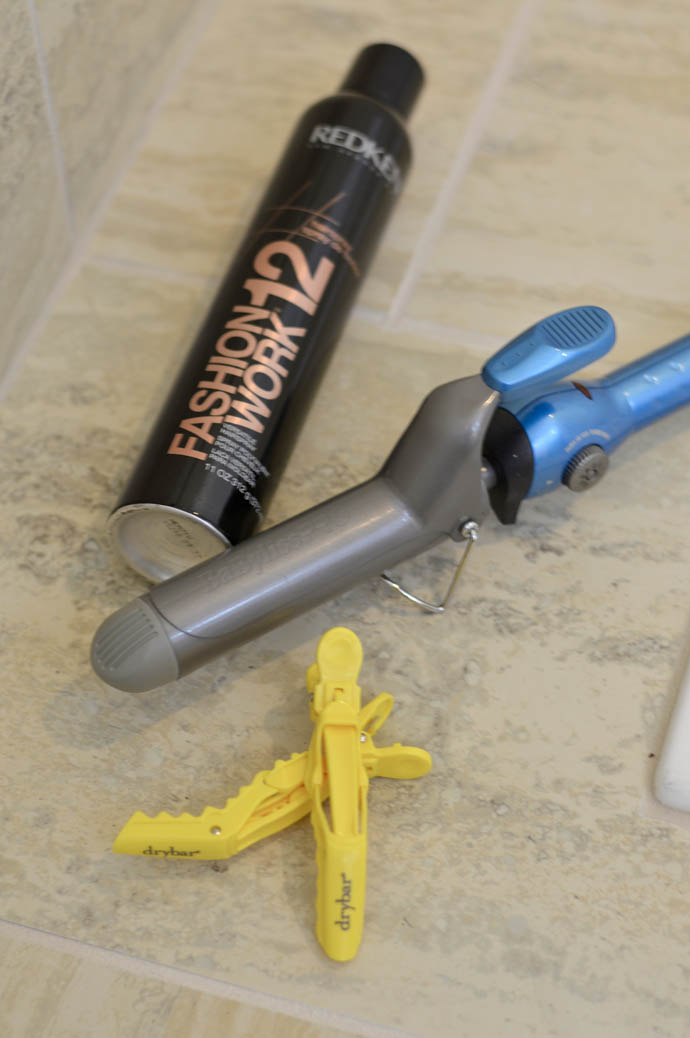
My hair stylist recommended Babyliss. It’s what he and many other salon professionals use so I figured I would give it a try. I’m happy to report nothing but great things since I started using this iron back in December! For reference, I am using the 1 1/4 inch barrel. It might not be the same pretty packaging as T3, but it gets the job done at a MUCH lower price.
PRODUCTS USED: drybar Clips
I would be seriously lost without these clips! These clips make sectioning off my hair and curling the pieces so much easier. I have purchased countless clips from Target and they all seem to snap. These drybar clips tightly secure my hair and I have nothing but great things to say about them so far!
PRODUCTS USED: Redken Hairsprays
I have been using Redken hairsprays for a few years now. Not only do I love the hold the product provides but the smell is amazing! I have been switching back and forth between this 12 hour (medium hold) spray and the 18 hour (extreme hold) spray. Depending on how loose I want my curls, I will change the spray accordingly. However, I will say that even the extreme hold spray doesn’t make my hair feel stiff — it’s still very loose and movable!
HOW I CURL MY HAIR
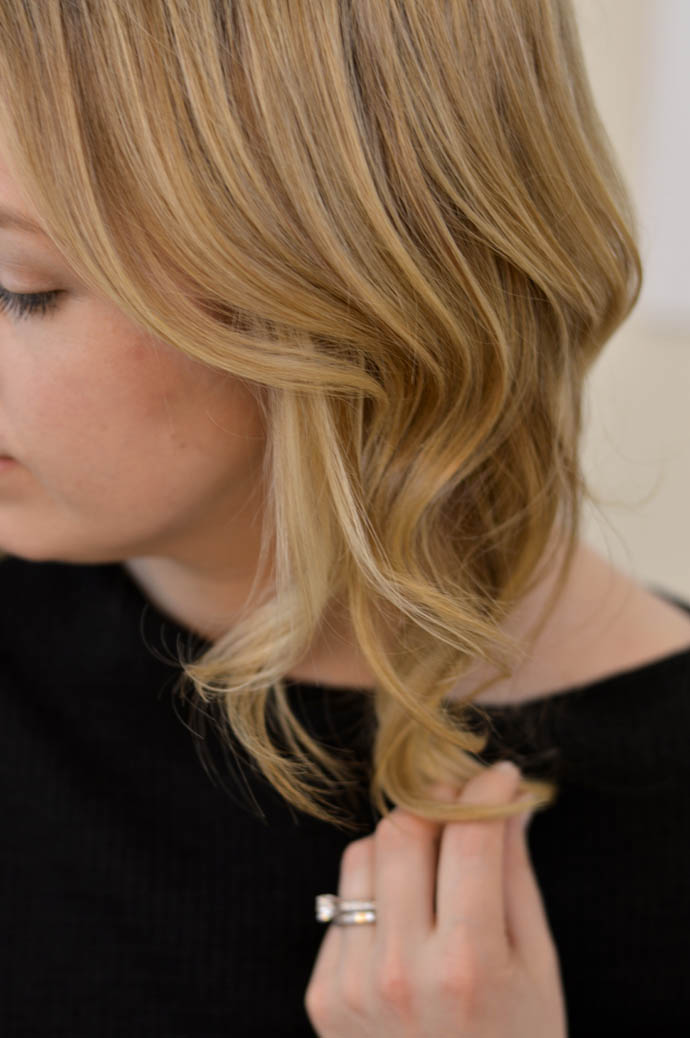
These are the steps I follow to achieve my loose curls. I find that my curls will stay all day and even into the next day. The whole process can be done in under 10 minutes!
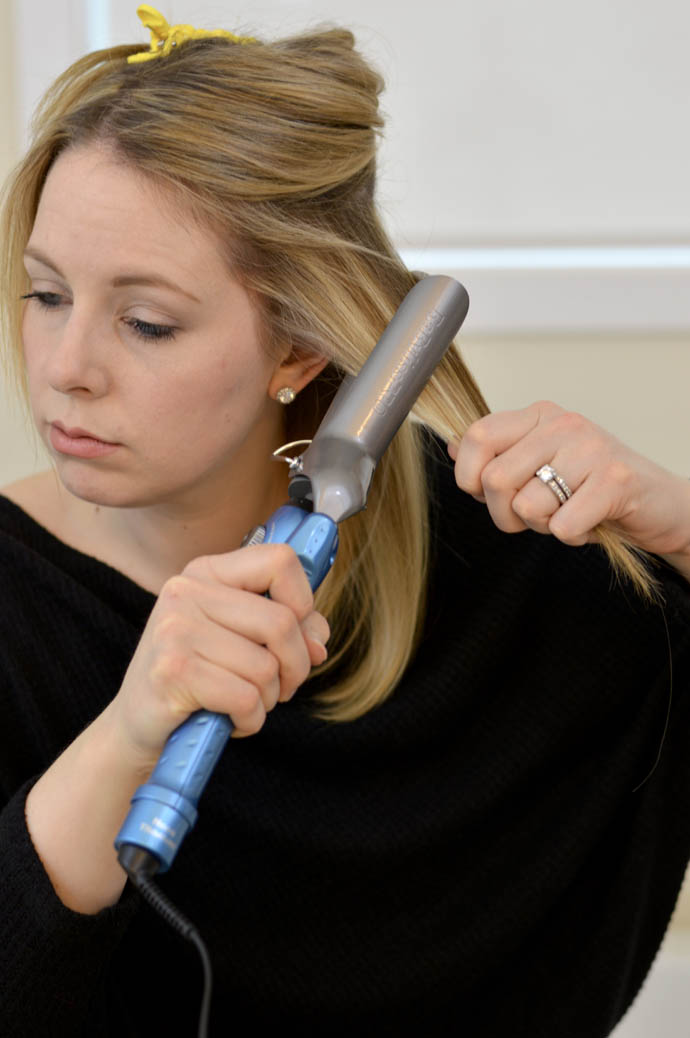
Step 1: Once hair is completely dry, section off the hair by dividing it down the middle to create a right and left side. (**I usually use a round brush to blow dry my hair.)
Step 2: Starting with the left side, divide the hair again creating a top and bottom section of layers. I can’t live with out these clips!
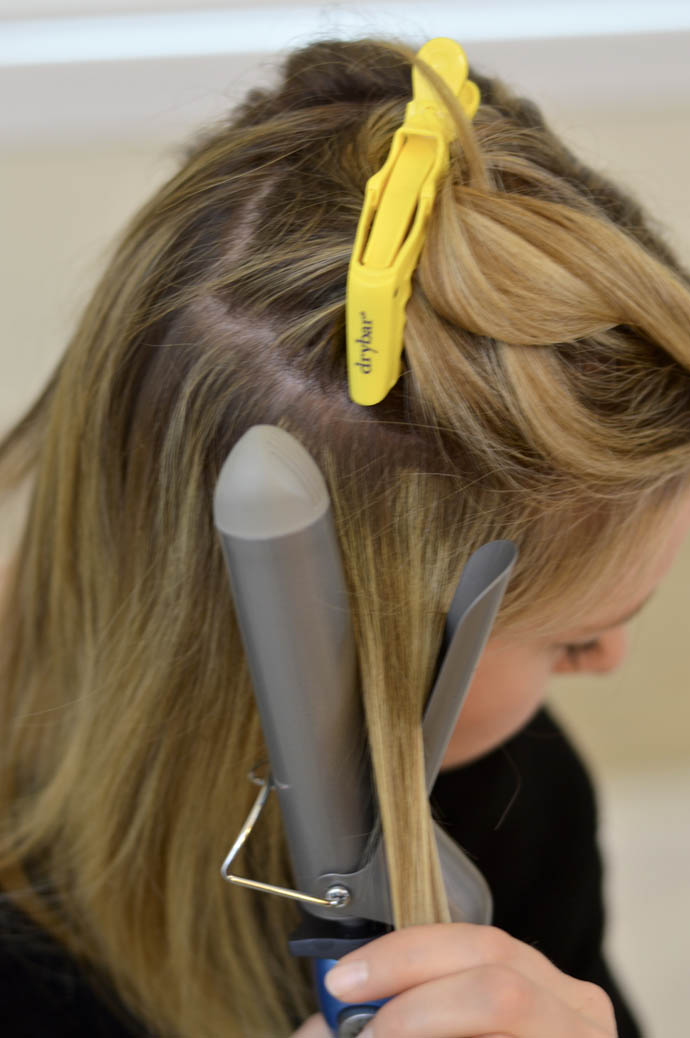
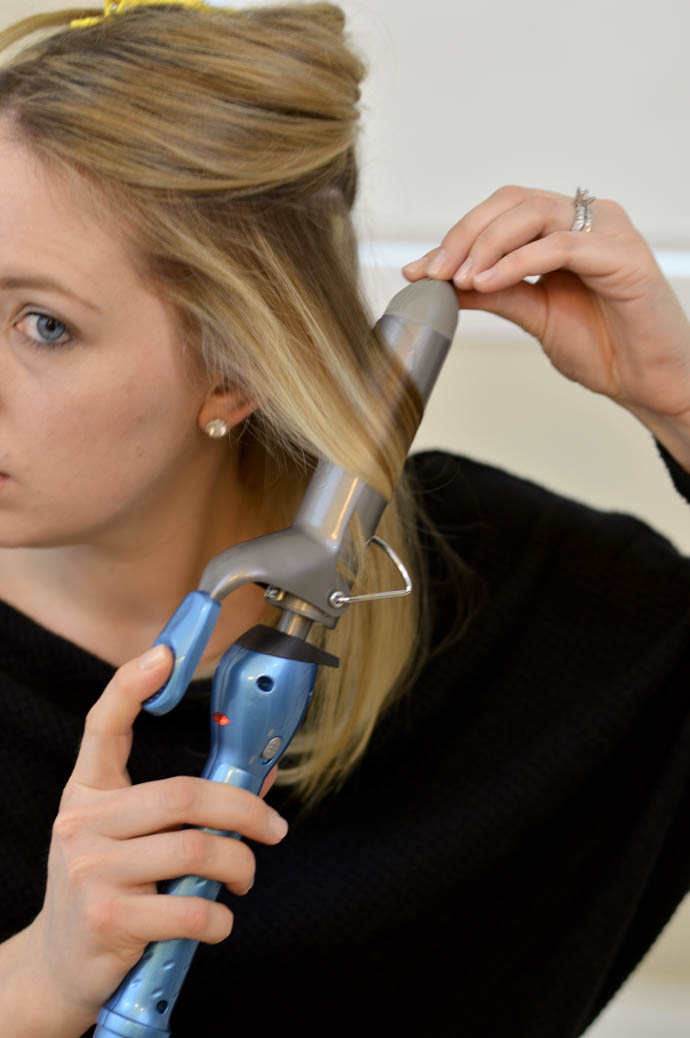
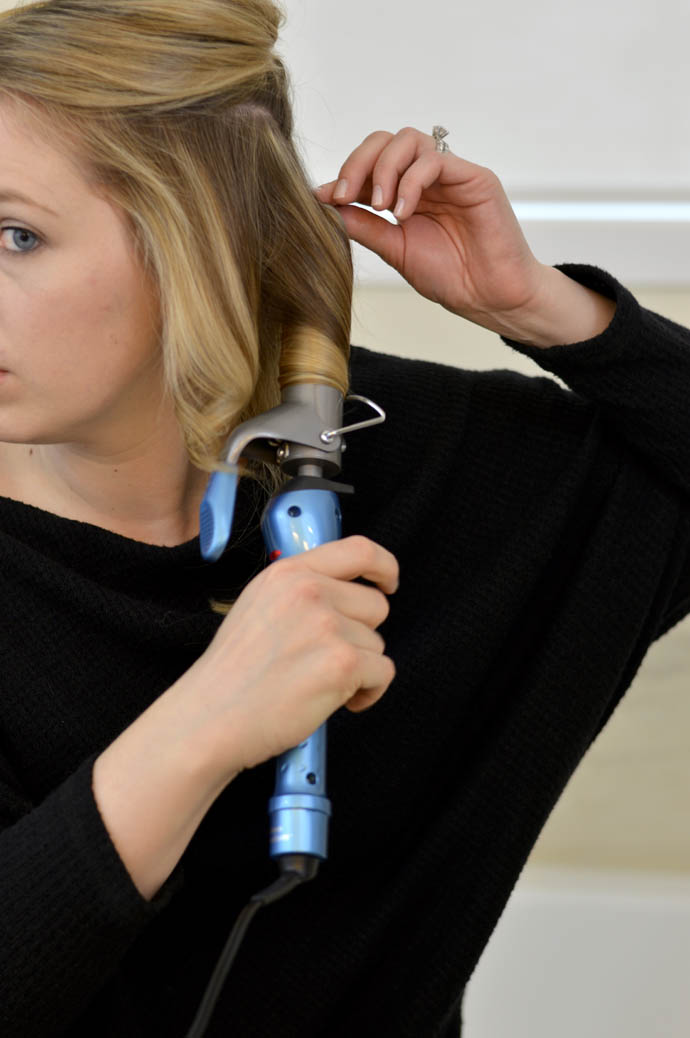
Step 3: Begin with the bottom layer and divide that into thirds. Start with the section that is closest to your face. Take that section and begin to wrap the hair around the iron, including the ends, pulling the hair away from your face. Turn in a clockwise motion. Repeat with the other two bottom sections. (**For reference, I am using a 1 1/4 inch barrel for these curls. If you would like tighter curls, try a smaller size barrel.)
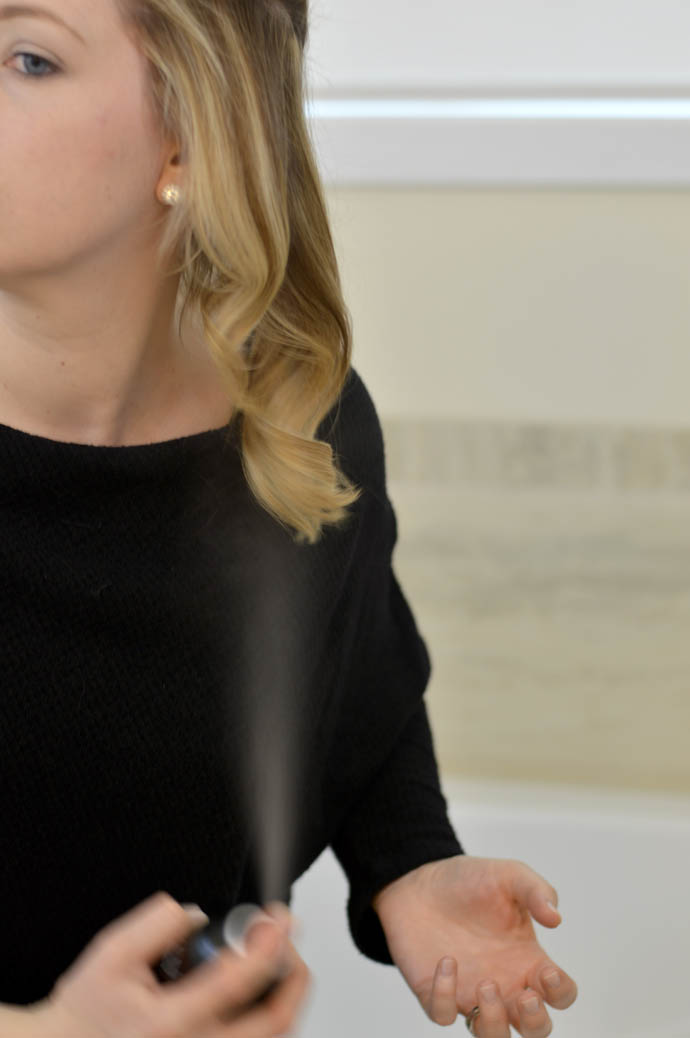
Step 4: Spray the bottom layer with hair spray to set the curls. (You could spray each section BEFORE curling, but I find that it weighs down my fine hair too much.)
Step 5: Unclip the top layer and divide that hair into thirds. Starting with the section closest to your face, wrap the hair around the iron, including the ends, to pull the hair away from your face. Turn in a clockwise motion. Repeat with the other two sections.
Step 6: Spray the top layer with hair spray to set the curls.
Step 7: Repeat Steps 3-6 on the right side.
This is usually where I allow the curls to sit for a while. I will do my makeup, pack my lunch or tend to other household chores during this time. I usually allow the curls to sit no more than 10 minutes.
Step 8: Run your fingers through the curls, fluffing your hair as you go. Use the hair spray one more time to set the final look!
SHOP THE POST
….
Thanks so much for reading! Please let me know if you have any questions about the products I used or the steps. I would be happy to clarify! I hope you all have a great weekend and I’ll see you back here on Monday!


I love how they turned out. They look awesome.
http://sugarcoatedbears.blogspot.com/
Your hair always looks so pretty! I struggle with this so much. Love this post!
Xoxo,
Whitney & Blaire
Peaches In A Pod
So pretty and effortless, lady! You look lovely!
-Ashley
Le Stylo Rouge
You know, ever since I was pregnant up until now, I’ve been toying with the idea of cutting my hair mid-length because I’m kind of getting bored with the long hair. I’ve been hesitant through because a few people told me that it’s the hormones that are making me have these feelings, lol. Anyway, if I do end up cutting it shorter, this will be a perfect guide for me to reference because you’re right, most of the tutorials out there are from women who have longer hair. I’ve been loving the look of your soft waves that you’ve been wearing in recent months, so I’m glad you shared what it is you do! Thanks again and I hope you’re having a great day so far, beauty!
XO,
Jalisa
THE STYLE CONTOUR
I’m absolutely terrible at curling my hair but I think that I just need to practice! You just make it look so easy!
Great post and review.
I think im gonna need that one.
Thanks for sharing!
Love,
Alex — Celebrities Natural Makeup, What’s your favorite?
I love this! It’s hard to find tutorials for our length of hair. This is a great one! Thanks so much for sharing all your tips. I’m definitely in need of the hot toddy heat protectant!
Katherine | http://www.oneswainkycouple.com
Loose curls are pretty much my daily go-to! Kerastase has such amazing products! Happy Friday!!
Rosy Outlook
Your hair looks amazing! I’m so terrible at curling my own hair, I’ve tried everything – a curling iron, rollers, and even a curling wand. It’s time to try again <3
Green Fashionista
Your curls are so gorgeous 💖. I wish I had the patience to curl my hair… have a great weekend!
https://annicklau.com
Love this tutorial and all the great information you gave for products that work for your hair type. We have similar type hair so we are excited to try some of these products out.
Love these effortless waves – SO pretty! Thanks for the tutorial!
xo, Emily | http://www.East91Blog.com
You look great!
Daniel x
The Daniel Originals | Instagram: danielpoonvignez
I love anything that I can get done in ten minutes!
xo,
Jacqueline
Stylin In St. Louis
You did such a good job with this style
Filipa xxx
PlayingWithApparel.com | Instagram
Loved seeing your tutorial since your hair always looks so pretty! Thanks for sharing!
<3 Shannon
Upbeat Soles
This is the type of curl that I like. It is not too bold and super gracious. Indeed a pretty easy process to do.
StyleSprinter Blog by Katya Bychkova