
Summer is not over yet! Jumping back to summer related content to share these summer sugar cookies. We made these a few weeks ago to test out a new technique and today I am sharing the results of our experimentation with royal frosting!
Sugar Cookie Recipe
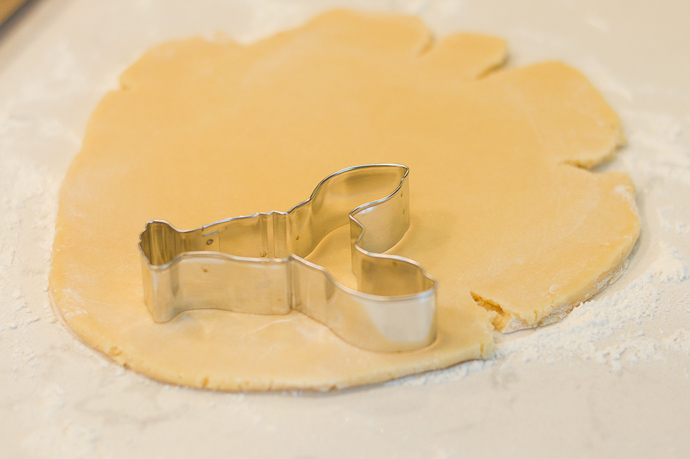
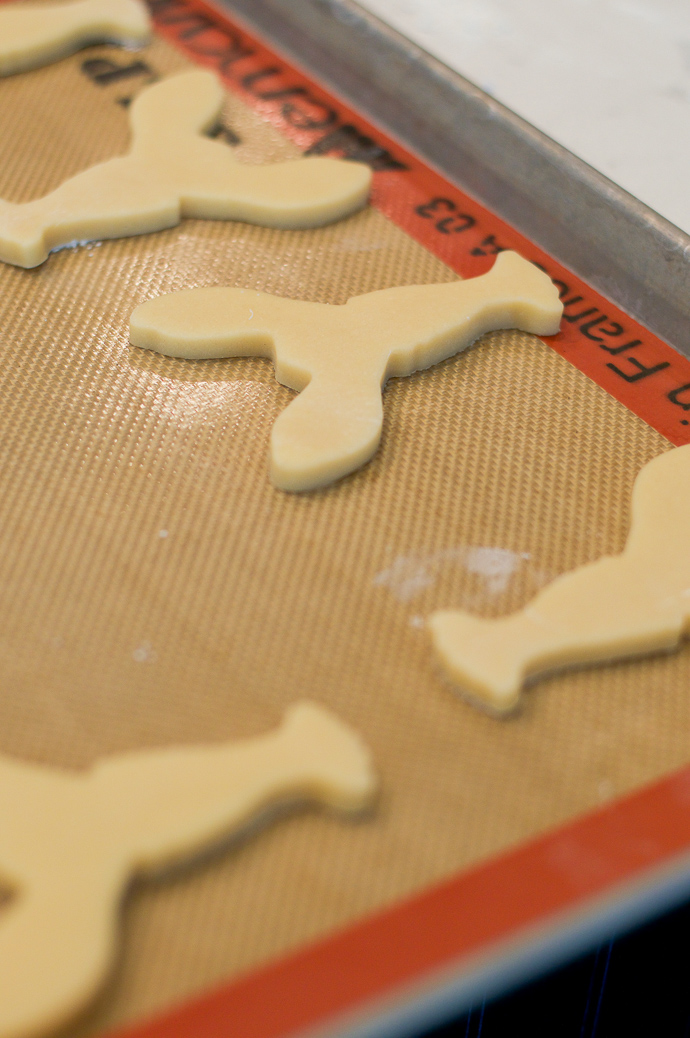
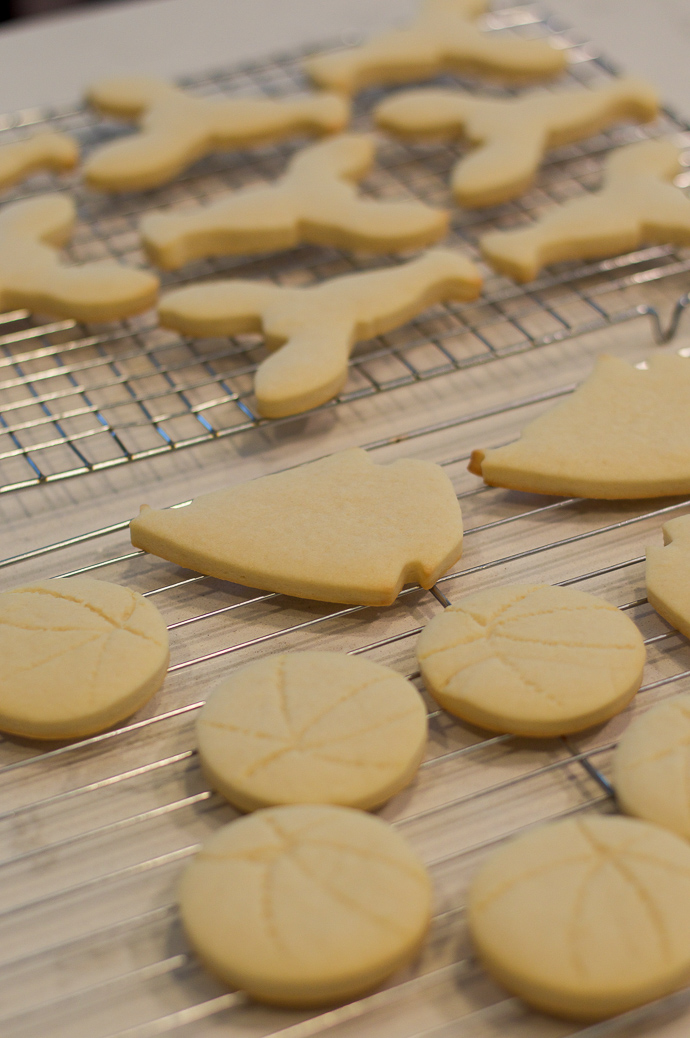
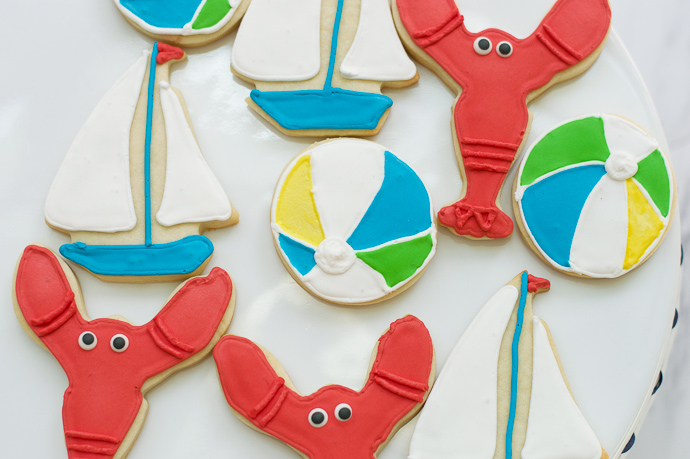
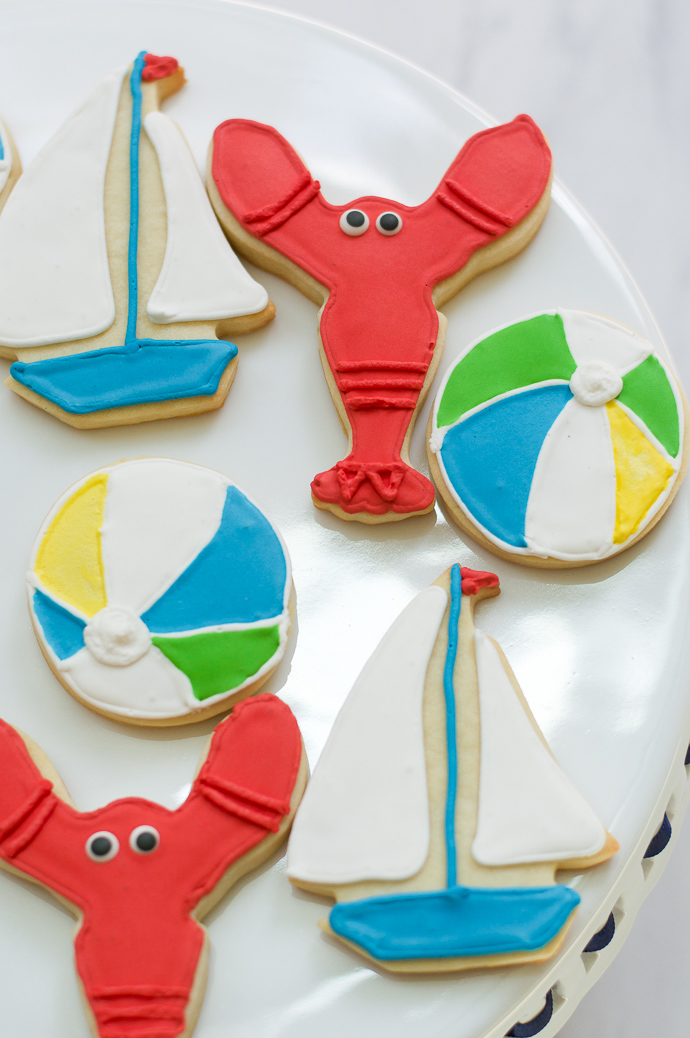
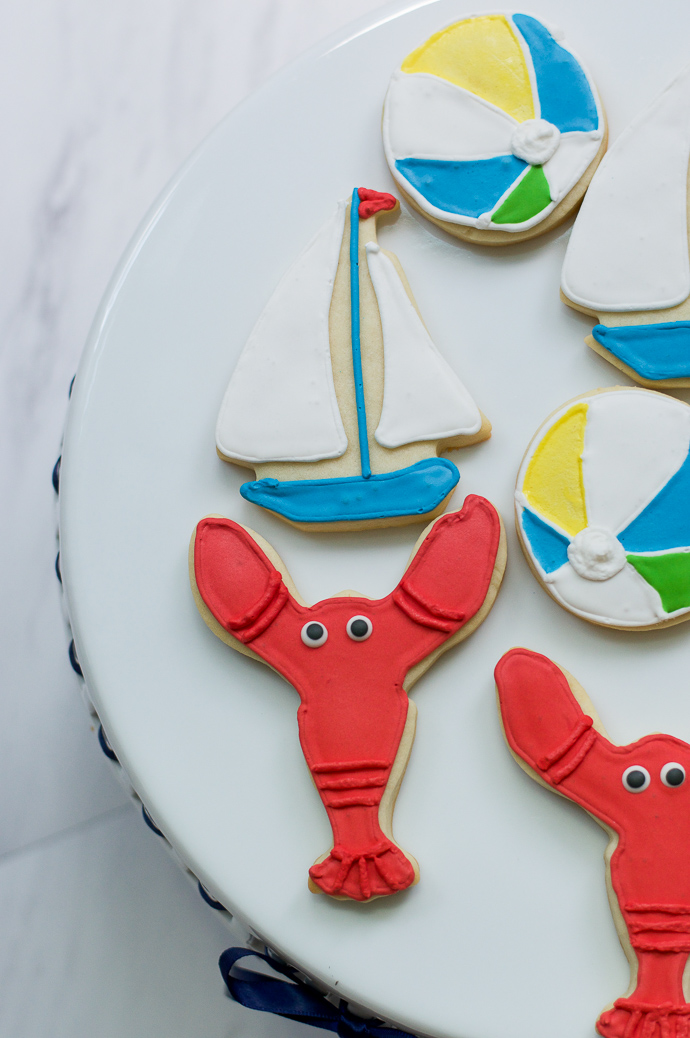
I’ll start with the recipe for the sugar cookies and then get into the great frosting debate. I have shared my mom’s infamous sugar cookie recipe on the blog a few times. You can see New Year’s Eve cookies here and Cinco de Mayo cookies here. She has been making them for years and they are the best sugar cookies I have ever tasted! More of a shortbread style of cookie, you can’t eat just one. We made sugar cookies with our newest cookie cutters, the sailboat and lobster, the other weekend so we could test out a new frosting recipe. These summer sugar cookies are all sorts of fun — I love the cute lobster! For the beach ball, I just used a circle cookie cutter and took a toothpick to draw in the lines of the ball so it would be easier to outline once the cookies were baked.
Royal Frosting vs. Regular Frosting
Royal frosting has always been intimidating for me. Mainly because I have heard horror stories about working with it! The frosting we usually use for sugar cookies can be found in this post. It’s easy, delicious and frankly, something we are comfortable and familiar with. But, we decided to give royal frosting a try because with royal frosting, you are able to layer multiple colors on top of each other (once they are dry) and not have any color bleeding which often happens with regular frosting. Also, royal frosting sugar cookies freeze a bit better. Good to keep in mind for holiday baking!
What I love most about the regular frosting is the flavor: it is just powdered sugar and water but with the added touch of vanilla or almond extract, it gives off an amazing flavor. The first time we tried royal frosting, we did not use an extract to flavor the frosting. However, this time we added vanilla extract to the royal frosting and it gave the frosting a better flavor.
Working with Royal Frosting
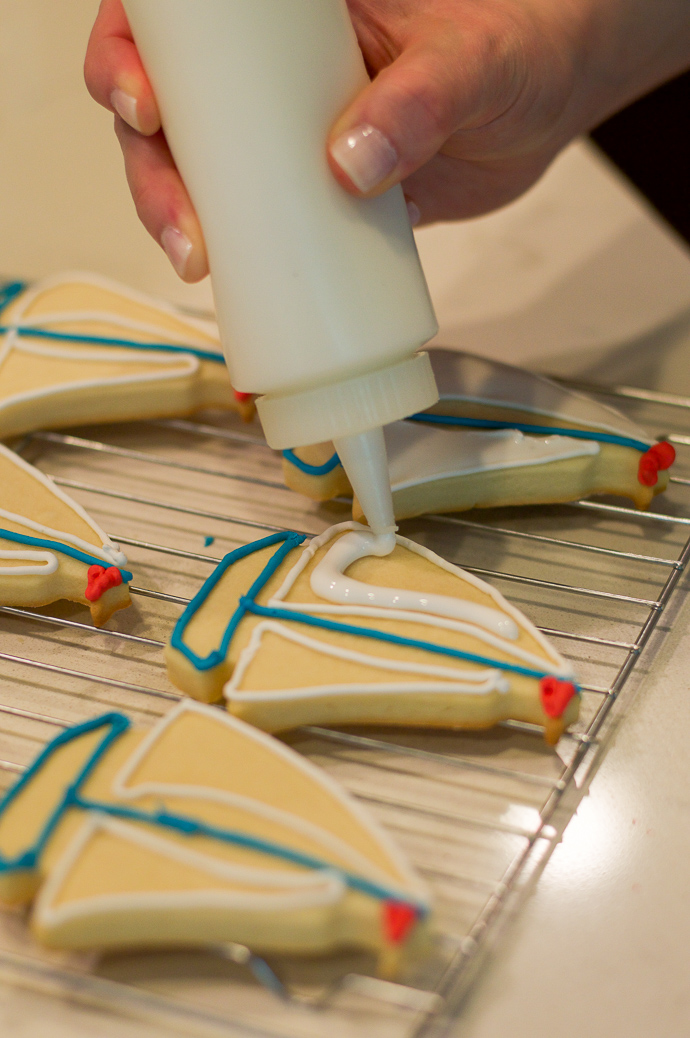
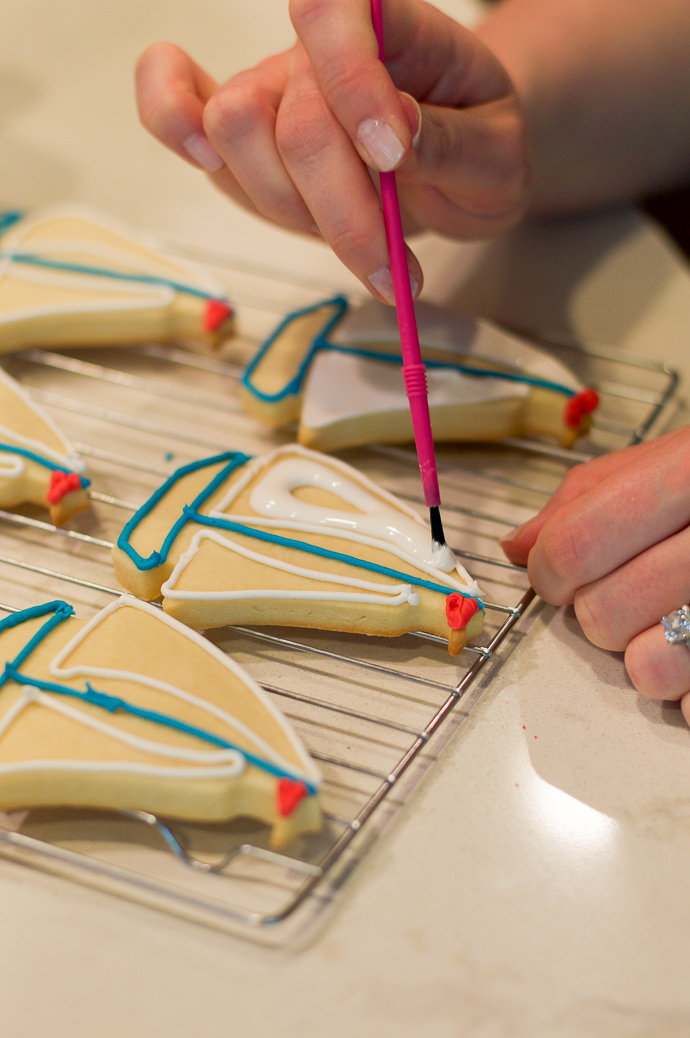
Although the cookies look pretty uniform and smooth, the rumors of working with royal frosting are true. These cookies took some time to complete. Once all the shapes are outlined, you can thin the frosting to add the “filler” for the cookie [see recipe below]. I used a small paint brush to push the color into all the corners and while it worked well, it’s very tedious. Royal frosting is also difficult to work with because it can dry out pretty quickly. It is essential to keep the frosting you are not currently using covered with plastic wrap. The only other downside to the royal frosting is the dry time. It took about 6 hours (overnight if you have it) for the lobsters to dry enough so I could add their lines. Although, with the regular frosting, even when it’s dry, there is a greater likelihood that the colors will bleed together.
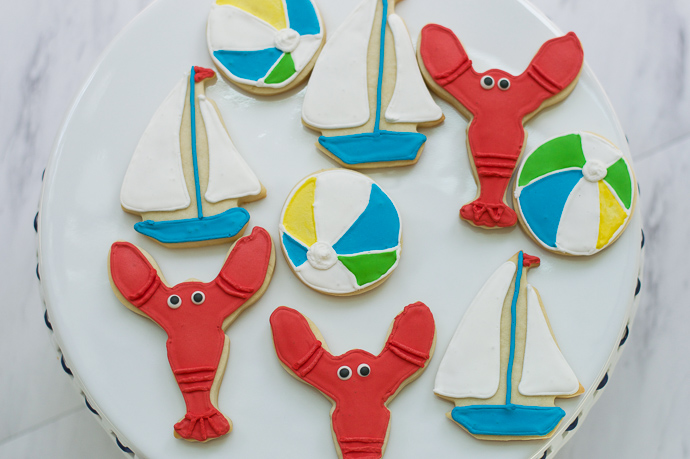
The jury is still out on royal frosting. However, adding the vanilla extract did help with the taste. If you are feeling creative, I would definitely give the royal frosting a try. If you are in a hurry, this frosting recipe cannot be beat! Quick, easy and so delicious!
What is your favorite kind of icing? Thanks for stopping by, friends! See you back here tomorrow.
| Servings |
|
- 3 tablespoons meringue powder
- 4 cups powdered sugar
- 5 tablespoons water
- 1 teaspoon vanilla or almond extract
- red, blue, green and yellow food coloring
- any other desired decorations, like the lobster eyes
Ingredients
For the royal frosting:
|

|
- In a stand mixer, whisk together the meringue powder and powdered sugar and slowly add the water and vanilla while the mixer is running on low speed. Increase the speed to medium and beat until stiff peaks form, about 8 minutes. Divide the frosting into individual bowls. The number depends on how many colors you need. I had 5 bowls: white, red, blue, green and yellow. Once you have reached your desired color, cover the frosting with plastic wrap so it does not dry out. This is the frosting you will use to outline your cookies.
- Once you have completed the outlining process, add 1 teaspoon of water to each color to make the consistency thinner. This will allow you to fill in the areas.
Note: Royal frosting takes a long time to dry -- about 6 hours. Whether you are planning to pack them up or add other colors on top, you will have to wait until the base color has dried. For example, the lines on the lobsters were done the following day to allow the body of the lobster to dry completely.

Rachel…I LOVE THEM! Almost too pretty to eat although I know they are delicious!!! So FUN!
My daughter will love these . Thanks for the recipe. xx
http://www.ninakobi.com